The Camp 4x4 Bus - 1973 Suburban 8.1 Swap & Build

FBJR

Adventurer
Nice tools. I love my cordless grinder, but I went with Porter Cable, simply for price and they have been solid for years.

Adapters are always fun. I remember putting the 205 behind a 7004r.
 

camp4x4

Adventurer
Well, I countersunk the the 3 bolts today. Definitely better, but the bushing is still resting on the adapter plate. And though I didn't try it, I'm gonna say the stock crossmember is, at least, going to require a fair bit of trimming to fit.


After I got that done I spent some time taking the brackets off all the seats so I could get to work on designing the brackets to mount them.

Gotta say, the extra hour of daylight this evening was pretty nice. I feel like evenings are going to be a whole lot more productive now.
 

camp4x4

Adventurer
Pretty good evening of work yesterday. Solved 2 problems that ranged from a bit of a show-stopper to a minor annoyance.

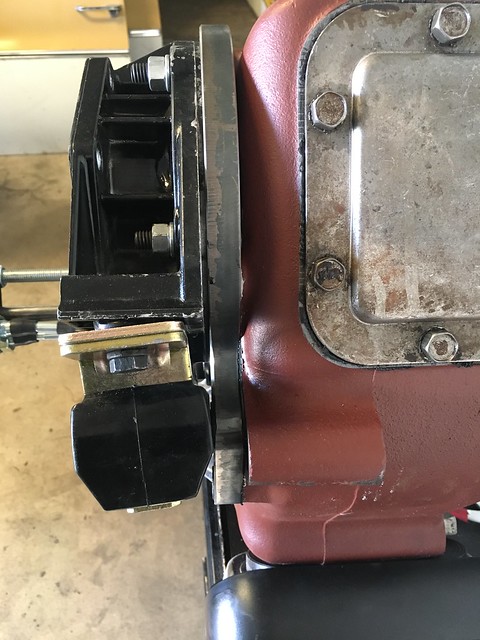
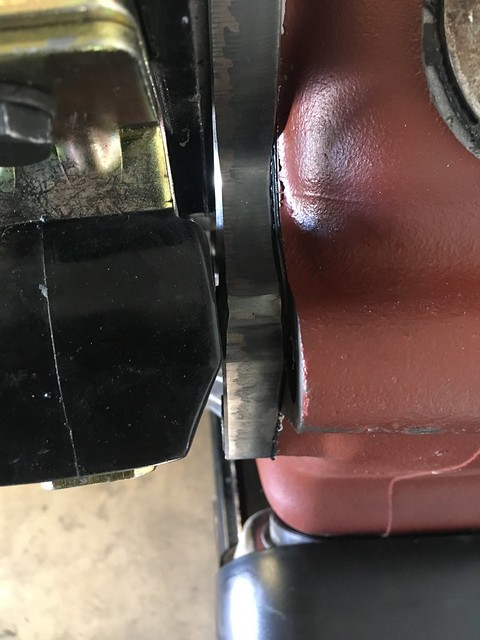
The show stopper was this issue with the transfer case coming so close to the transmission mount. During the day I'd looked through pics of various custom transmission mounts and was surprised to find that while there's a number of aftermarket engine crossmembers available, there really aren't any matching transmission crossmembers. I suppose part of the reason might be a lack of demand. It seems that in many cases the stock crossmembers can work just fine by being moved back and forth on the frame. The other thing I found was a number of people DIY'ing with square tube. Easy enough I guess. Another thing I came across was a mod being done to stock Jeeps where the transmission crossmember was pretty well stuck in place. A simple bit of 1/8" or 1/4" angle iron was welded to the back section, providing a platform that was just far back enough to match the new mount location. It seemed like this would be a simple enough solution for my immediate needs (and cheap) so I picked up some 1/8" x 1.25" angle iron and a bit of 1/8" flat (for extra bracing) and headed down.

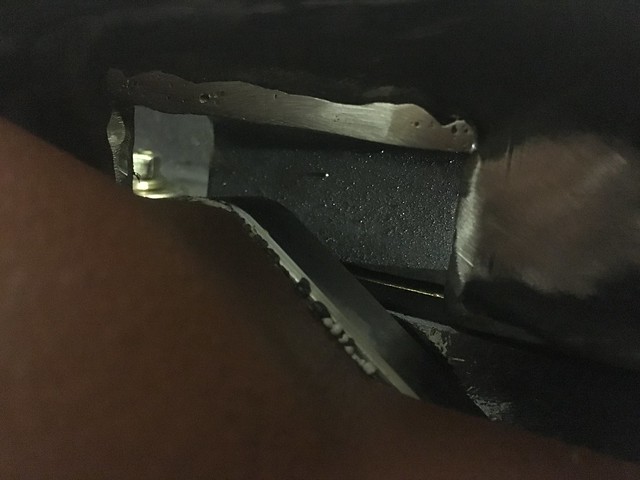
But, after a bit of hands-on with the mount and the transfer case I realized that all I needed was a bit of relief in 2 small areas. By notching the center section of the crossmember, right between the mount bolts, I could easily clear the adapter plate. And with a small notch a bit further down the crossmember would clear a corner of the transfer case that was protruding just enough to hit the edge of the crossmember.

Since I had the angle iron I figured I'd make the notch of the center section a size and shape that would allow me to add the angle iron as an inverted corner to brace the opening. I'm not even sure this would be totally necessary but it makes me feel better about cutting a sizable hole in the crossmember. This ended up working great and really not taking that long. The great part is that, when I eventually get a Northwest Fabworks Blackbox underdrive, I'll be able to keep the crossmember exactly where it ends up in this configuration, so one less set of holes in the frame and one less thing to move around again.

Now that the transmission mount is sure to mate up to the transfer case properly I'll be moving forward with installing all that and moving forward with the rest of the drive line, the twin sticks and everything else down there. :D


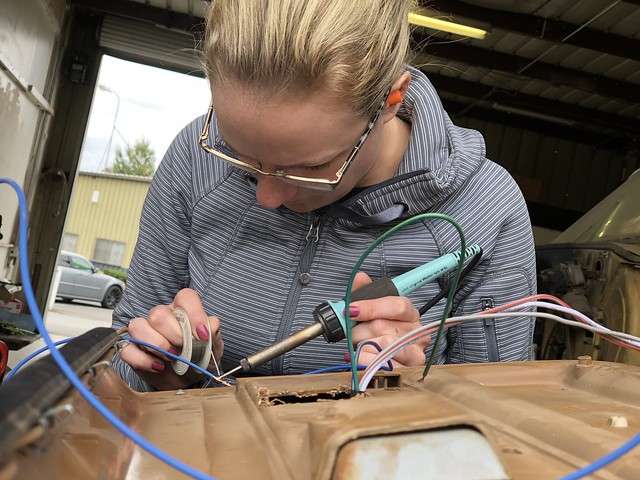
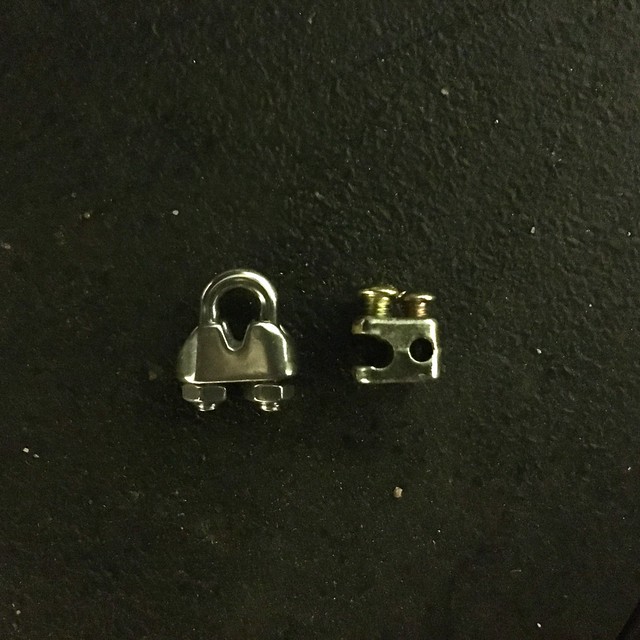
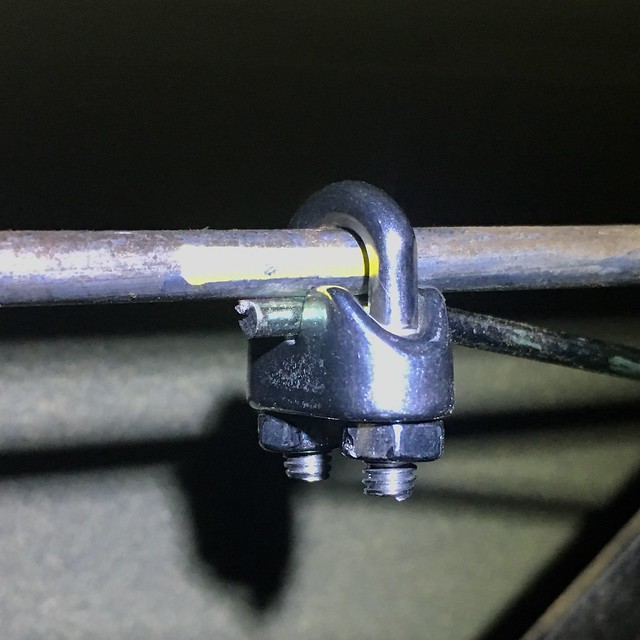
The other problem I solved yesterday was related to the electric lock poppers. The kit that I bought came with clamps to mate the popper to the lock mechanism. Unfortunately the clamp was too small to properly grasp the rod and it kept slipping off. While I was at the hardware store for the angle iron I looked around for a potential solution and came across the wire rope section and the u-clamps. I eyeballed the size and nailed it. Just gonna throw some thread locker on them so they don't rattle loose, but I expect they'll hold great.


I'll be back at the shop again tonight, either figuring out how to muscle that t-case in place or working on electrifying the remaining doors.
 
Last edited:

FBJR

Adventurer
Nice fix there. Some nylocks would be a nice addition.

I would round the corners off on the crossmembers, sure don't need cracks starting!
 

FBJR

Adventurer
Nice fix there. Some nylocks would be a nice addition.

I would round the corners off on the crossmembers, sure don't need cracks starting!
 

camp4x4

Adventurer
Well oh well... been working, haven't been updating... I've got a short update tonight, more tomorrow.

Basically I've been primarily working on the doors. I'll get to an update on those tomorrow.

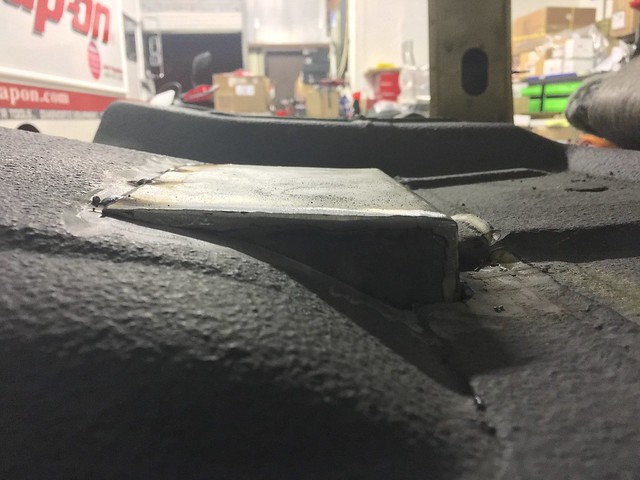
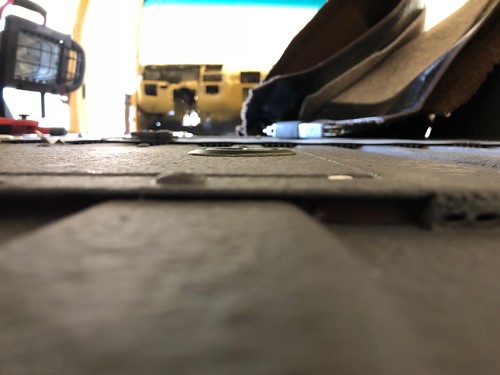
Tonight I got the floor bump for the driveline parking brake rotor fab'd up. Wasn't too hard, just a little time consuming. I checked clearance and the rear transfer case output flange and rotor will go off and on without dipping the whole driveline now. :) The bump is made out of 16-gauge sheet metal and just needs to get fully stitched in.


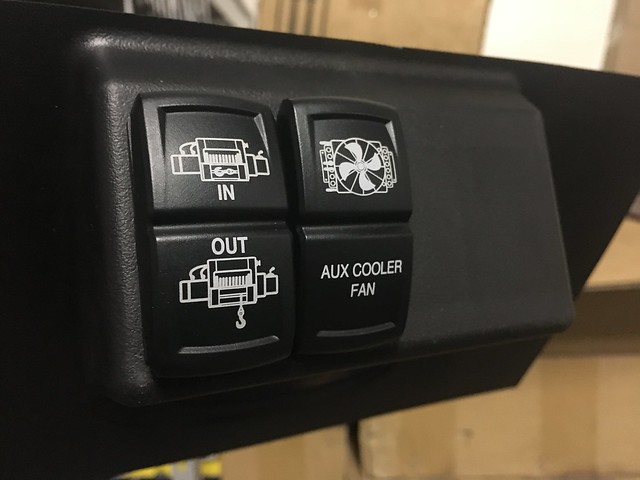
Besides that and the doors, I've been doing a little planning ahead on the interior. For a while now I've needed to figure out a good place to put rocker switches. The dash really doesn't have anywhere, and I had yet to find any other options. Finally I stumbled on Daystar's switch panel for Jeeps. This little pod is actually perfect for mounting just above the windshield as an overhead console. I plan to trim a hold in the headliner and install the switch panel behind it so the headliner covers up the screws and such.

Once I knew I had a panel to use I got to looking for switches. I've always wanted a switch in the cabin for winch in/out control. A little searching around and I found OTRATTW The Switch Guys. I didn't realize it when I ordered but these guys are right around the corner from my office in Cupertino. After figuring that out I swung by their offices and checked out their setup. Its a mom and pop place but they've got a pretty cool set of Epilog lasers doing the custom designs.

Before I left I asked the owner if he could do a custom design if I sent him an Illustrator file. He was game, so right away I started thinking what I'd want to do.

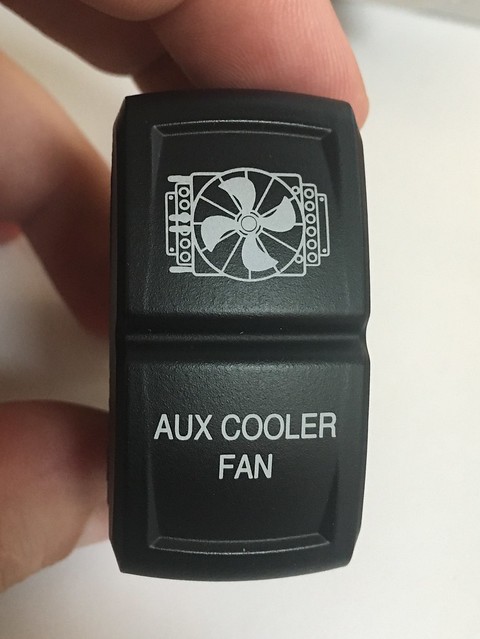
Besides the winch switch, I definitely need one for the offroad lights I plan to mount on the bumper. Since i'll be running e-fans for both the radiator and for the aux cooler, I want to have switches to turn those off for water crossings. That's where I started with a custom design. What do you think? Its Derale's 15200 dual-circuit aux cooler I'm going to be using for cooling power steering and transmission fluids.


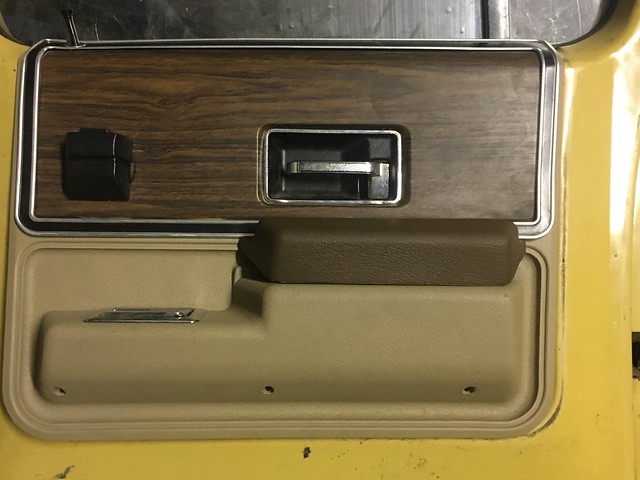
I also picked up new arm rest pads for the door trim panels that match the dark brown of the carpet. I think they match the wood trim pretty well too and are a nice contrast to the beige of the trim.


More on the doors tomorrow...
 

chilliwak

Expedition Leader
Glad to see you making progress Aaron. Nice colour match and contrast on the door panels. Keep up the good work. Cheers, Chilli...:cool:
 

camp4x4

Adventurer
Another successful day working on the truck! 3 little things and 1 big thing ticked off the list. The little things really help keep the motivation up. Little by little this thing is becoming EXACTLY what I want it to be, and I know all the little things are going to make me immensely happy in the future.

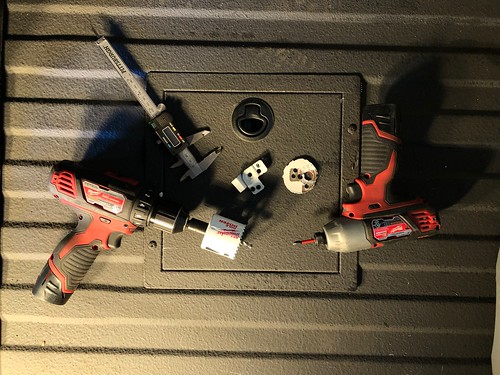
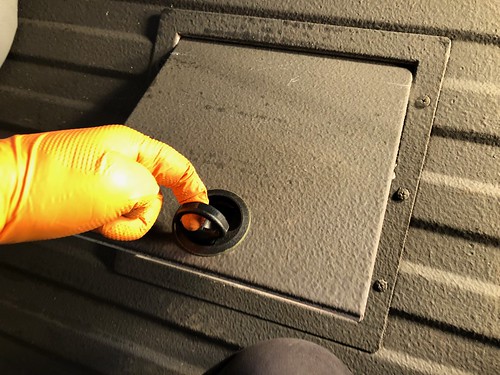
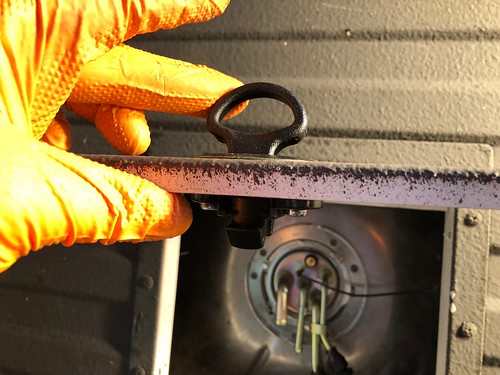
The first little thing was putting a low profile latch on the gas tank access panel. When I first installed the panel I hadn't really thought about the fact that it didn't have a handle of any kind on it to pull it open. I guess with it installed on a vertical wall you can just press on one end of it and it'll open. Not so much sitting flat on the floor...

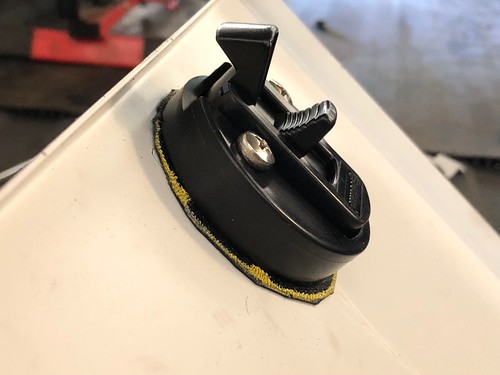
So, McMaster-Carr to the rescue. I found a sweet flush-mount latch that suits my needs perfectly. A bit of drilling later I had it installed. I did have to make a spacer out of some 1/8" ABS sheet I had around since the thinnest mounting material thickness for the latch was 1/8"-1/4" and the panel is about a 1/16".


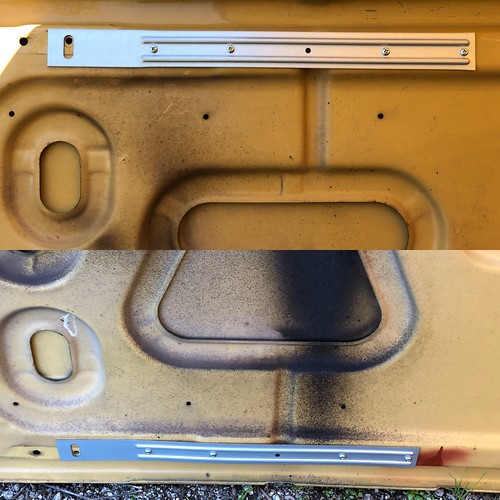
The second little thing I did was install the hood brace kit I bought recently. The hood is in good shape currently, but I want to keep it that way, so braces gotta go on. I plan to spray the whole under side of the hood with Lizardskin insulation so the braces should blend right in when it's all the same color.


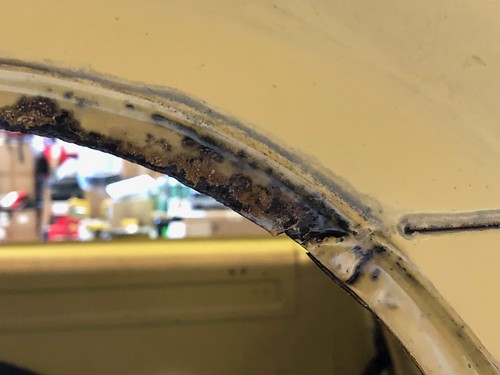
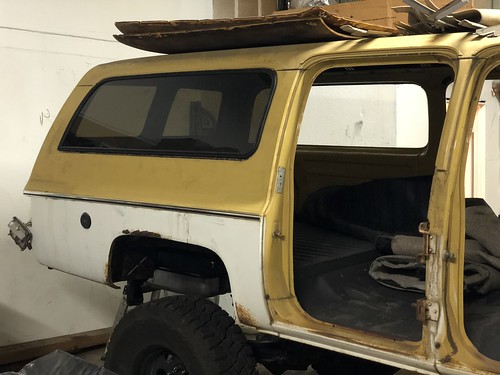
The third little thing I did was clean up and treat the rust where the rear quarter panel and barn door window seals had been. They probably got dried out in the Arizona sun and started letting water in. There were some bad areas, but fortunately nothing that had rotted through or affected the integrity of the metal in such a way that it would need body work. A little Corroseal on a foam brush later and all is well again.


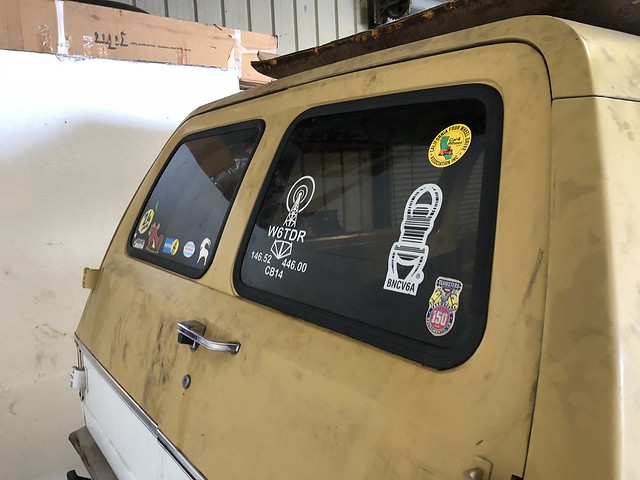
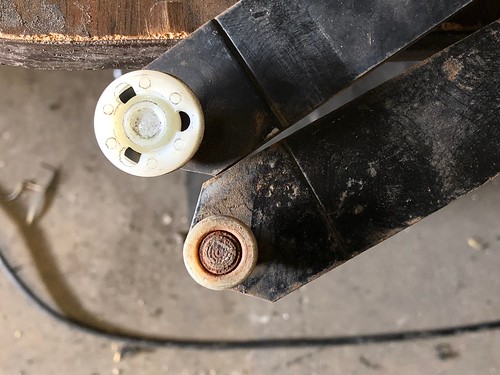
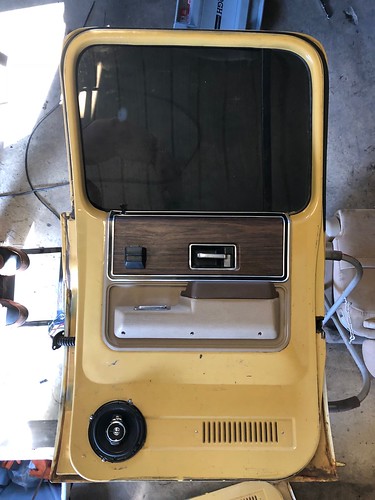
And at last the big thing: I finally got a door completely back together. These stupid things have been a helluva project. After figuring out how/where to install the electric motors for the windows and the electric lock poppers, and taking the '87 door apart to get the glass out of it, I realized that the track at the bottom of the glass from the '87 is wider than the track on the '73 window. Ugh. Fortunately, while looking through LMC for new window seals I found you can buy the correct size rollers to make the swap. The old ones just had to be drilled out, easy peasy. The new ones I guess you're supposed to be able to punch or vice down like a rivet, but I just ended up tacking them in with the welder.

After a fair amount of struggle getting the seals, glass and regulator back in the door, I finally got it all together, and I'm ecstatic to have the dark factory tint on these doors! With everything in I screwed it all together, including the new armrest pad. Love how it came out... now to do the other 3. FML.


Last edited:

FBJR

Adventurer
Looking good there.

I have a couple spots that are rusted on mine too and I can see where it is running out of the seems. I got some spray on rust inhibitor from eastwood that comes with a tube to get into those hard spots. Figured I would just go around the whole thing.
 

chilliwak

Expedition Leader
I agree with everyone else Aaron, your truck is coming together nicely. It must be a great feeling of acomplishment to see it starting to take shape. Thanks for posting pics so we can follow your build. Cheers, Chilli....:cool:
 

camp4x4

Adventurer
Keep up the good work.I always learn a trick or two ,and this makes it interesting.
Cheers Urs
I agree with everyone else Aaron, your truck is coming together nicely. It must be a great feeling of acomplishment to see it starting to take shape. Thanks for posting pics so we can follow your build. Cheers, Chilli....:cool:

Thanks guys! It does feel good. It has been a much longer project than I initially set out to do, but I'm very glad to be doing all the things I am. I'm looking forward to having a "finished" truck in the end, instead of an on-going project. Taking the time now will, I hope, yield dividends later as I get to simply enjoy what I've built. :)

I'll be back at it this weekend trying to finish up all the doors. I have the final window seals and last set of replacement rollers coming in tomorrow, and all but 1 of the '87 doors have been gutted and all the '73 doors are ready to be re-assembled.

At some point I'll have to make it out to a junk yard to grab another side window that matches the '87's OEM tint since my buddy busted one of mine while removing them. I did get the 2 barn door windows and the 1 side window I have installed. That was interesting. I'll do a video of the technique the neighbor glass guy showed me for getting these guys in. It is the typical string method but I'd had a hard time finding a good reference before.


I'm soooo happy the '87 glass and seals worked. The one bummer is that the seals don't cover down as far as the '73's did, so there's some converted rust showing. No biggie since it shouldn't continue growing now that it is converted, but just not as tidy as I'd hoped. Meh.
 

FBJR

Adventurer
I would love to find the side sliders and they even make a rear flip out somewhere. Would be great to air throguh these things.
 

Forum statistics

Threads
188,020
Messages
2,901,228
Members
229,411
Latest member
IvaBru

Members online

Top