GeoTracker90
Adventurer
Update 6-16-08
Another night and another update.
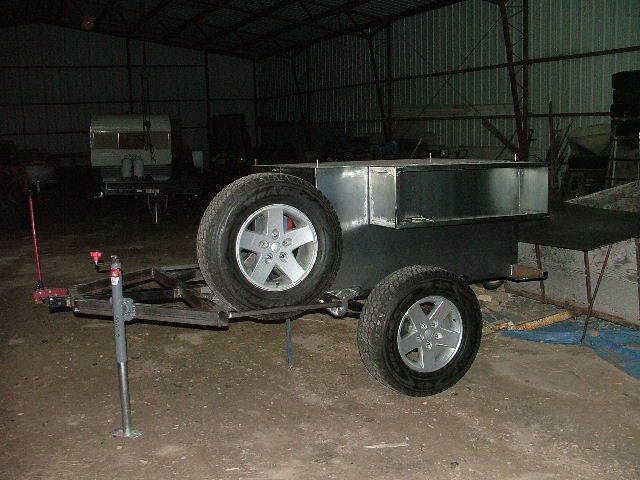
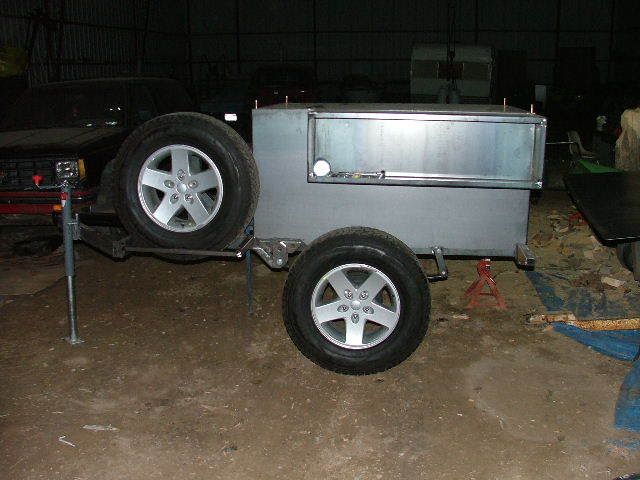
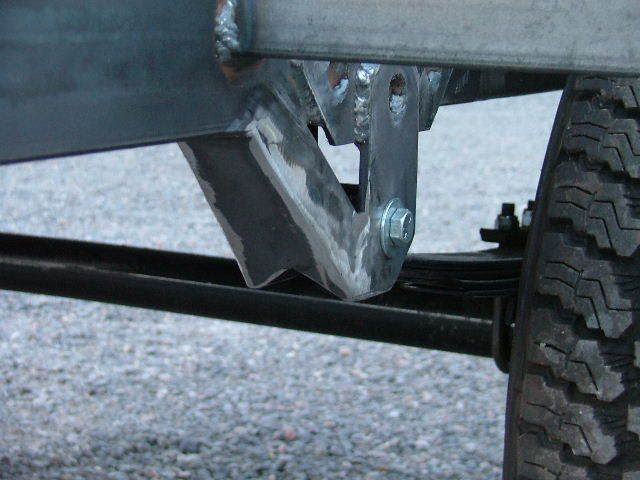
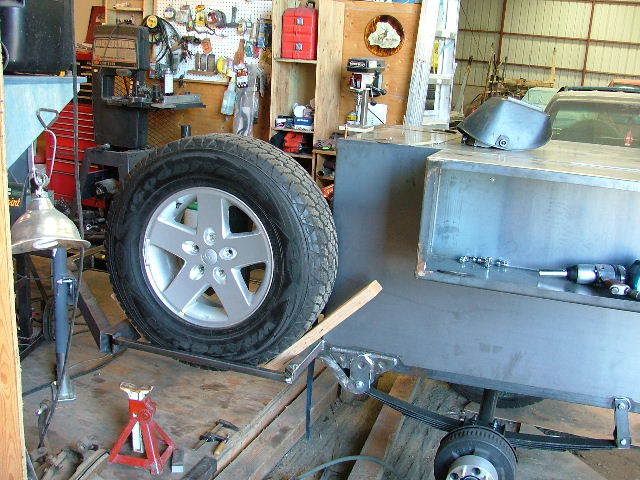
I started the night by pulling the driver side spring and beefing it up a little bit. I disassembled a front and a rear Sami spring pack and combined the two so that the spring rate will be higher. With the single spring pack the trailer would shift wildly as I moved from side to side on the tongue. With the new combined spring pack the spring rate was quite a bit better but still pretty flexable. I need to get the other side done and see how it feels. This trailer will definetly be getting some shocks to control these springs.

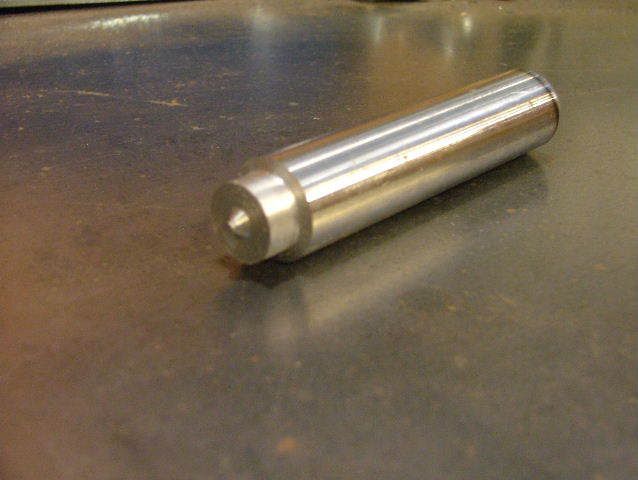
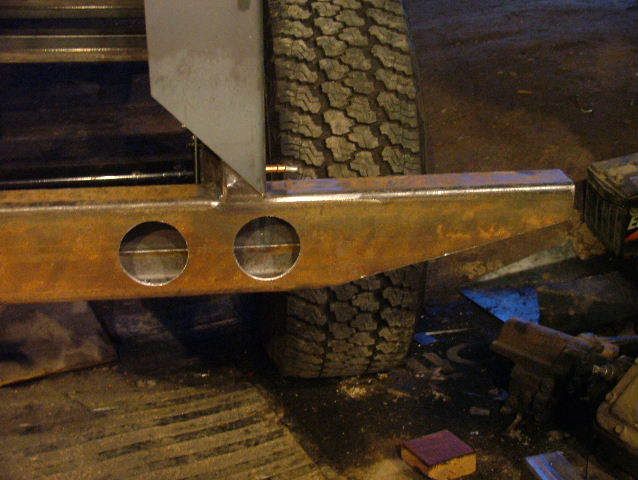
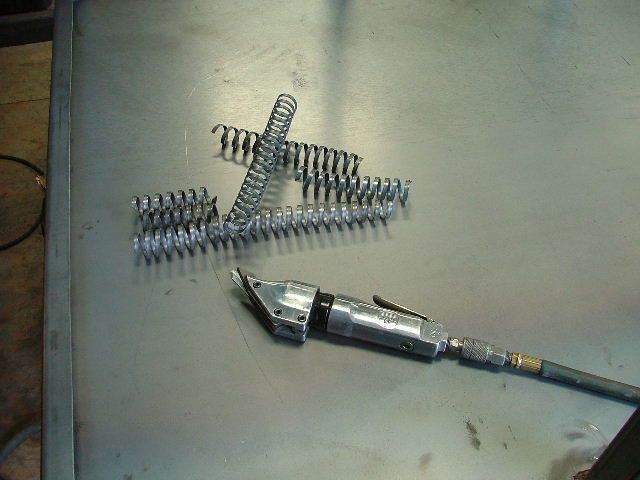
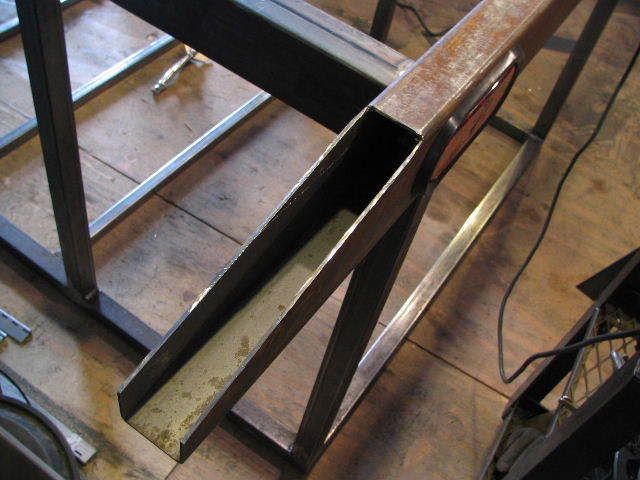
It's time to start thinking about the electrical and lighting as this all comes together. We better have some tail lights and what better way to mark them than to clamp a bracket to the tube and trace it out. A 2-1/2" hole saw matches the two radiused ends of the opening, but how do you make sure that they are located in the correct position? I didn't have a transfer punch the same size as the center opening in the hole saw, but I do have a lathe. I turned out the transfer punch in about 5 minutes. Granted, this is pretty soft steel and won't dimple the steel bumper like a center punch. I did mark the spot so that I could hit it with a center punch.
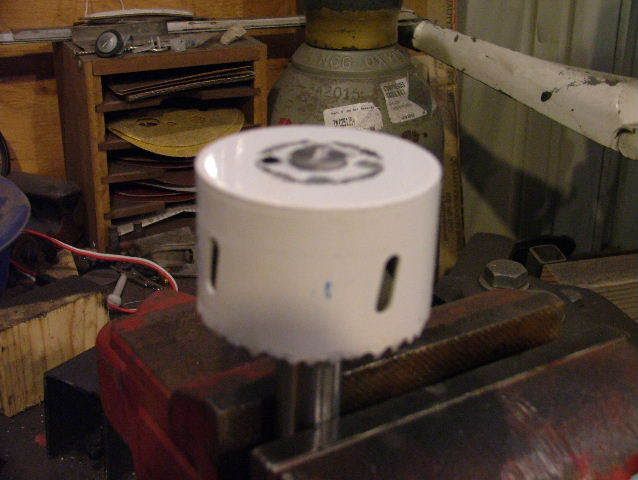
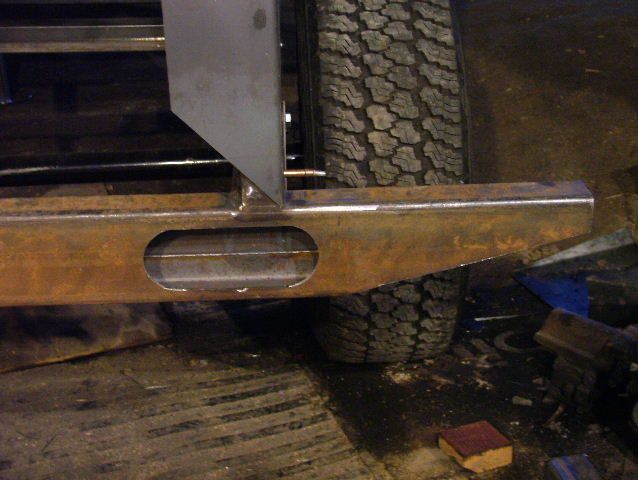
Two holes per tail light and some quick work with the cut off wheel and we're in business. Ready for the tail light and grommet.
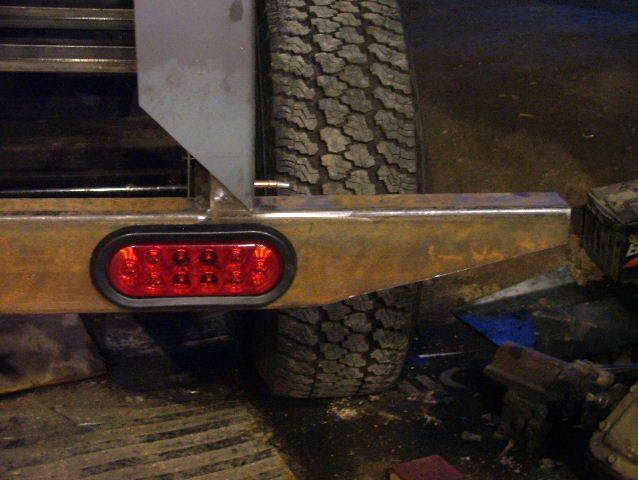
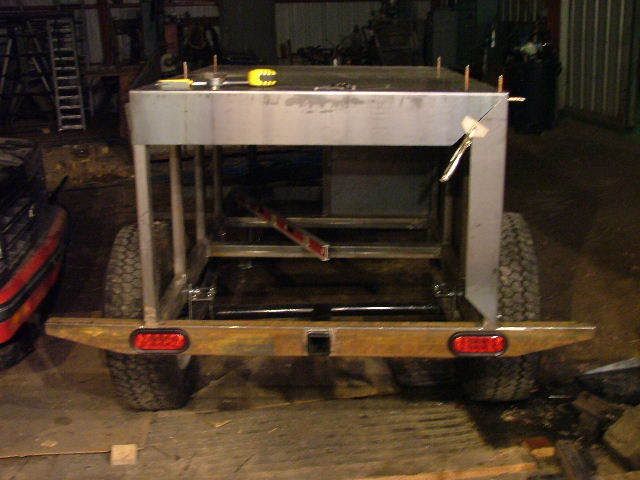
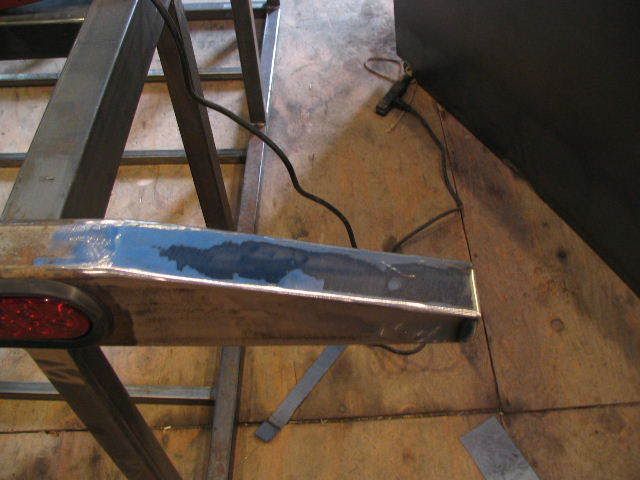
One tail light, now two. Can't wait to see these babies light up. They are LED lights so they should be fairly trouble free for a long, long time.
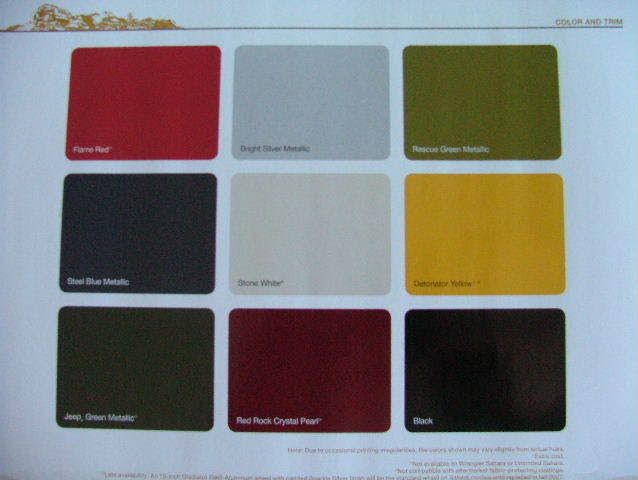
I also made a stop at the local Jeep dealer today and picked up a copy of the Jeep Wrangler sales brochure. Now which color should we try and match with the powder coating. I'm thinking we had better shoot for the Jeep Green in the lower left corner.
That's all for now. Till next time....
Mike
Another night and another update.
I started the night by pulling the driver side spring and beefing it up a little bit. I disassembled a front and a rear Sami spring pack and combined the two so that the spring rate will be higher. With the single spring pack the trailer would shift wildly as I moved from side to side on the tongue. With the new combined spring pack the spring rate was quite a bit better but still pretty flexable. I need to get the other side done and see how it feels. This trailer will definetly be getting some shocks to control these springs.
It's time to start thinking about the electrical and lighting as this all comes together. We better have some tail lights and what better way to mark them than to clamp a bracket to the tube and trace it out. A 2-1/2" hole saw matches the two radiused ends of the opening, but how do you make sure that they are located in the correct position? I didn't have a transfer punch the same size as the center opening in the hole saw, but I do have a lathe. I turned out the transfer punch in about 5 minutes. Granted, this is pretty soft steel and won't dimple the steel bumper like a center punch. I did mark the spot so that I could hit it with a center punch.
Two holes per tail light and some quick work with the cut off wheel and we're in business. Ready for the tail light and grommet.
One tail light, now two. Can't wait to see these babies light up. They are LED lights so they should be fairly trouble free for a long, long time.
I also made a stop at the local Jeep dealer today and picked up a copy of the Jeep Wrangler sales brochure. Now which color should we try and match with the powder coating. I'm thinking we had better shoot for the Jeep Green in the lower left corner.
That's all for now. Till next time....
Mike
Last edited:
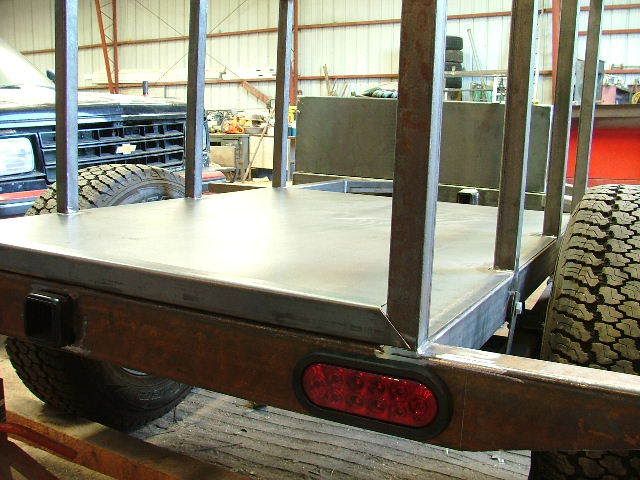


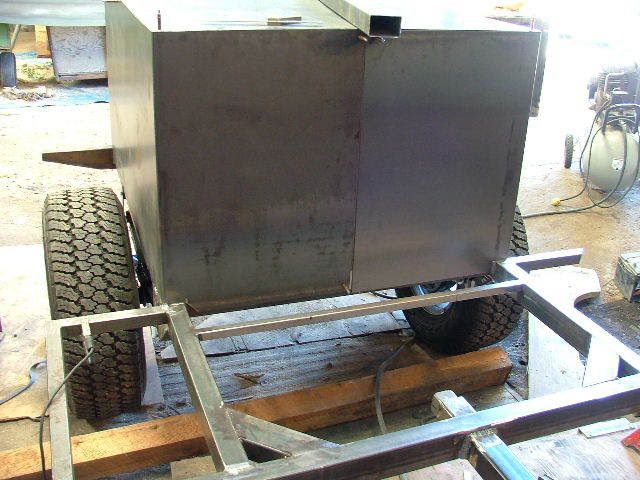
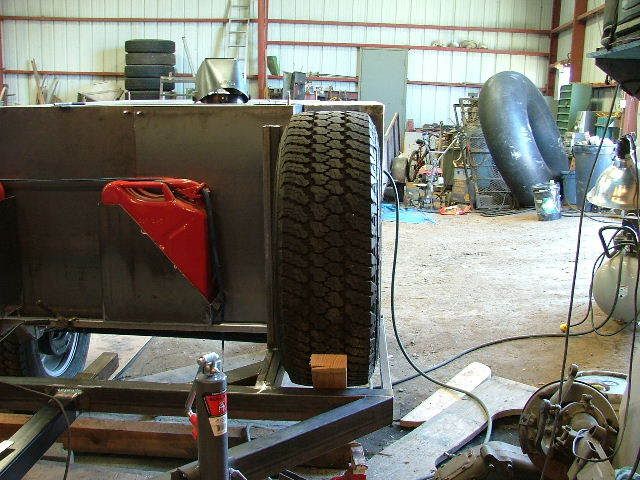
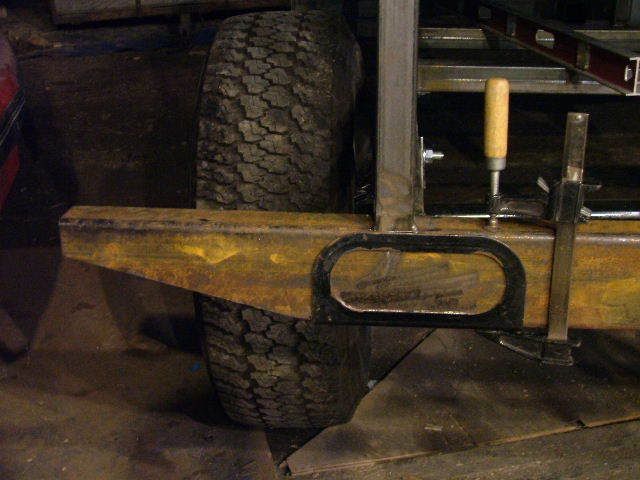
 The 2x4's are under the tire just to help position it and keep it up off of the steel tubes.