TMC-113
Observer
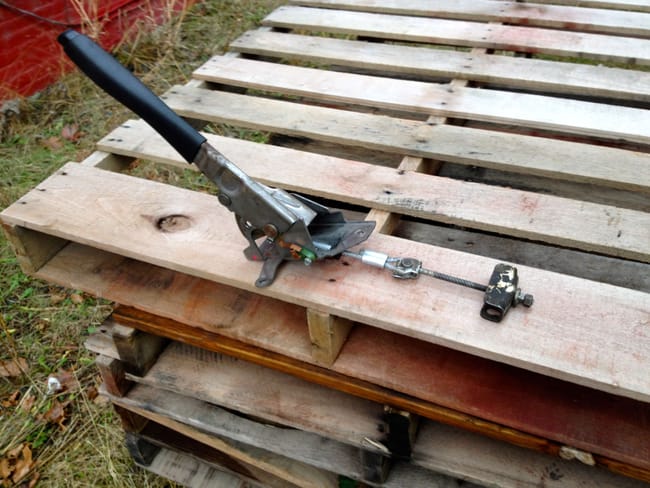
My 97+ parking brake handle....the turnbuckle I originally used just wasn't cutting it. It worked fine for awhile but it kept having to be adjusted since obviously the turnbuckle itself is adjustable as well as the linkage to the actual brake cables.
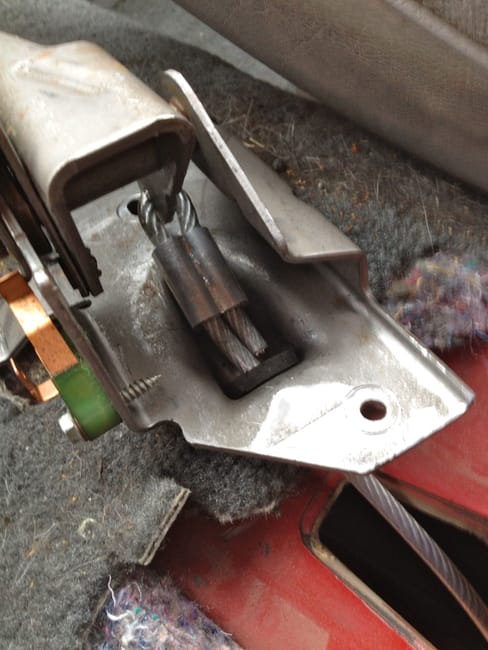
I ended up using rubber-coated steel cable (similar to factory, but thicker and from a building supply) and some crimping sleeves. I also had to get a nice solid rubber grommet to protect the cable from the hand brake mount (also similar to the factory one).
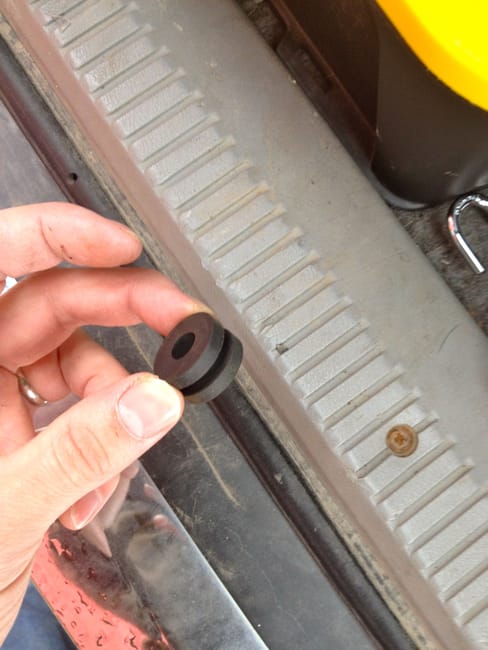
You have to insert the grommet into the bottom where the linkage will be.
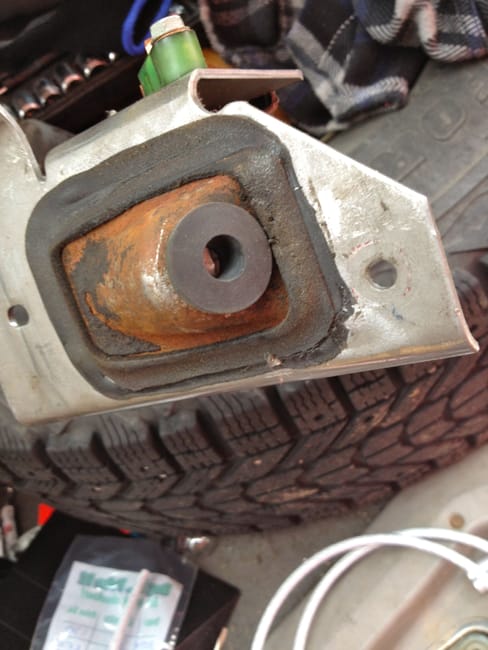
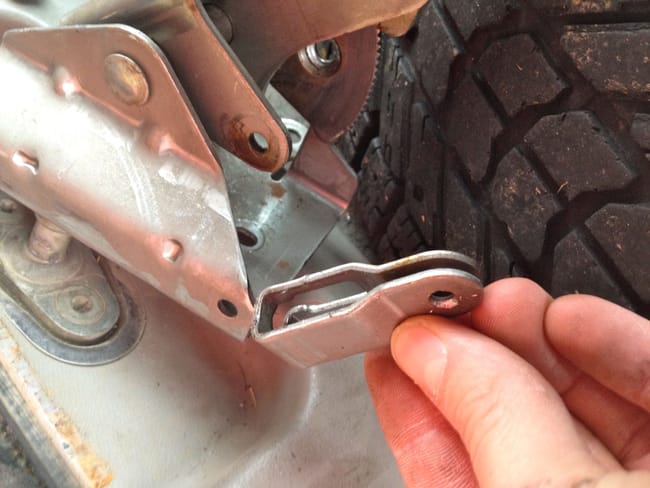
I then had to remove the factory clip so I would have room for the new thicker cable.
Then pass the cable through the brake handle and back next to itself through the crimping sleeve. Then just use a chisel or flat head punch and crimp the sleeve.
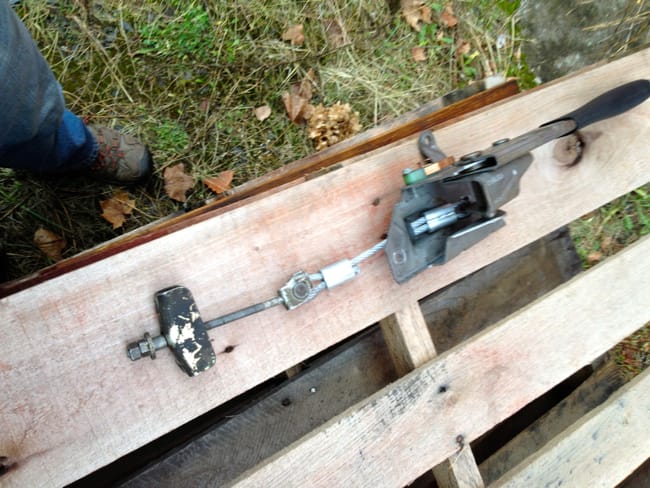
I did use the factory linkage under the Jeep that connects to the actual brake cables. The nice thing about this setup is there is NO movement anywhere except for the factory linkage nuts where the brake cables attach. With the other setup I had, the turnbuckle could turn as well as the factory linkage.
Here is the finished product:
On to the next one!
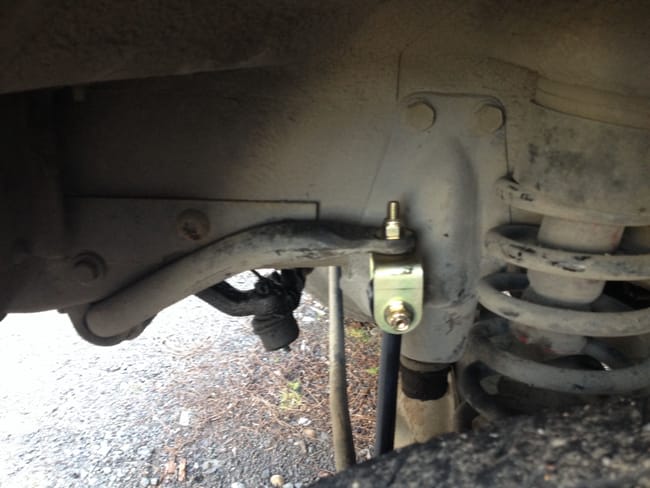
With a 3" lift most people say you shouldn't need sway bar link extensions, or sway bar drop brackets. However, I noticed the sway bar on my driver's side was at far too low of an angle:
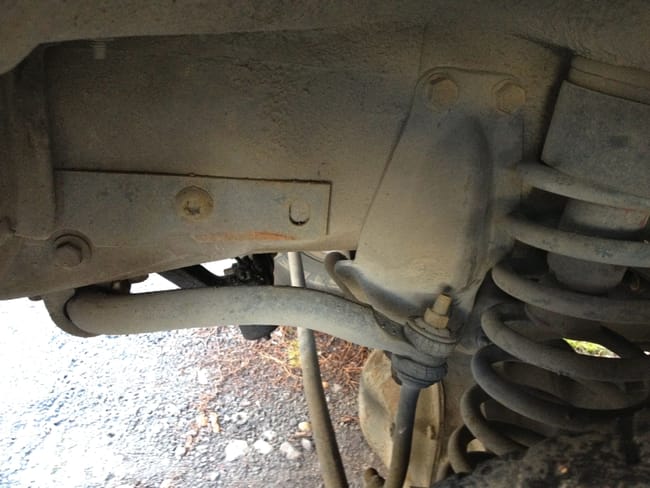
So I walked around to the passenger side and found this:
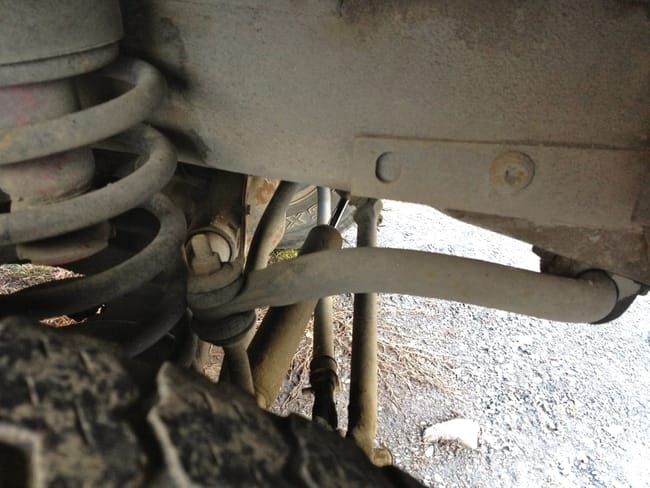
:Wow1:
That's right.
Its touching the coil spring....
:Wow1:
So since I don't drive it everyday I started looking on line for some sway bar links or disconnects, and guess what.....they be pricey. :088:
JKS Disco's: $150ish
RE Links: $65ish with adapters
RC Disco's: $69ish
So, I figure I would make my own. Well seeing as how there aren't many places around to buy heim joints and the stuff online was up there in price too, I was coming up empty.
Until.....
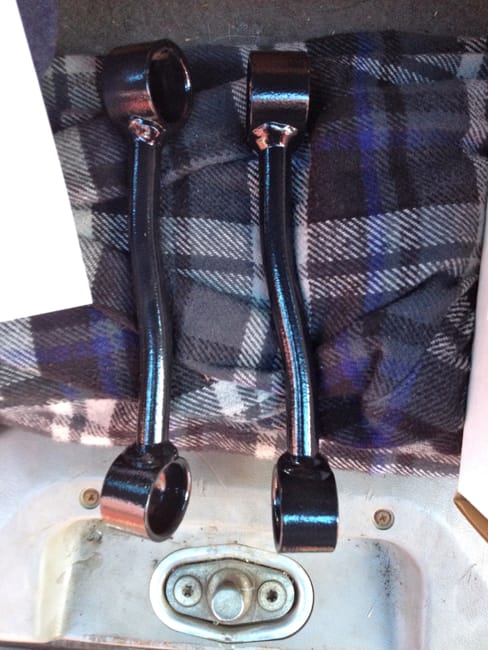
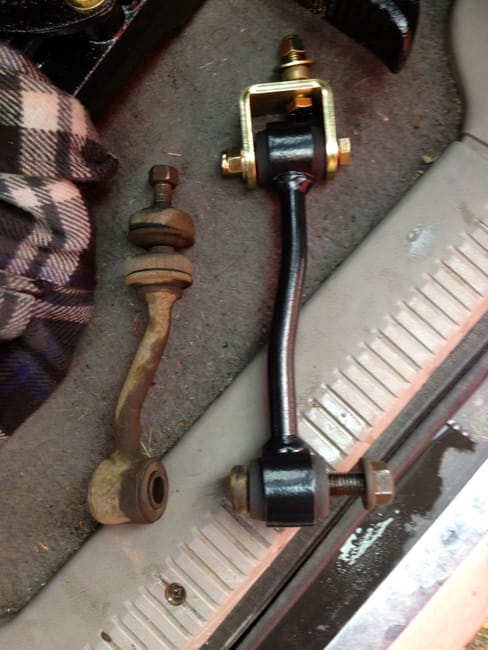
.....I found Pro Comp Sway Bar Links with adapters for 3"-5" lift for $40 online with free shipping!
BAM! SOLD!
I was prepared for this to take awhile after reading all the posts that talk about stuck nuts, broken bolts, and so forth. Honestly, maybe it's because they don't use salt up here or maybe I just lucked out, but I got everything off without a hitch. I didn't even have a torx bit for the lower bolt, but it unbolted and even came out of the axle bracket easily.
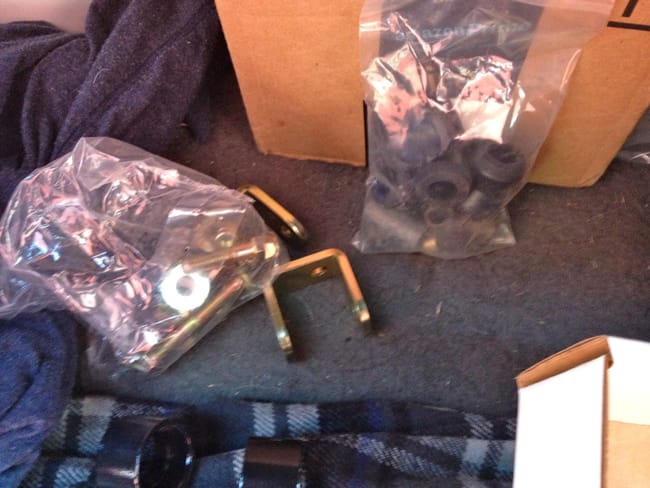
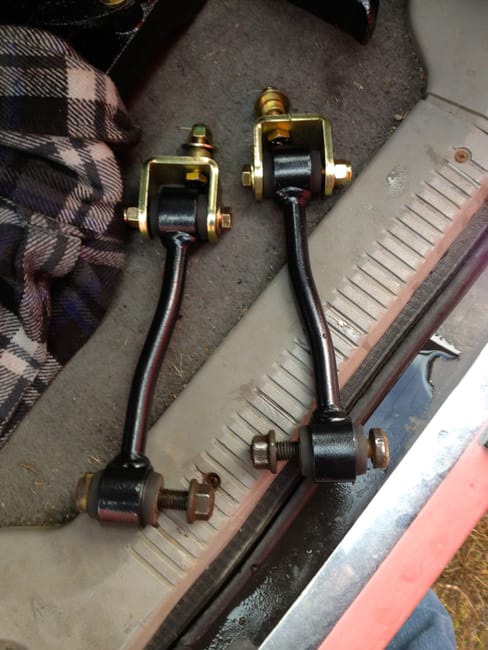
Obviously you can see the difference. All the hardware was included, you just have to reuse the lower factory bolt/nut.
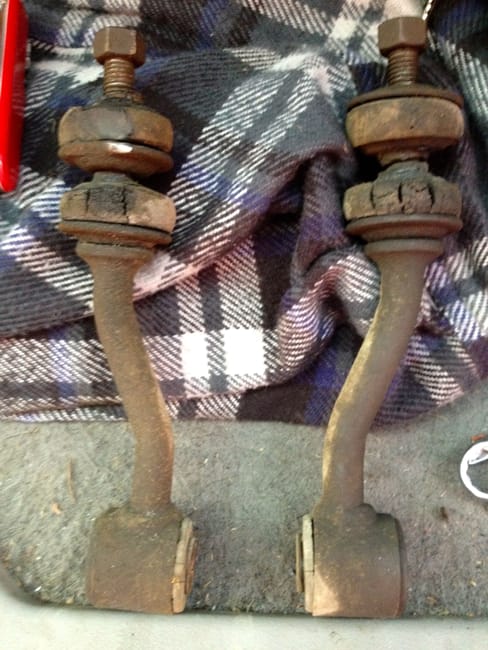
Here you can see on the left one where it was rubbing on the coil spring....nice little flat smooth spot on the washer and bushings.
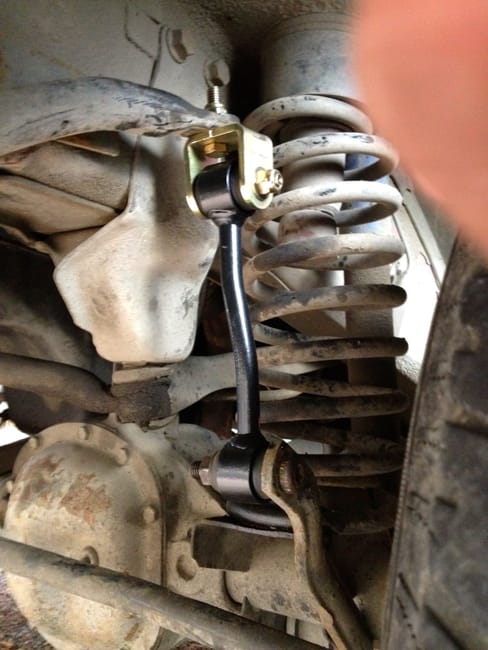
Driver's side installed:
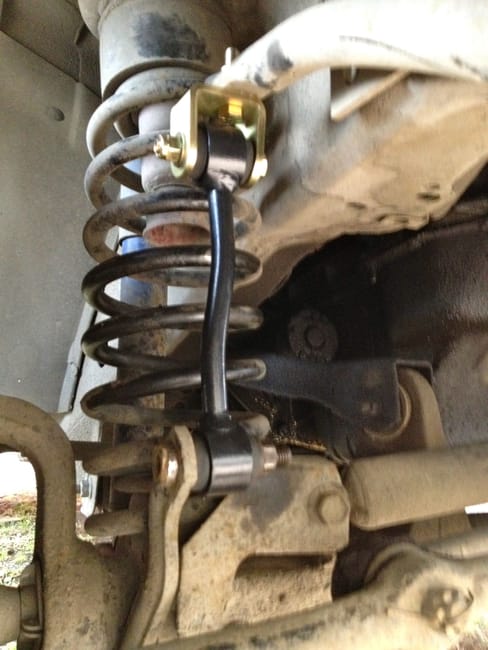
Passenger side installed:
Took it for a quick test drive to see how it sounded and felt. It may just be my imagination, but it seems like it drove better. It felt a little tighter, steered a little better, and seemed smoother over bumps. The other nice thing is all I would need to do to make them disco's is buy two replacement lower bolts and I got myself a nice setup.

On to the next one!
So I've been wanting to change some stuff on my front end grill area. Now I know what your thinking and no....No I didn't do angry eyes
No thanks.
My grill is one of the chrome colored ones, but its fairly beat up. Don't get me wrong, the plastic itself is in great shape no broken pieces or anything like that. The chrome paint was missing in spots and I just wanted to spruce it up a bit.
BEFORE:
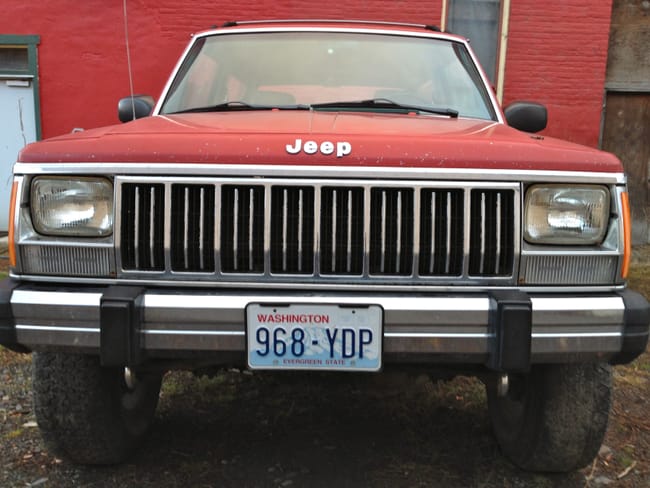
A little scruffing and painting and....
AFTER:
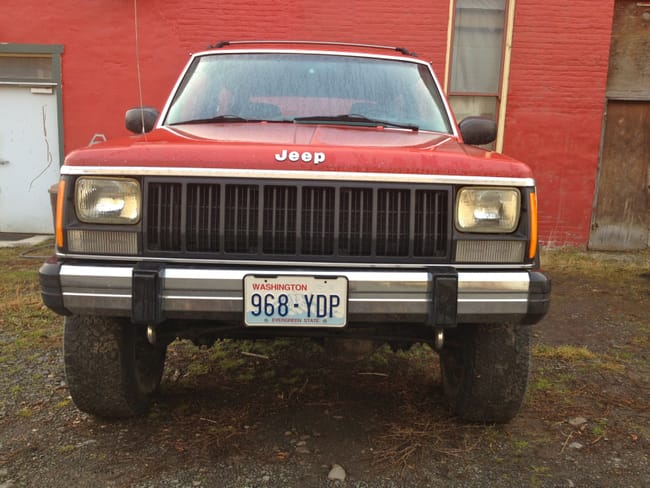
Just FYI that last picture makes it look like its got the gangster lean, but thats just the angle of the ground down towards the street.
I kinda like the mix of black and chrome. Plus, its a nice little finishing touch to round out a good day of wrenching.
:wings:
I ended up using rubber-coated steel cable (similar to factory, but thicker and from a building supply) and some crimping sleeves. I also had to get a nice solid rubber grommet to protect the cable from the hand brake mount (also similar to the factory one).
You have to insert the grommet into the bottom where the linkage will be.
I then had to remove the factory clip so I would have room for the new thicker cable.
Then pass the cable through the brake handle and back next to itself through the crimping sleeve. Then just use a chisel or flat head punch and crimp the sleeve.
I did use the factory linkage under the Jeep that connects to the actual brake cables. The nice thing about this setup is there is NO movement anywhere except for the factory linkage nuts where the brake cables attach. With the other setup I had, the turnbuckle could turn as well as the factory linkage.
Here is the finished product:
On to the next one!
With a 3" lift most people say you shouldn't need sway bar link extensions, or sway bar drop brackets. However, I noticed the sway bar on my driver's side was at far too low of an angle:
So I walked around to the passenger side and found this:
:Wow1:
That's right.
Its touching the coil spring....
:Wow1:
So since I don't drive it everyday I started looking on line for some sway bar links or disconnects, and guess what.....they be pricey. :088:
JKS Disco's: $150ish
RE Links: $65ish with adapters
RC Disco's: $69ish
So, I figure I would make my own. Well seeing as how there aren't many places around to buy heim joints and the stuff online was up there in price too, I was coming up empty.
Until.....
.....I found Pro Comp Sway Bar Links with adapters for 3"-5" lift for $40 online with free shipping!
BAM! SOLD!
I was prepared for this to take awhile after reading all the posts that talk about stuck nuts, broken bolts, and so forth. Honestly, maybe it's because they don't use salt up here or maybe I just lucked out, but I got everything off without a hitch. I didn't even have a torx bit for the lower bolt, but it unbolted and even came out of the axle bracket easily.
Obviously you can see the difference. All the hardware was included, you just have to reuse the lower factory bolt/nut.
Here you can see on the left one where it was rubbing on the coil spring....nice little flat smooth spot on the washer and bushings.
Driver's side installed:
Passenger side installed:
Took it for a quick test drive to see how it sounded and felt. It may just be my imagination, but it seems like it drove better. It felt a little tighter, steered a little better, and seemed smoother over bumps. The other nice thing is all I would need to do to make them disco's is buy two replacement lower bolts and I got myself a nice setup.
On to the next one!
So I've been wanting to change some stuff on my front end grill area. Now I know what your thinking and no....No I didn't do angry eyes
No thanks.
My grill is one of the chrome colored ones, but its fairly beat up. Don't get me wrong, the plastic itself is in great shape no broken pieces or anything like that. The chrome paint was missing in spots and I just wanted to spruce it up a bit.
BEFORE:
A little scruffing and painting and....
AFTER:
Just FYI that last picture makes it look like its got the gangster lean, but thats just the angle of the ground down towards the street.
I kinda like the mix of black and chrome. Plus, its a nice little finishing touch to round out a good day of wrenching.
:wings:
Last edited: