What did you do to your Expo Jeep today?

bldeagle10

Explorer
been a long time since I have done anything other than look at it. tomorrow morning I will be attempting the Crown King Trail, and basically trying to make it up to Prescott AZ. I have heard the trail is super rough some years so I may not make it. so today belonged to getting the Jeep in best shape I can for the trip.
 

beardus supremous

Adventurer
Well i bought a set of Rockford Fosgate 6.5" speakers a couple months ago and finally got around to fitting them in the front doors of the xj. Drivers side was not working before because of wiring issue. Unreal difference between the stockers and these! Might get back on amazon and order up a pair for the rear.
 

Nigel Caffiene

Gentleman Scholar
df009545.jpg

Sharp looking Liberty!
 

DontBlink

New member
Installed an Olympic Mountaineer Rack

6f7ff7f7.jpg


"Kids in the BACK SEAT may cause ACCIDENTS
ACCIDENTS in the BACK SEAT may cause Kids
So,........NO BACK SEAT=NO ACCIDENTS";)
 

VanIsle_Greg

I think I need a bigger truck!
Finally got a nice day on Saturday to do some more work on this. I got up early as my daughter usually wakes me up at 6 (ugh). Was out about 9, still a bit cold, but MAN what a nice day!! Spring is on the way folks, got up to 12 or 13 yesterday (55 for you south of the border).

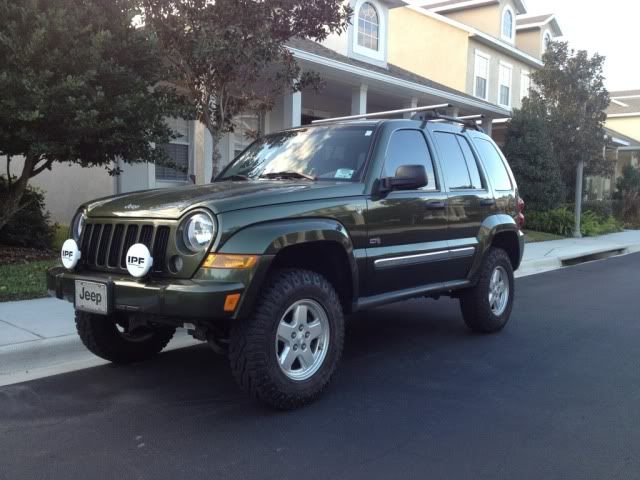
Anyhow, I started by finding locations to mount the light brackets I made for the under Jeep lighting. Mounted the lights and then set to wiring them all in. I ran each side of the front pairs together, then stopped at the firewall. I will rin them through a grommet as soon as I get all the interior wiring done.

20120204_121324.jpg


20120204_121317.jpg


Captain Split Loom they call me...

20120204_121333.jpg


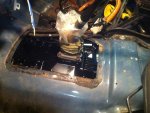
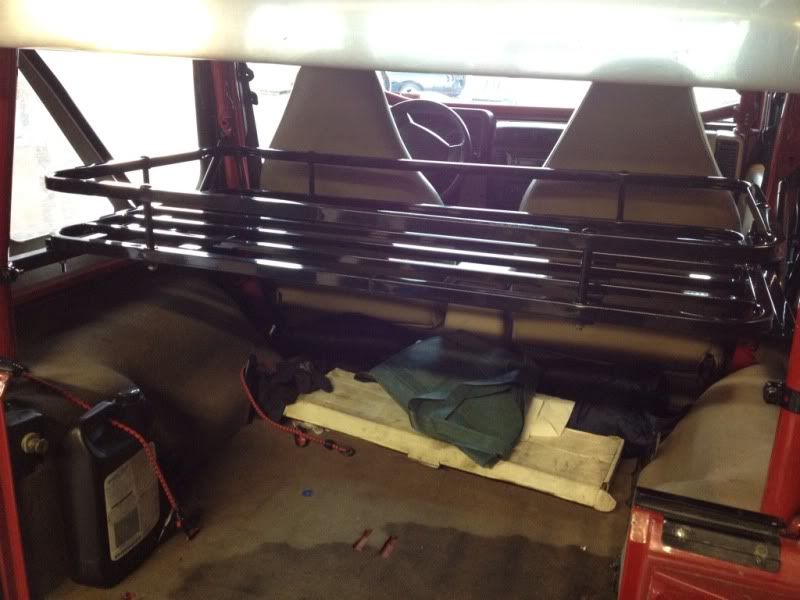
Then it was on to the relay box. I popped the cubby panel out of the back of the XJ, and found that the rubber clean out/drain plug is not sealing all that well in there. No rust, only some crud...cleaned that out first. I then ran the wiring for the power/ground etc. I ran 8 gauge power line from the battery all the way under the XJ to the rear. I used split loom anywhere it may chafe and used a TON of zip ties. I zipped it to the wiring that was run for my 7 pin trailer plug.

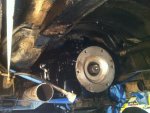
I wired in the 2 rear lights (supposed to be 4, forgot to order enough...fail), and ran the wires in through the black plastic plug by the tail light. I did this before for the trailer 4 pin tie in, and it seals up really well!

20120204_171244.jpg


One line is the left rear, one is the right, one is power from the battery. I FORGOT to do the hole for the roof lights and backup lights...doh! Hope I have enough space?

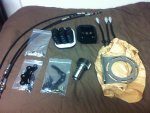
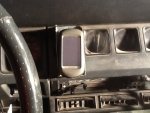
I then mounted the box to the cubby panel. Worked out awesome, as I was able to utilize the existing vent holes and run all the wires in there. I ran a 4 gauge ground, but forgot the ground fuse! Doh x2. I will pick one up this week, as well as some 4 and 8 gauge connectors and ring terminals. Anyhow...I am getting close, as I also ran the CAT5 from the rear panel to the switch panel. Nothing wired in yet, ready to go however.

20120204_173338.jpg


Tested the rear lights with an 18V drill battery in the rear. Even with only 2 out of the 4 I wanted to install, they are very bright!!

More to come this week!
 

smbisig

Adventurer
Finally installed my fridge slide in my Jeep YJ. Also mocked up some storage ideas with my pelicans, fuel and water cans.

ARB_FridgeSlide.JPG
 

beardus supremous

Adventurer
just ordered a Mile Marker 8000lb winch and some prerunner hoops for the front bumper. Finally debt free and just got tax money back. ****z going to get crazy next couple months
 

jeepdreamer

Expedition Leader
stuff...

Actually done on Monday and waiting on more parts...:)
 

Attachments

  • IMG_0540.JPG
    IMG_0540.JPG
    273.3 KB · Views: 27
  • IMG_0541.JPG
    IMG_0541.JPG
    167 KB · Views: 28
  • IMG_0542.JPG
    IMG_0542.JPG
    134.8 KB · Views: 26
  • IMG_0543.JPG
    IMG_0543.JPG
    126.6 KB · Views: 24
  • IMG_0544.JPG
    IMG_0544.JPG
    143 KB · Views: 26
  • IMG_0545.JPG
    IMG_0545.JPG
    233.2 KB · Views: 22
  • IMG_0546.JPG
    IMG_0546.JPG
    211.4 KB · Views: 23

nevadajh

Observer
SPOD

Today I installed the SPOD in my 2012 Rubicon. I have nothing but good things to say about it so far, very well made and super easy to put in. The hardest part of the whole install was when I dropped the accessory nut from the battery down inside the motor compartment (twice). :yikes: I ordered it on Monday and received it Wednesday (today). I do not have anything to hook up to it yet but I soon will. Next on the list is a Gobi rack and some off-road lights.

2012 Jeep Rubicon 10.JPG2012 Jeep Rubicon 11.JPG2012 Jeep Rubicon 12.JPG2012 Jeep Rubicon 13.JPG
 

jeepdreamer

Expedition Leader
Tomorrow...tomorrow...

Got the rest of the needed stuff in the mail yesterday so tomorrow is back to game on.!. In the pic is the new input shaft for the BlackBox gear reduction unit. Most of the rest is stuff associated with the reverse shifter assembly for the BB and the Dana 300. Also a mounting foot there too. :) Going from waiting to to much to do...hmm.. lol!
 

Attachments

  • IMG_0547.JPG
    IMG_0547.JPG
    204 KB · Views: 18

bldeagle10

Explorer
put shock boots on, managed to break some clips in the rear hatch latch and they are 13 a piece so over the seat I will climb for awhile...
 

nevadajh

Observer
Today I put on a Poweraid throttle body spacer for the 2012 Rubicon. Before putting it on the best MPG I have seen is 19.9 mpg. I will see if this makes any difference.
 

Bubblegoose1

@PNWINFERNOPRO
Today I put on a Poweraid throttle body spacer for the 2012 Rubicon. Before putting it on the best MPG I have seen is 19.9 mpg. I will see if this makes any difference.

Complete waste of money. Return it if you can. They just whistle and give you a tiny bit more off the line throttle response. No MPG gain.
 

Forum statistics

Threads
187,593
Messages
2,895,726
Members
228,596
Latest member
donaldsonmp3

Members online

Top