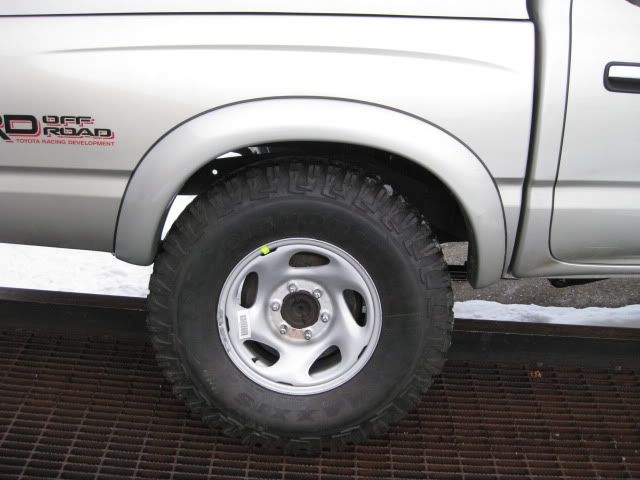
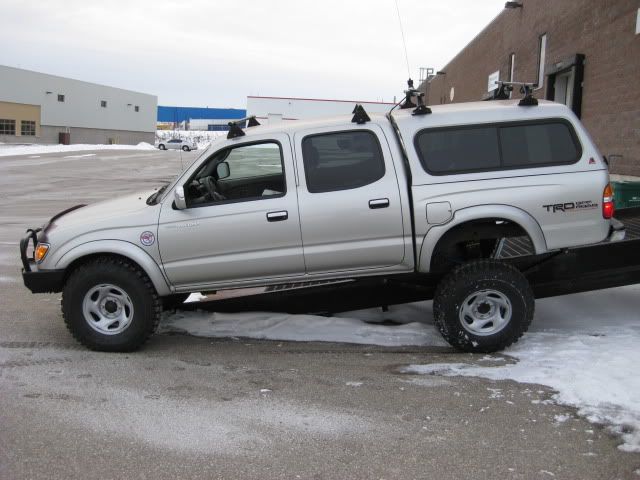
4307's Canadian Taco Build

4307

Adventurer
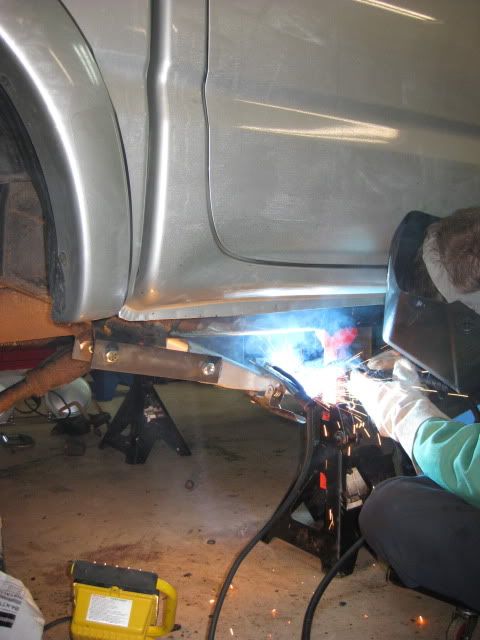
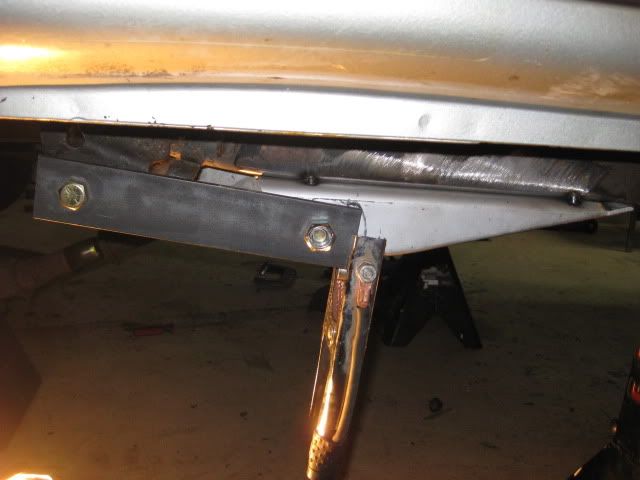
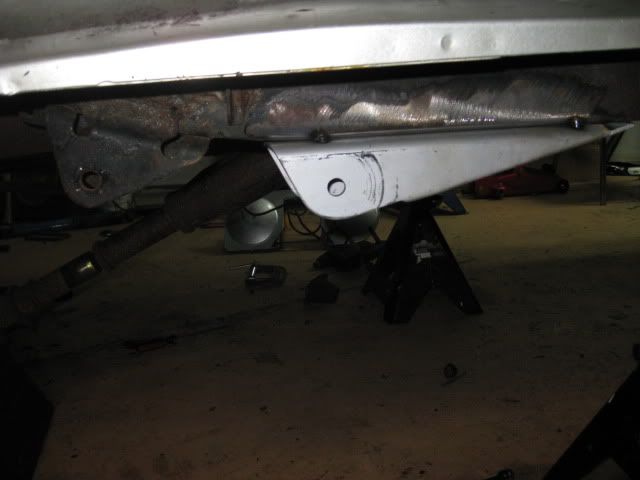
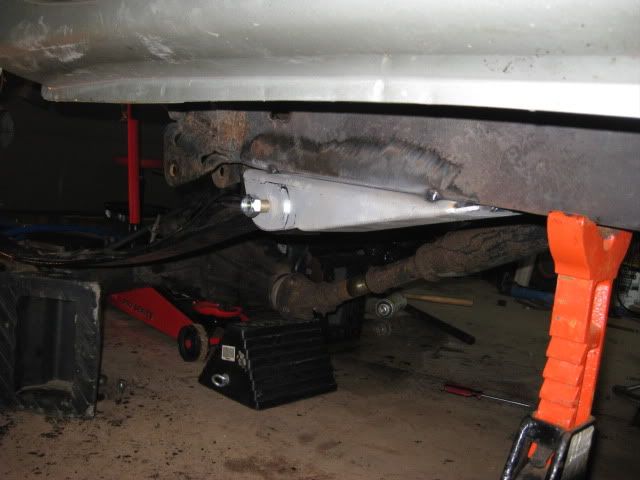
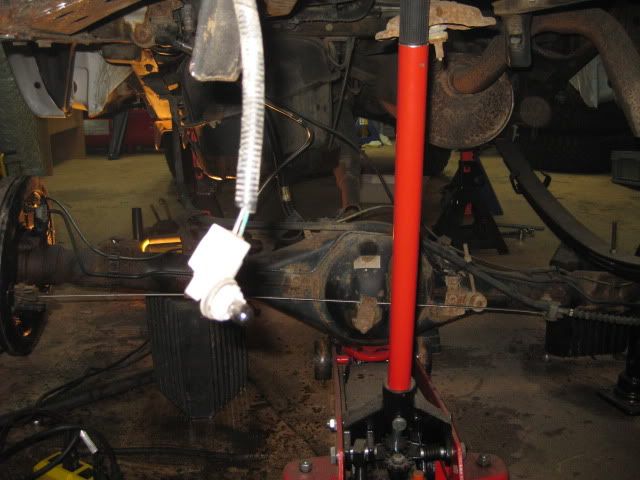
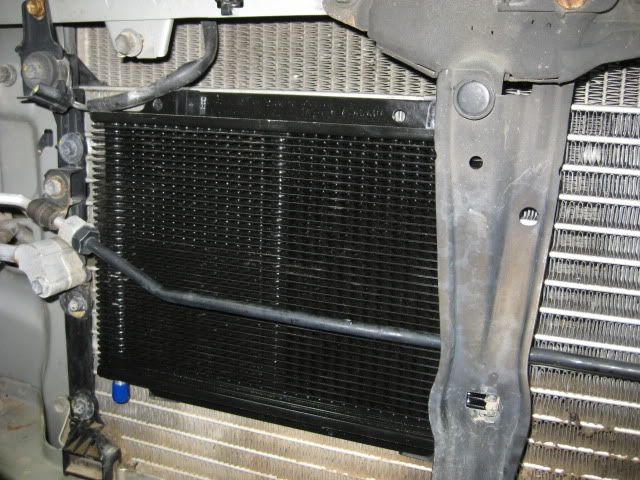
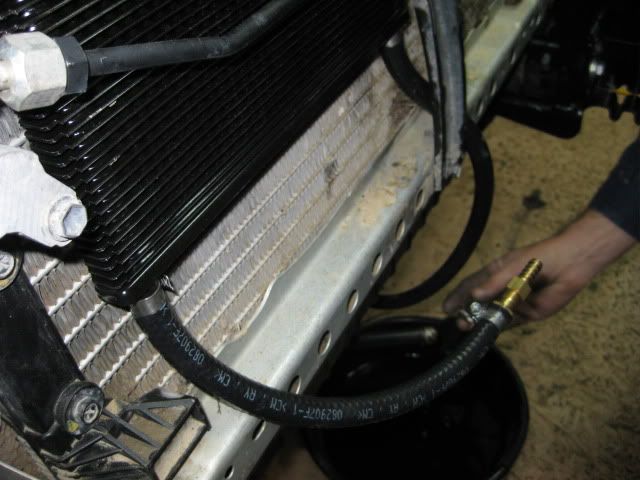
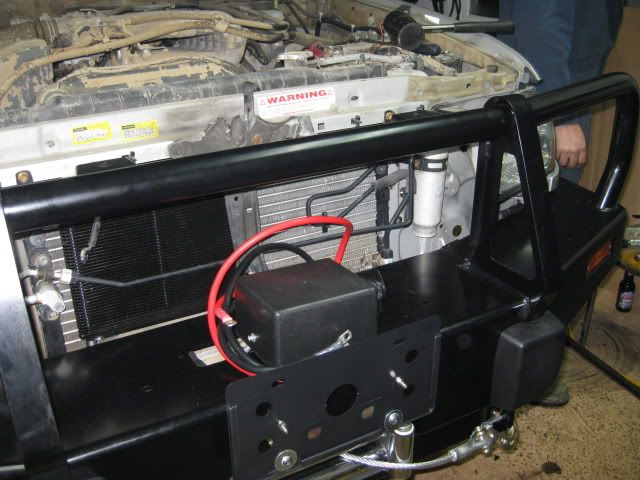
Before we mounted the ARB, the tranny cooler was installed.... easy install.

IMG_3729.jpg


IMG_3730.jpg


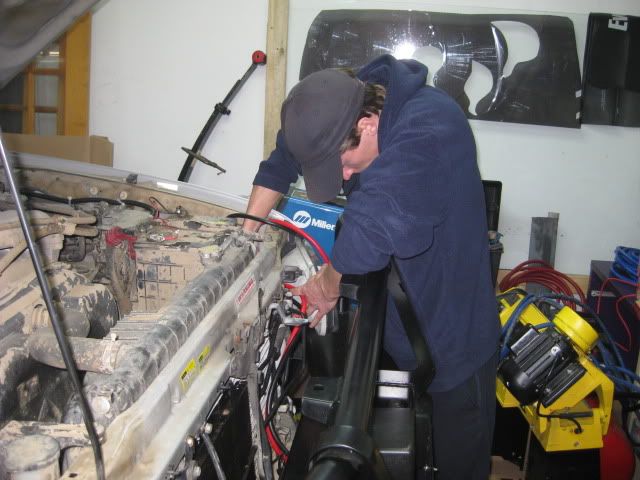
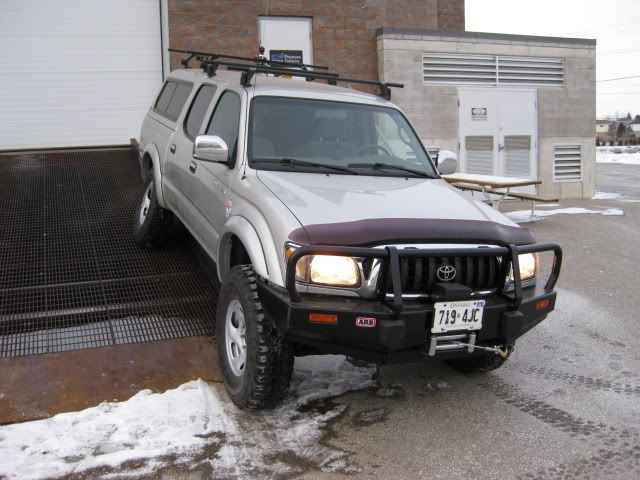
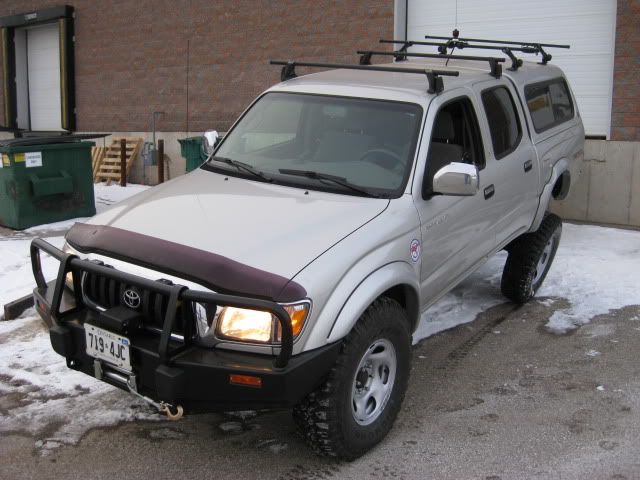
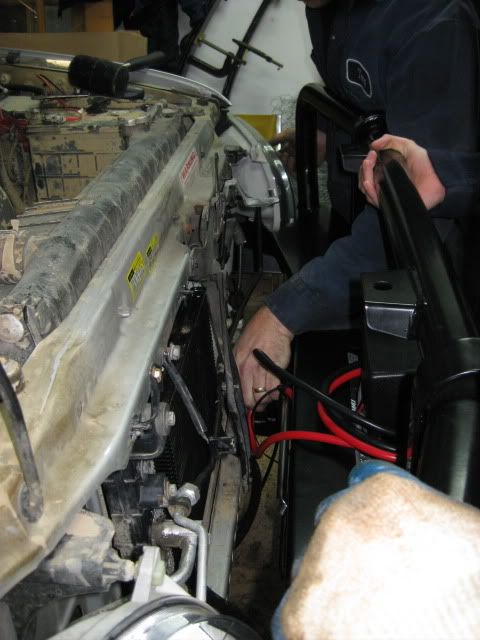
Winch cables were routed through the front engine bay to the battery.

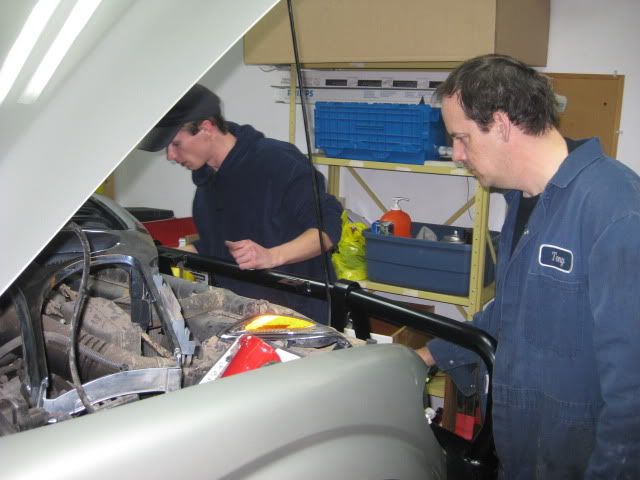
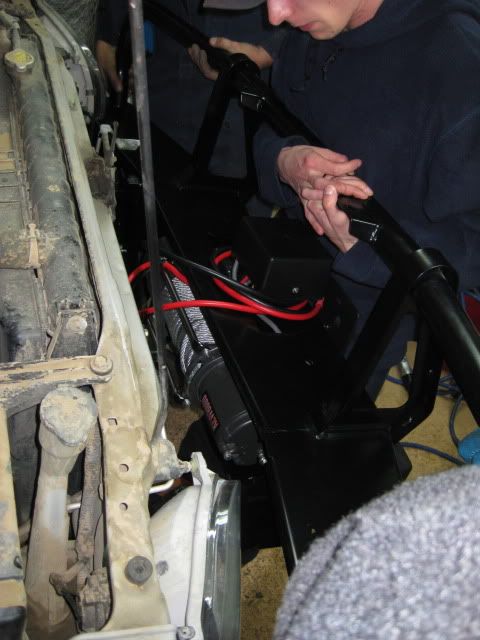
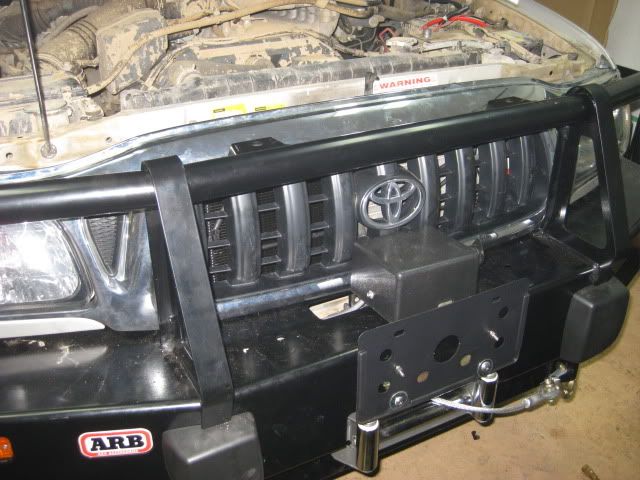
Alex, kev and myself lifted the bumper onto the frame crash can mounts.
This thing needed persuasion!
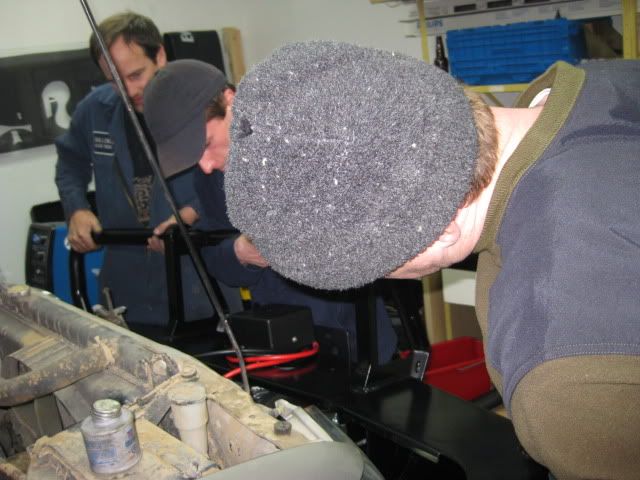
There were a couple issues with weld nuts on the upper passenger side crash can. The weld nut was either cross thread or had weld slag in the thread. We couldn't tell for sure, due to its awkward location. I'll have to drill it out and use a nut and bolt to fix this problem... spring project. I won't be winching anytime soon.

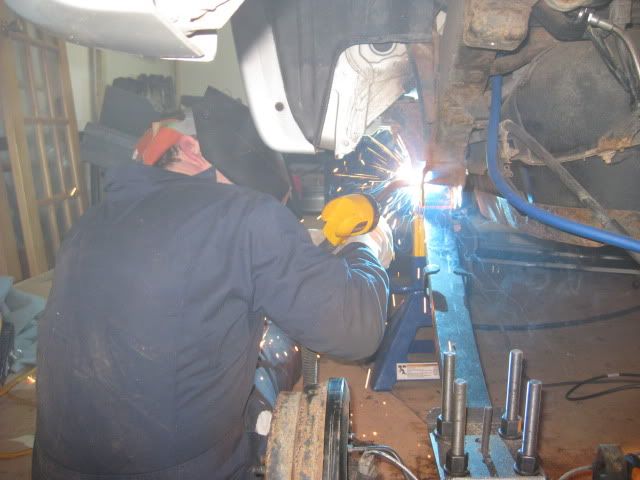
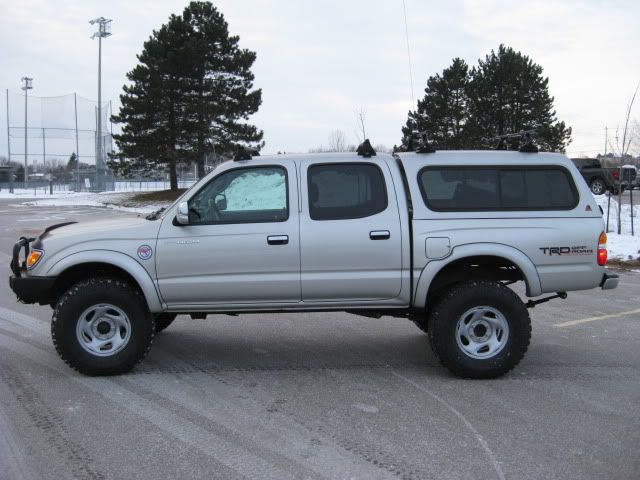
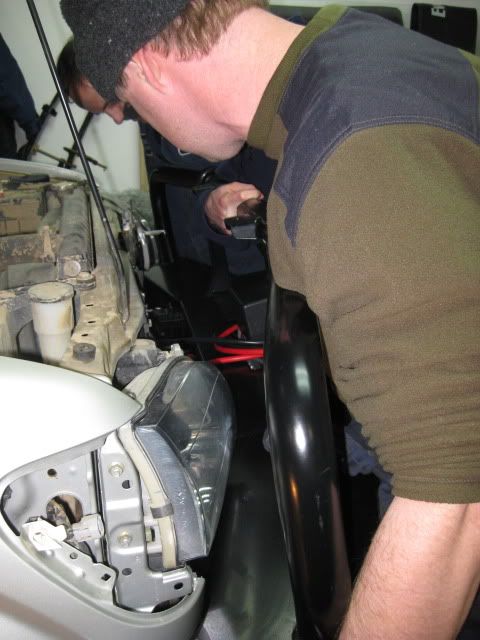
It took us a while to install the ARB but with brute force we managed to mount it.

IMG_3736.jpg


IMG_3735.jpg


IMG_3734.jpg


IMG_3733.jpg


IMG_3738.jpg


The front grill needed some modification to the mounts... like cutting them off. The mod was needed so we can squeeze the grill behind the ARB.. The grill should go on before the bumper. If I really wanted to pull the grill off, I don't have to remove the bumper... I hope!

IMG_3809.jpg
 

4307

Adventurer
After the Donahoe's were installed, the extended brake line were next. This was a PITA!... tight space.
We called it a night, we needed a 'flared nut wrench' to loosen and tighten the brake line fitting.

A trip to Canadian Tire in the morning, we found our wrench set.

Front brake line's were installed.

IMG_3811.jpg


Alex wired up the lights for the ARB and routed the cables for the winch.

IMG_3794.jpg


Alex & Kevin... in troubleshooting mode. :costumed-smiley-007

IMG_3797.jpg
 
Last edited:

4307

Adventurer
The next step was measuring and dismantling the rear.

Before I get into the chevy swap. I have to say, dismantling was not an easy task. Joys of the Canadian environment..
Every bolt on the truck was really stiff or seized. PB Blast was our friend, that and a couple breaker bars, breaker wrench and a BFH!
We shattered some cheap box end Power Fist wrenches during the tare down ... Get good wrenches for a job like this, it's worth it!
Anti seize was applies to most bolts at the time of install.

Back to the swap...

I set up a plum line.....hub center line (stock position) axle position in relation to the wheel well center line.

The first thing to go was the last bend in the stock tail pipe. This was done, to make way for the Chevy leaf springs.
The porta-band saw cut through the pipe in seconds.

IMG_3774.jpg


Started dismantling the stock suspension.... took a while.
The porta-band was really useful at this stage. The u-bolts were cut off.

IMG_3787.jpg


The stocker leaf springs were removed. Sarah and Hazel hung out for a while.

IMG_3760.jpg


IMG_3761.jpg


IMG_3771.jpg


New and old...

IMG_3790.jpg


The rear brake line was installed...

IMG_3783.jpg
 

4307

Adventurer
The new front spring hangers are bolted to the stock front hanger with brackets made to locate the new hanger 7. 5" forward. (This is a popular measurement when doing this swap).
In the end, I think the hanger could have been moved forward another
1/2'' on the truck frame..... not a big deal for me.

The Tacoma btw, is a 2004, 4 door TRD. In my research, I haven't found another 4 door Tacoma that has done the rear Chevy swap, so the 7.5'' forward measurement could not be confirmed... 8" may be a better measurement for this model.

Anyway... The truck frame was ground and prepped for welding.
The new hangers were tack welded to the frame.

IMG_3793.jpg


IMG_3796.jpg


IMG_3800.jpg


IMG_3801.jpg


IMG_3805.jpg


IMG_3810.jpg


While we were at it, the rear diff. breather was installed and tempararily located in the bed.

IMG_3820.jpg


IMG_3821.jpg


IMG_3822.jpg


IMG_3823.jpg
 

4307

Adventurer
The leaf packs were assembled and bolted to the front hangers.
Kevin and I, positioned the axle and assembled the U-blot flip kit.
The rear shackles and rear hanger were bolted to the leafs. We used the floor jack to lift the axle and springs up, so I can locate the rear shackle hangers on the frame.
Frame was prepped for welding.
The first shackle location wasn't quite right when everything was bolted together wheels mounted and truck was standing on its own.
Wheels came off, truck was jacked and shackles unbolted from the hanger.
The tack welds were cut off, then relocated the hanger, welded then reassembled everything. The new shackle angle is better, taking into consideration the weight I'll be carrying in the truck + the rear bumper.

IMG_3815.jpg


IMG_3812.jpg


IMG_3818.jpg


IMG_3819.jpg


Shocks... 10'' Bilstein 5125.
In order to mount these shocks, I needed a new place to mount the lower shock mounts. I fabricated lower shock mounts to be located on the axle tube.
I ran into a upper shock bushing issue. The bushings that come with the 5125's use a 1/2'' I.D. bolt sleeve. The upper shock mount (OEM) is a pin welded to the inside frame. The pin is 3/4'' pin, metric equivalant.
New upper bushing were needed and ordered.
Energy Suspension has a bushing for this application. Its listed as a universal product. The part # is 98106g.

IMG_3825.jpg


The new shock hangers were located on the axle. The passenger side had plenty of room. the driver side axle tube had hard brake lines blocking the hanger location on the axle tube. The hard lines were carefully bent and reshaped to make room for the hanger.

IMG_3843.jpg


IMG_3828.jpg


IMG_3831.jpg


IMG_3838.jpg
 

4307

Adventurer
With the suspension bolted together (not torqued) I cycled the rear suspension with the floor jack.

IMG_3842.jpg


IMG_3844.jpg


IMG_3845.jpg


Everything looked good.
I mounted the wheels and dropped the truck. the rear was sitting a little higher. I can fix this by making shorter shackles.... we'll see.

IMG_3854.jpg


IMG_3855.jpg


IMG_3849.jpg


IMG_3848.jpg


Everything looked good and cycled well. I took my time and fully welded the hangers then painted the exposed steel.

IMG_3862.jpg


The floor jack can only cycle the suspension so much.

IMG_3851.jpg
 

4307

Adventurer
When I ground off the rear OEM shackle hangers I nicked the tail light wiring harness. I rewired and soldered the repair, re-insulated the harness and tested the lights... time consuming.

Kevin came by after work and helped me bleed the brake lines.

The suspension was bolted together, torqued, and wheels mounted.
Kevin greased the rear shackle mounts, I did a bolt check and greased the drive shaft.

Everything mounted, bolted and greased, it was time to roll the truck out.

i rolled out the truck at 3 am.

There are a few things that need taking care of.
- trim the front inner fender plastic
- cut the rear U-bolt threads shorter
- cut the leaf spring centering bolt shorter
- alignment
- another bolt check and coilover hight adjustment.

The next day I cycled the suspension on a steel loading ramp, took a few pics and gave it a good test drive.
The ride feels solid, absorbs pot holes and speed bumps much better than stock. The ride is totally different than stock... big improvement. Off road test yet to be done.

The Chevy leaf swap turned out great!!!
I cycled the rear to see how much travel I would get.
I couldn't max out the flex because the leaf centering bolt needs to be cut down, it 2.5 -3" long, it would puncture the bump stops. The U-bolts also need to be cut down, they are 4" long.... no biggie.
The rear tire rubs the fender tupperware at this test compression.
I plan on cutting the rear fender in the spring. The cut will be just below the fender horizontal concave detail, just below the TRD sticker. The rear bumper will have quarter panel sliders, so the rubbing issue will disappear. With everything cut and trimmed I should be able to squeeze a few more inches of compression out of the rear.
A big bonus with the Chevy swap is, I can do a SAS in the front without worrying about major modifications to the rear. All I would need is longer shackles and shocks.

This is a 2004 Tacoma 4dr TRD.
The front hangers, for the Chevy springs, could have been moved forward 1/2'' - 3/4'' to center the tire in the wheel well at full compression. The new hanger distance forward from the original is 7.5 " forward. The new axle position is the same position as the OEM position, according to the plum bob. The front hanger moved 8'' forward from stock would have been a better position.. IMO. for my setup.
I'm trimming the bottom rear fender anyway, I'm good with the new axle position.

IMG_3886.jpg


IMG_3882.jpg


IMG_3883.jpg


The rear suspension is not maxed out, the U-bolt and leaf spring centering bolts need to be cut shorter.

IMG_3873.jpg


IMG_3872.jpg


IMG_3879.jpg


IMG_3875.jpg


IMG_3869.jpg
 

TangoBlue

American Adventurist
WOW! You got a lot knocked out in a short time. Your Tacoma looks really good with the modifications you put into it. Great job - looking forward to when you get that rear bumper installed!
 

laxtoy

Adventurer
absolutely awesome write up, i think more informative than any other chevy spring swap i've seen, cause my brain needs the pics! looks great man.
 

corax

Explorer
Excellent write-up and I'm stoked to see how the rear bumper turns out

One concern that I have is how much slack there is in this front brake hose and the possibility of it rubbing on the tire (is it a deceiving pic?) - from what I can tell there's no reason for the extra length, the caliper shouldn't move relative to the hose mount on the spindle.


Forum statistics

Threads
188,470
Messages
2,905,506
Members
230,428
Latest member
jacob_lashell
Top