Expedition.Report
Explorer
Wow Great build! Can't wait to see it with everything mounted!!
Keep the write-ups and pic's coming!!
Keep the write-ups and pic's coming!!
Excellent write-up and I'm stoked to see how the rear bumper turns out
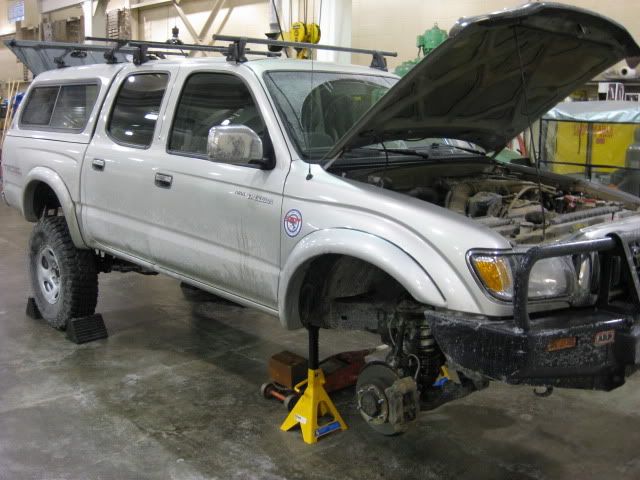
One concern that I have is how much slack there is in this front brake hose and the possibility of it rubbing on the tire (is it a deceiving pic?) - from what I can tell there's no reason for the extra length, the caliper shouldn't move relative to the hose mount on the spindle.
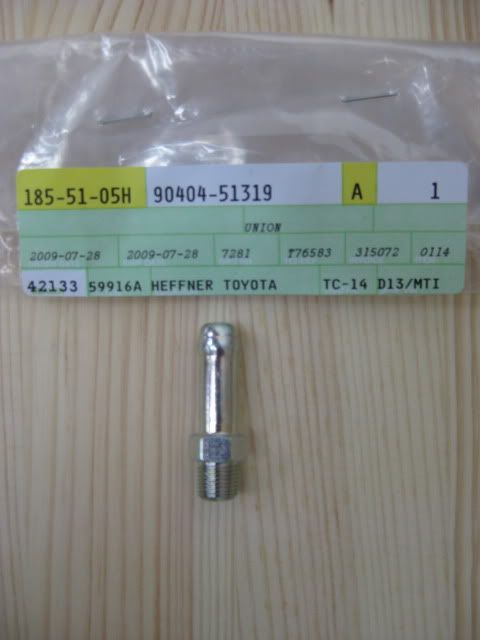
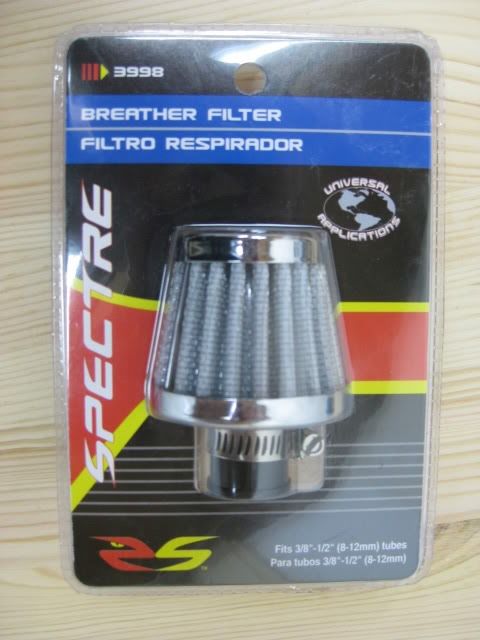
Am I looking at this photo wrong, is that entire gizmo the breather?
Thanks for the masonry bit tip.
I don't know if I should be more impressed by the truck:drool: or the tools:drool:.


What an awesome build. I've been following your thread since before I built my rear bumper.
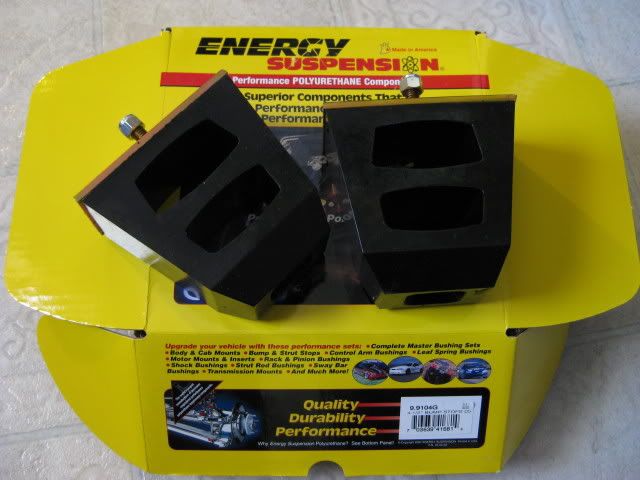
I read all your "new years" updates this morning. Very impressive work. I had one suggestion on bump stops for your consideration. Here is my logic/reasoning...
I built a rear bumper/swingout similar to yours and Willman's. When I was done, I had major rear sag issues with my stock/add-a-leaf/block combination, and the springs were squeaking like an upset pig. I decided to order custom Deavers (not having the export and shipping issues you have in Canada and not having your tools and skillset). After getting my first "9-pack" from Deaver, it was not high enough and they sent me another leaf. After adding that, and putting on my Timbren bump-stops, it rode just about right. When loaded, I was riding full-time on the bump stops. The Timbrens are a life-saver in that mode. I doubt you will ever ride that low, but the accordion-shaped Timbrens are the bomb! You don't even know you are riding on the bump stops when cycling the rear suspension off-road.
After a couple years of use, and replacing my original front puck lift with Camberg SAWs, my ride height was low again in the back. I wrestled with whether to go to air-bags or just throw a block back there. Since I rarely trailer, I threw a block back there this past weekend to get the ride height in the rear back and for now, that will do fine. Eventually, I may go to air bags.
All of this to say, if your loaded rear end with the bumper/swingout gets too heavy, having the Timbren bump-stops will save the ride quality. I am a big fan.
.
I would go ahead and put the bumper on; there won't be any more settling of the 63s.