Barn Door for JK factory hardtops

jscherb

Expedition Leader
I love that. I would make it twice as long in case somebody wishes to put more than one patch, or a long one with a name.

What's in the first production run is the same as this prototype that I sewed - there are short Velcro sections on each "shoulder", and a longer section on the back above the pocket flap. In this photo, the flag patch only uses half of the Velcro on the back; the patch would take up the entire Velcro section on each shoulder.

GreenProto5_zpsgc6qkorm.jpg
 

jgaz

Adventurer
Adding holes between the slots is an excellent idea.

Some tool box companies, such as snap on, call that type of tool storage panel "slots and dots". The slots are smaller than shown in your concept drawing but it may be a place to start, at least for a prototype. I'll look for a link I might have for a metal pegboard co.
 

jscherb

Expedition Leader
Some tool box companies, such as snap on, call that type of tool storage panel "slots and dots". The slots are smaller than shown in your concept drawing but it may be a place to start, at least for a prototype. I'll look for a link I might have for a metal pegboard co.

Thanks, I'd be interested in seeing that. It doesn't seem like there's enough interest in the idea to make a prototype though.
 

jscherb

Expedition Leader
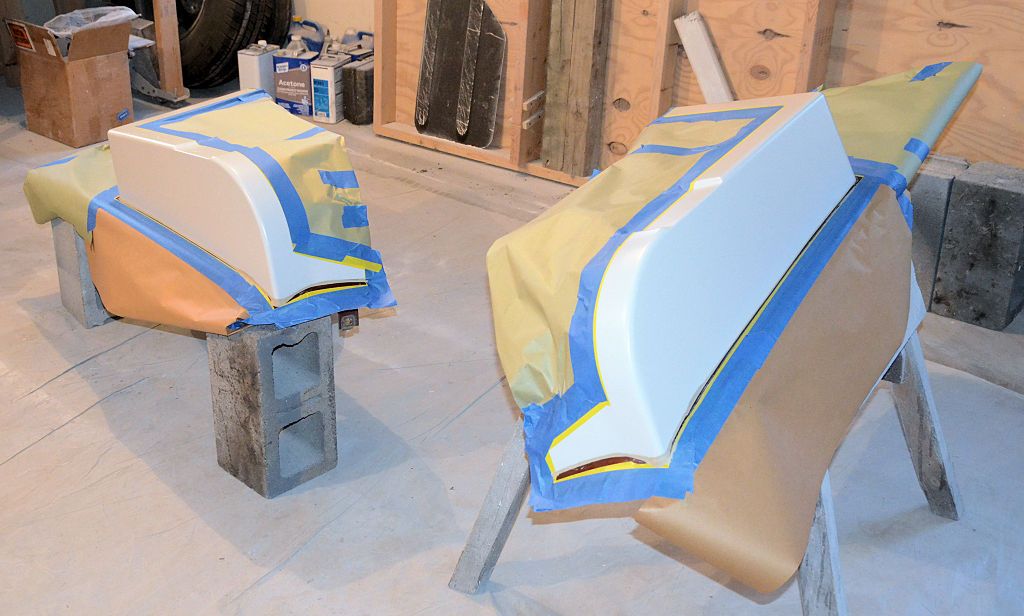
Today I'm starting to make the molds for the flat fenders. In this photo they're prepped and ready for the application of mold release.

MoldMakingPrep_zpsc7c4rsly.jpg
 

jscherb

Expedition Leader
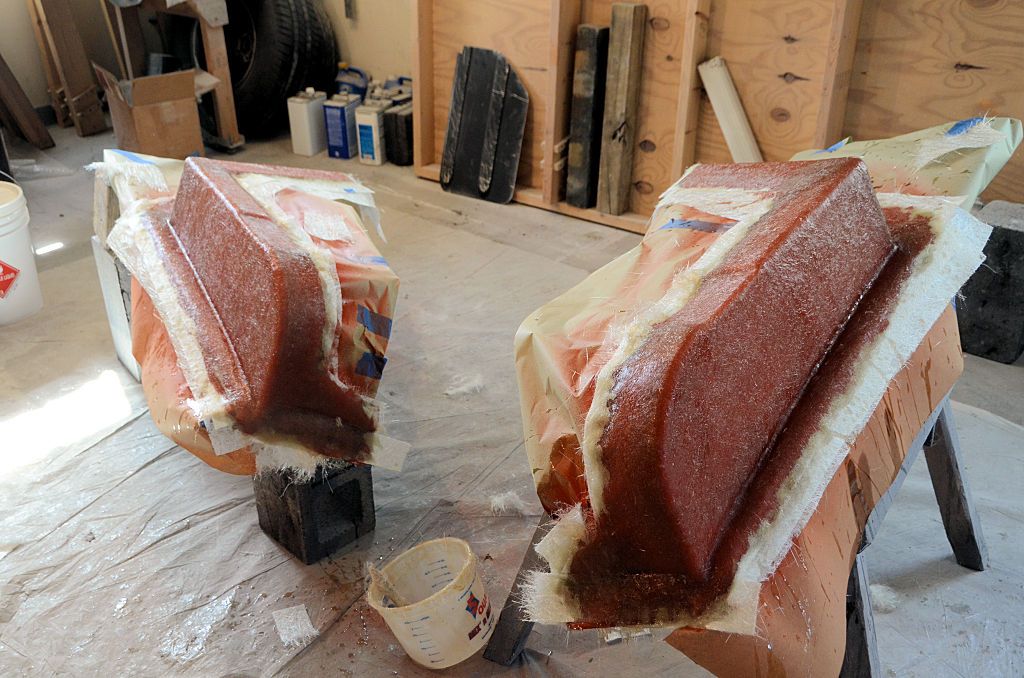
Step 1 of the mold making process is done. Because of the shape of the fenders, the molds have to be made in two pieces in order for the fender to release, so today I made the main part of the mold - tomorrow I'll remove the molds and mold master fenders from the factory metal fenders they're clamped to (there are factory metal fenders under all that tape and paper) and I'll make the second parts of the molds.

MoldMakingLayup_zpsmduvlnmc.jpg


If it's not clear what I mean by two piece molds, stay tuned and I'll explain tomorrow when I start working on the second parts.
 

akpostal

Adventurer
I enjoy watching the progress of your projects. Looking forward to the end products.

Im going nuts waiting on the parts for the rack you outlined for me.
 
@Jeff it's been a very long time since I've seen this done and actually did some of these mold making but on a larger scale.. Always hated getting small strands of fiberglass on my cloths, the resin is bad also..
 

jscherb

Expedition Leader
@Jeff it's been a very long time since I've seen this done and actually did some of these mold making but on a larger scale.. Always hated getting small strands of fiberglass on my cloths, the resin is bad also..
I have a special set of old clothes (including shoes) just for fiberglass. I keep them in the garage so none of the mess ever gets in the house. There's no way molding fiberglass parts won't be a messy job.
 

jscherb

Expedition Leader
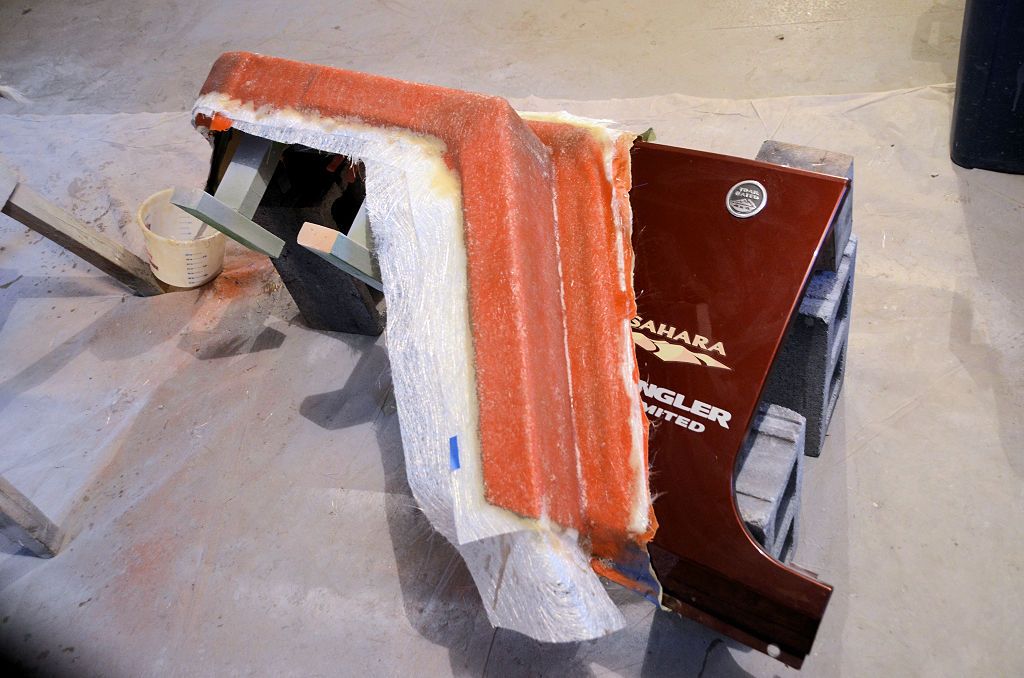
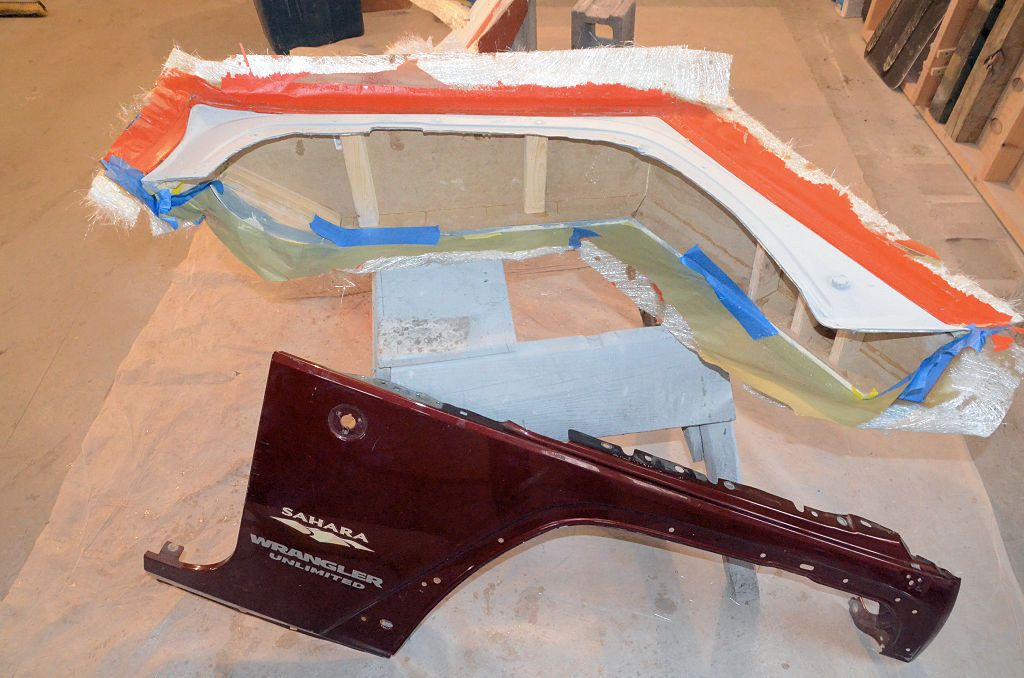
The first task in the flat fender mold making process this morning was to take the yesterday's molds apart. In this first photo, I'm starting to remove the masking paper, I posted this photo to show how I made the mold with the flat fender clamped to a factory metal side fender.

MoldPart1-1_zpsupm2wath.jpg


Once the tape/paper is off and the clamps are removed, the mold just falls off the factory metal fender. The metal fender is not harmed. The white part is the mold master fender and the orange part is the new mold. I am not going to take the mold master fender out of the mold at this point.

MoldPart1-2_zpskxjccljq.jpg


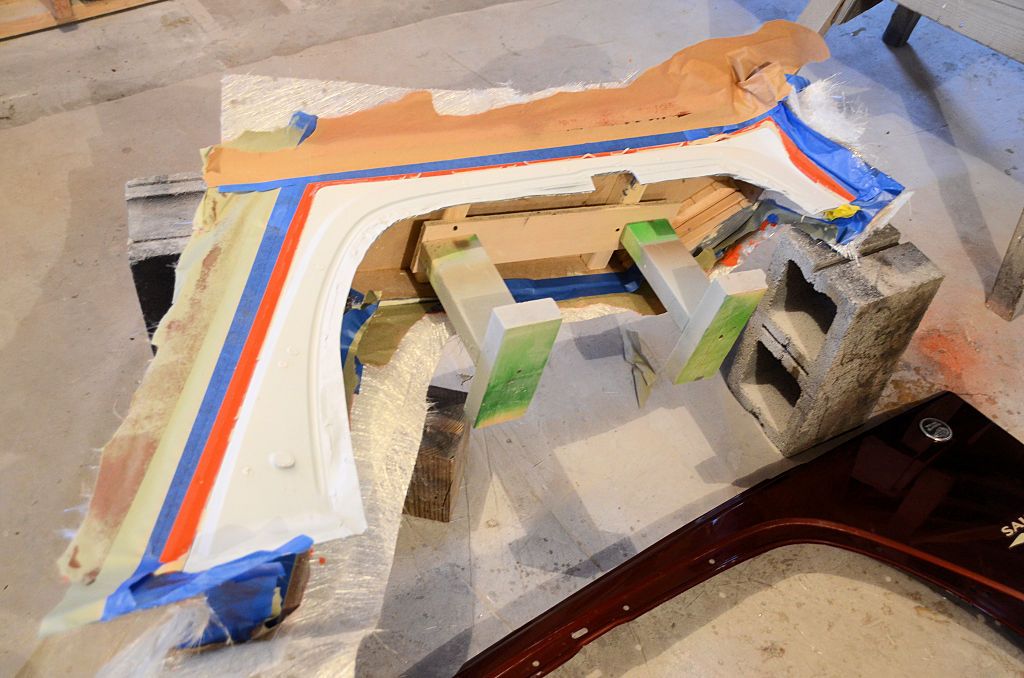
In this photo (of the other side mold this time) I've removed the rest of the tape near the fender mounting flange. What I'll do next is prep the mounting flange and the visible part of the orange mold with wax and mold release, and I'll lay up fiberglass against that surface. The mold release will prevent the new work from sticking, and when it's cured I'll end up with a two part mold - the first part that I made last night (and haven't removed from the master fender yet) and a flange part, which will bolt up to the first part to make a complete mold. Fenders will be molded with the two parts of the mold bolted together; when it's time to remove the cured fender from the mold the flange part of the mold will be unbolted and removed, and the fender will slip out of the main part of the mold.

MoldPart1-3_zpsgbobnbxg.jpg
 

Comanche Scott

Expedition Leader
I have a special set of old clothes (including shoes) just for fiberglass. I keep them in the garage so none of the mess ever gets in the house. There's no way molding fiberglass parts won't be a messy job.

I don't know Jeff. Seems like we've all got front row seats for this, but our clothes are staying clean. ;)
Thanks for taking the time to do the detailed write up. Seems like your methods can be used for pretty much any project.
 

jscherb

Expedition Leader
I don't know Jeff. Seems like we've all got front row seats for this, but our clothes are staying clean. ;)
Thanks for taking the time to do the detailed write up. Seems like your methods can be used for pretty much any project.

C'mon over, I'll put you to work laying up fiberglass and then you'll get the full experience. We could do a "make and take" session like they do for the kids on Saturday mornings at Home Depot :).

There's nothing in the techniques I'm using that couldn't be applied to pretty much any fiberglass project - custom hardtops, fenders, trailers, whatever...
 

Forum statistics

Threads
188,266
Messages
2,904,733
Members
229,805
Latest member
Chonker LMTV
Top