Metcalf
Expedition Leader
....and then I made a corner panel
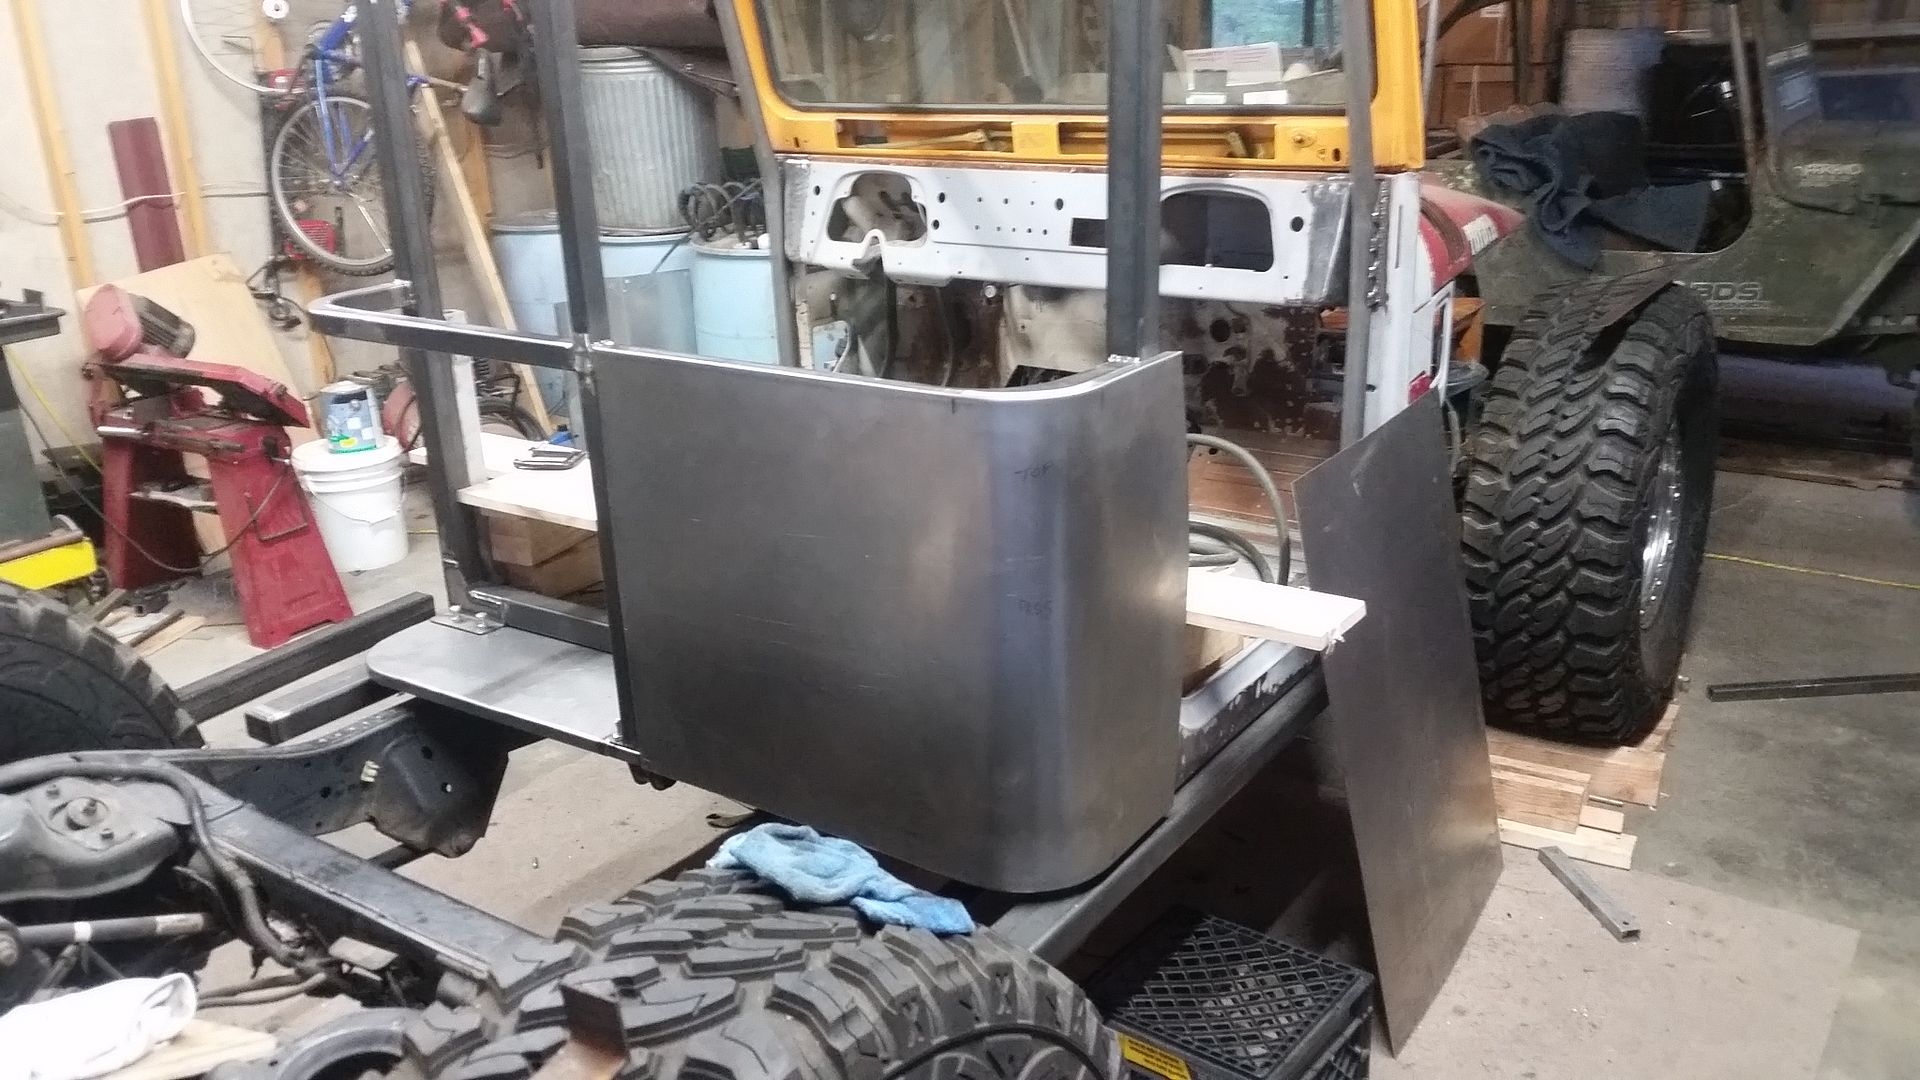
Well, I am actually very surprised that worked as well as it did.
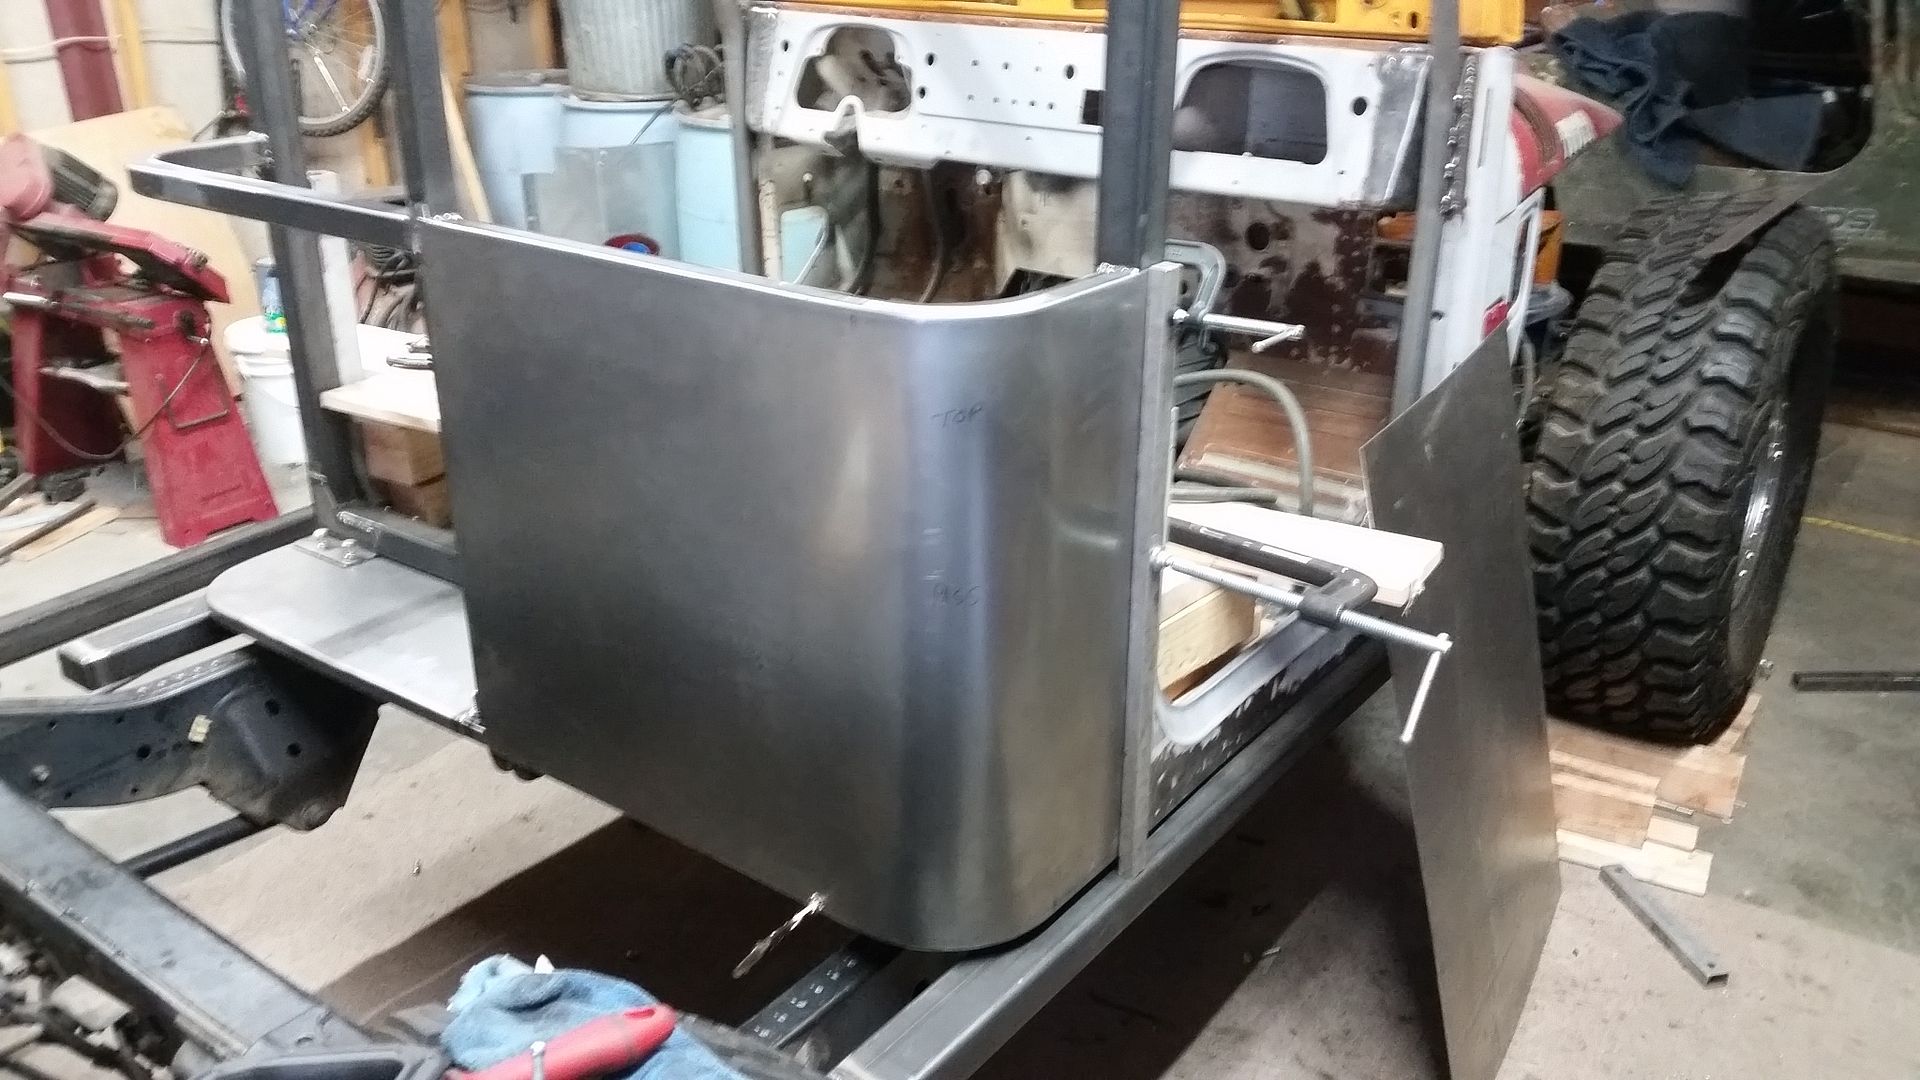
This is the basic door to C-pillar cab corner panel I made. The 1st step was cutting be blank. That was pretty easy. Then I had to form a flange on two sides. That took a decent amount of time, some angle iron, various hammers, and I should have probably used ear protection. Once the flanges where formed on the top and bottom of the panel I marked out where the shrinking would have to happen on each flange to form the corner. Before I could shrink the flanges I needed to finish my shrinker stand. It would be almost impossible to shrink a flange on a panel this size without it....or perhaps a spare hand or ten.
Overall I am happy with the panel, but I still need to make another for the opposite side. I also need to trim each panel to fit.
Some details....
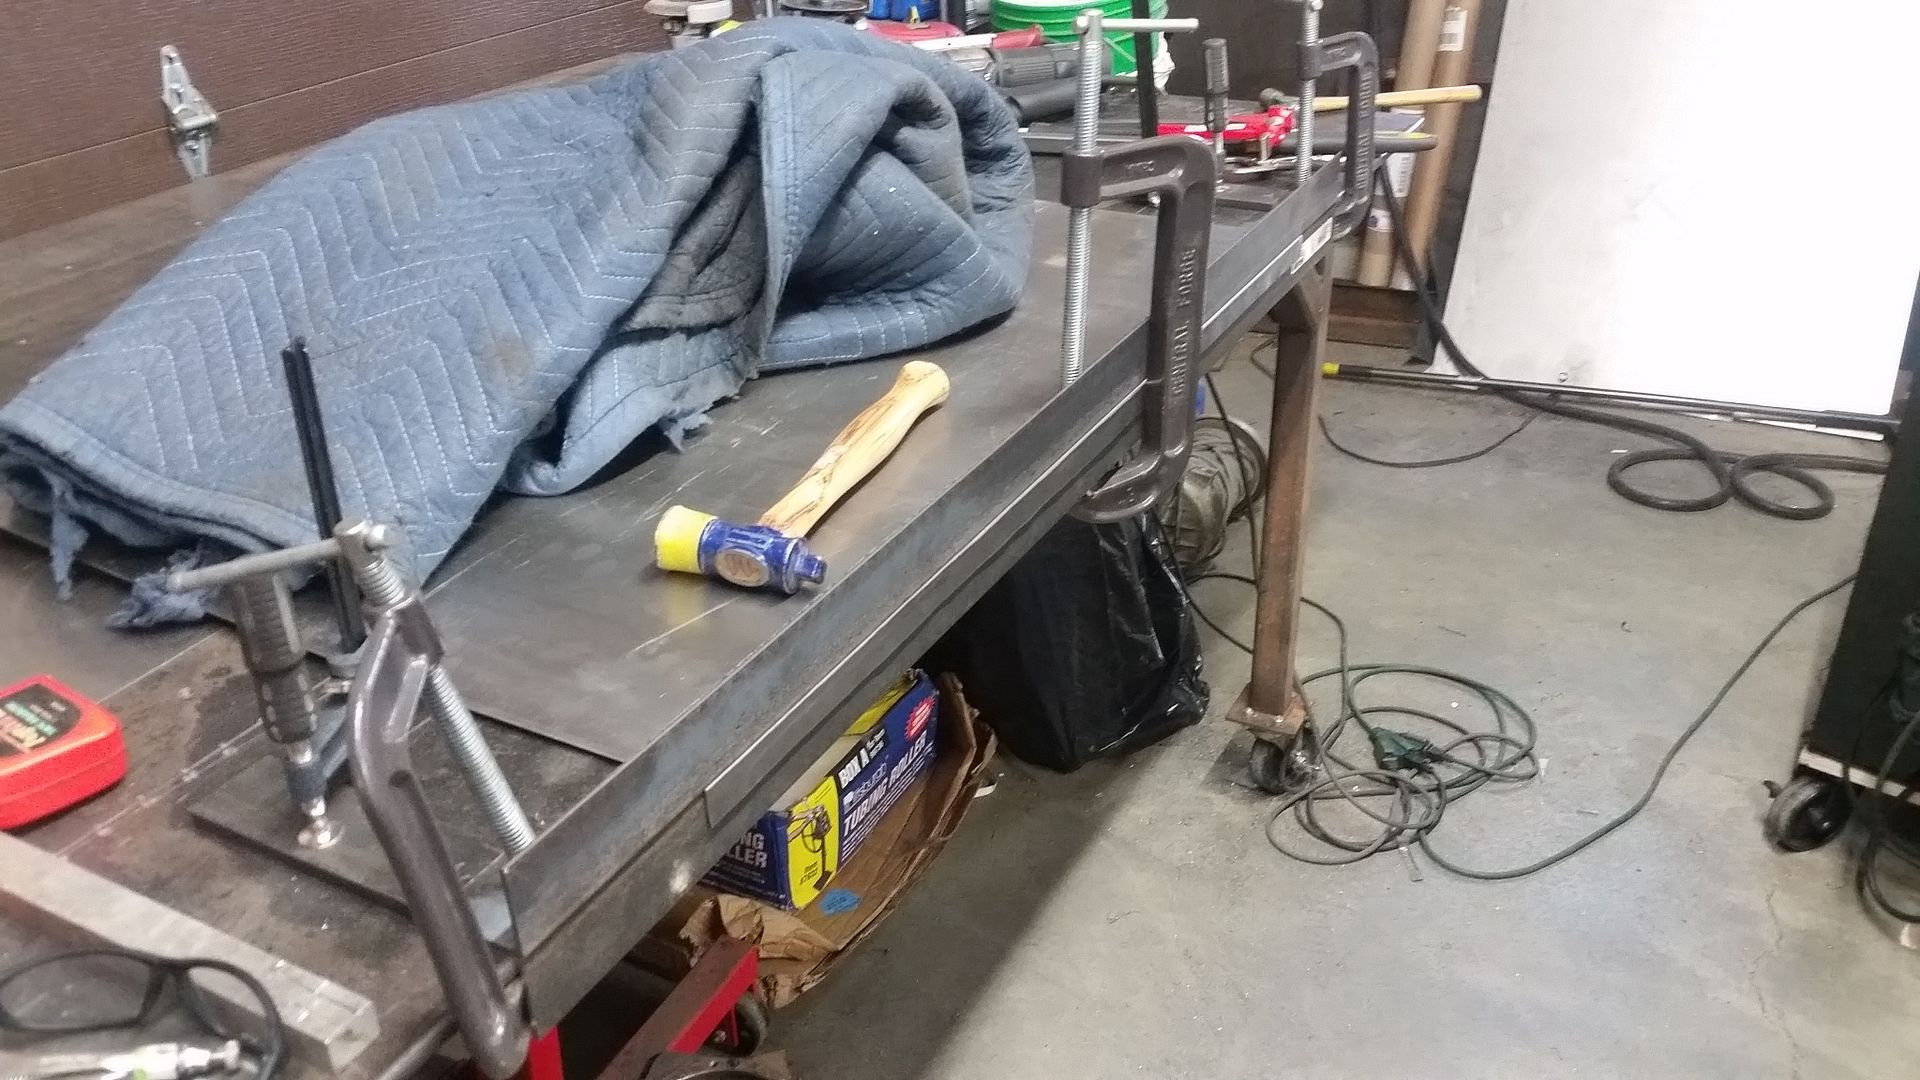
Here was my super exotic setup for making the flanges on each side. Basically I just clamped the panel between two pieces of angle iron and hammered the flange over carefully. I ended up using a combination of the air hammer, a nylon face hammer, and finally a steel body hammer to get the corner sharpness I wanted. Since the flanges where far enough apart, I could just clamp the 2nd flange with a slight bow in the panel instead of needing to come up with a more exotic jig. The blanket on top helps quiet down the rattle from the hammering.
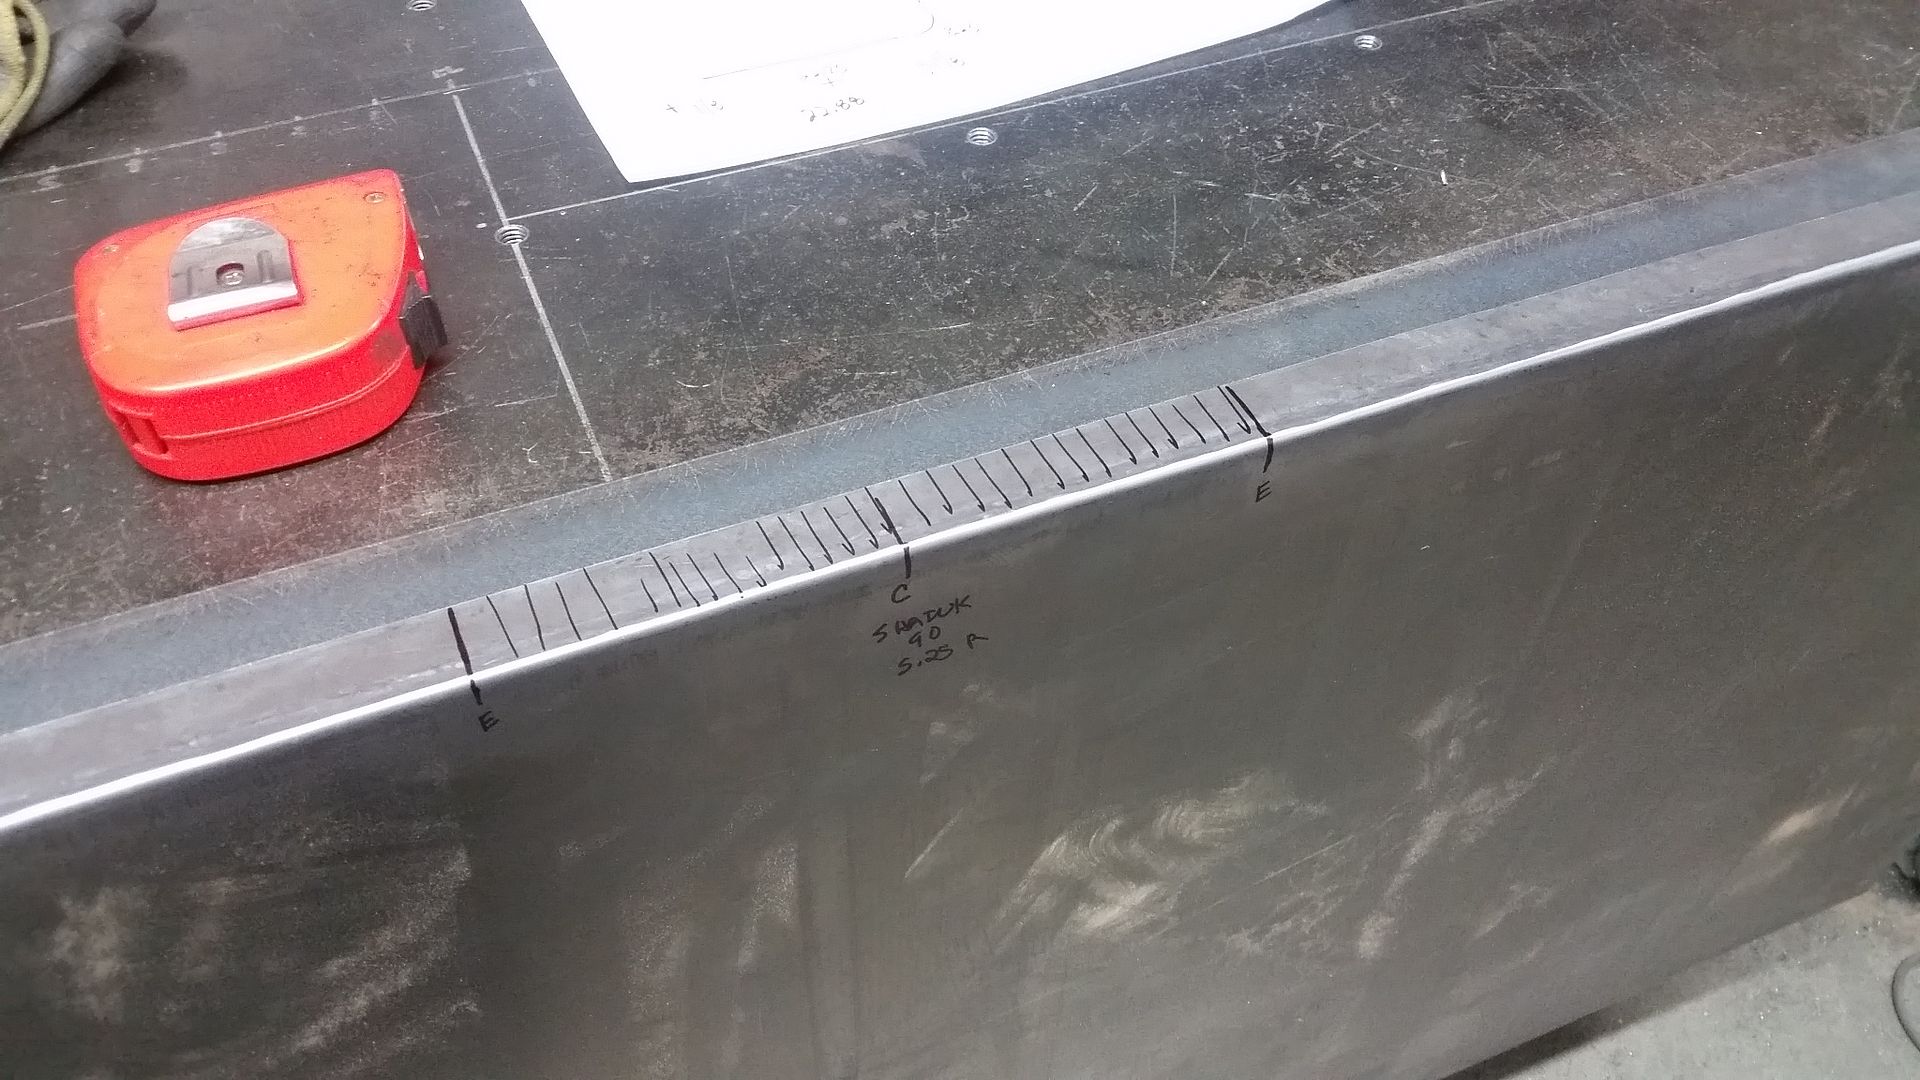
I used a little math to figure out where the shrinking needed to happen for the corner. I used some sharpie to make notes and mark everything. The end lines need to be redone a few times as your hands and the shrinker wear the marks off. You don't want to be shrinking outside the area you need for the corner or else the corner radius will not match up.
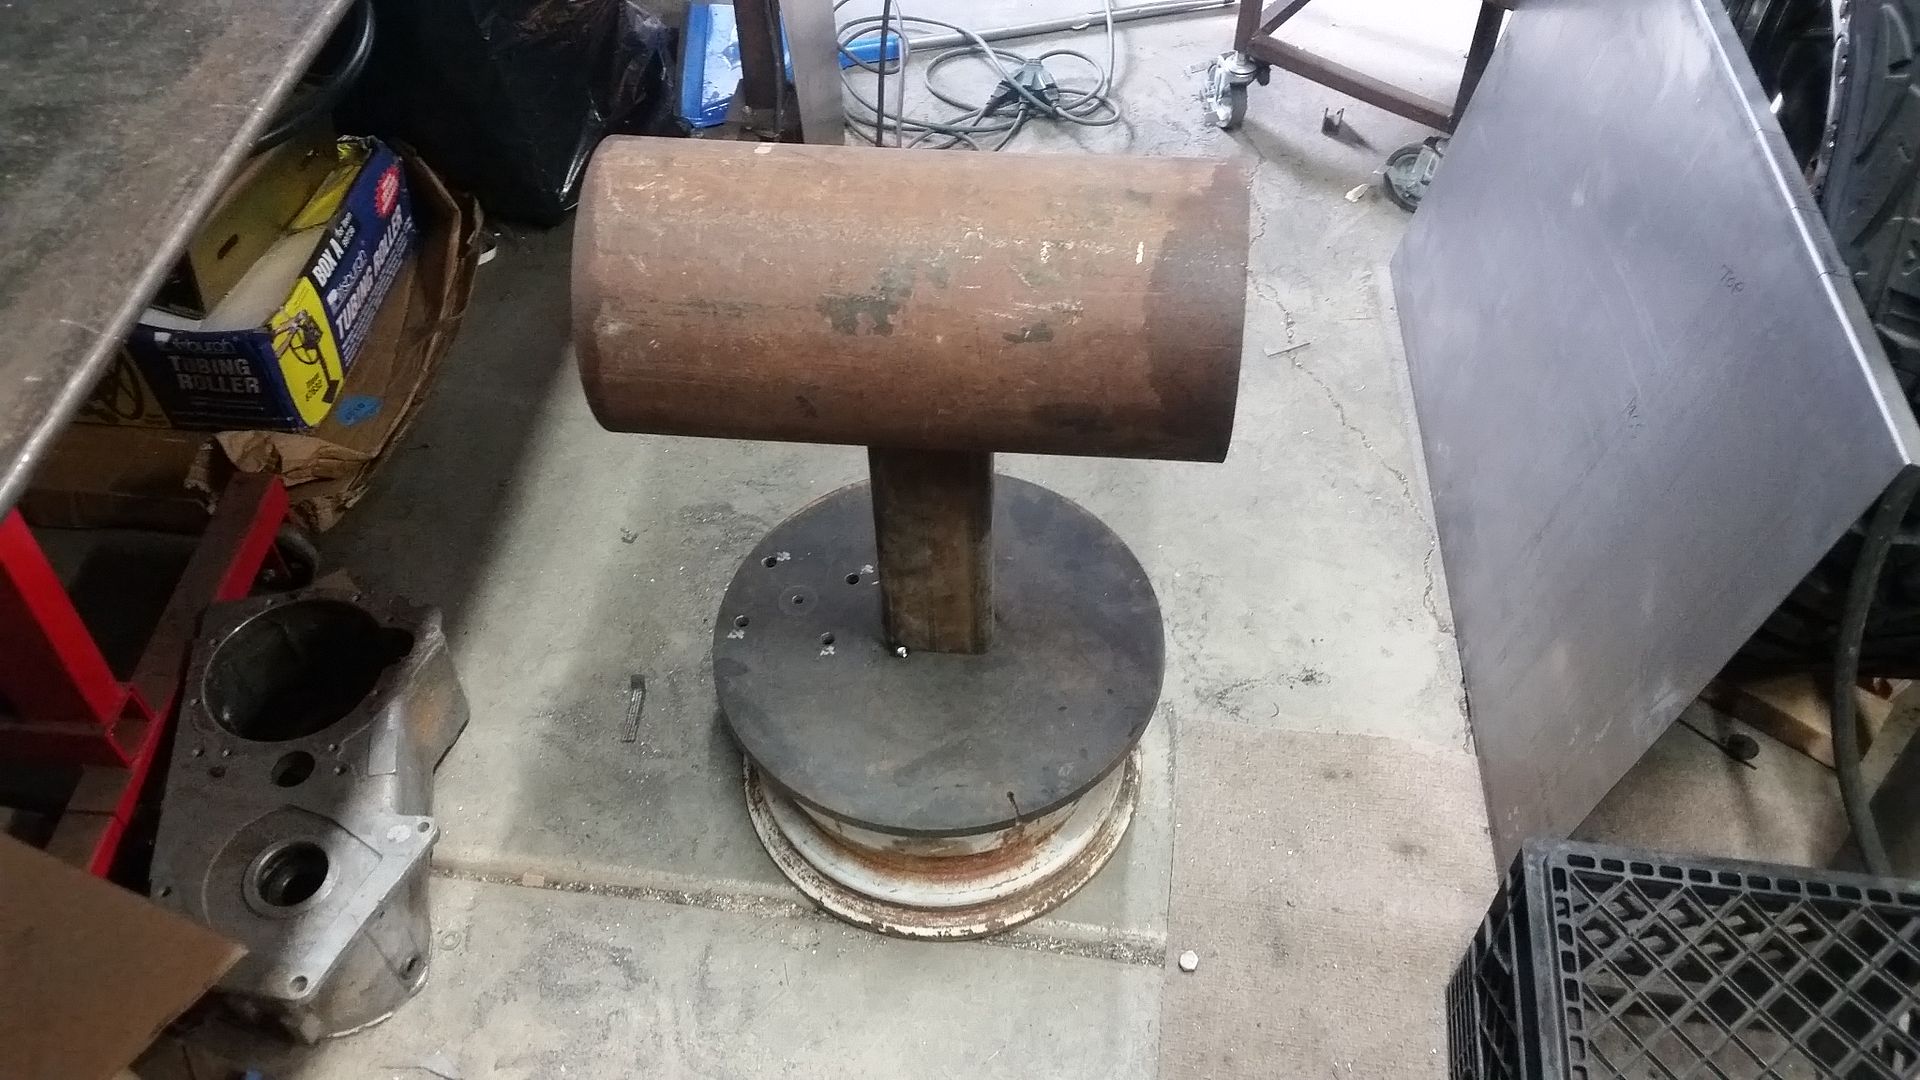
This was the buck I knocked up to help me form the corner. I didn't end up using it as much as I thought I would. The flange shrinking did most of the work I think with forming the corner radius. I did end up draping a towel over this and using it to help 'bump' the corner a few times by laying on top of the panel. I don't think it did that much, but if you are too aggressive with it, you will warp the flanges past the bending area. I think it helped a little but I don't know if you need it for sure.
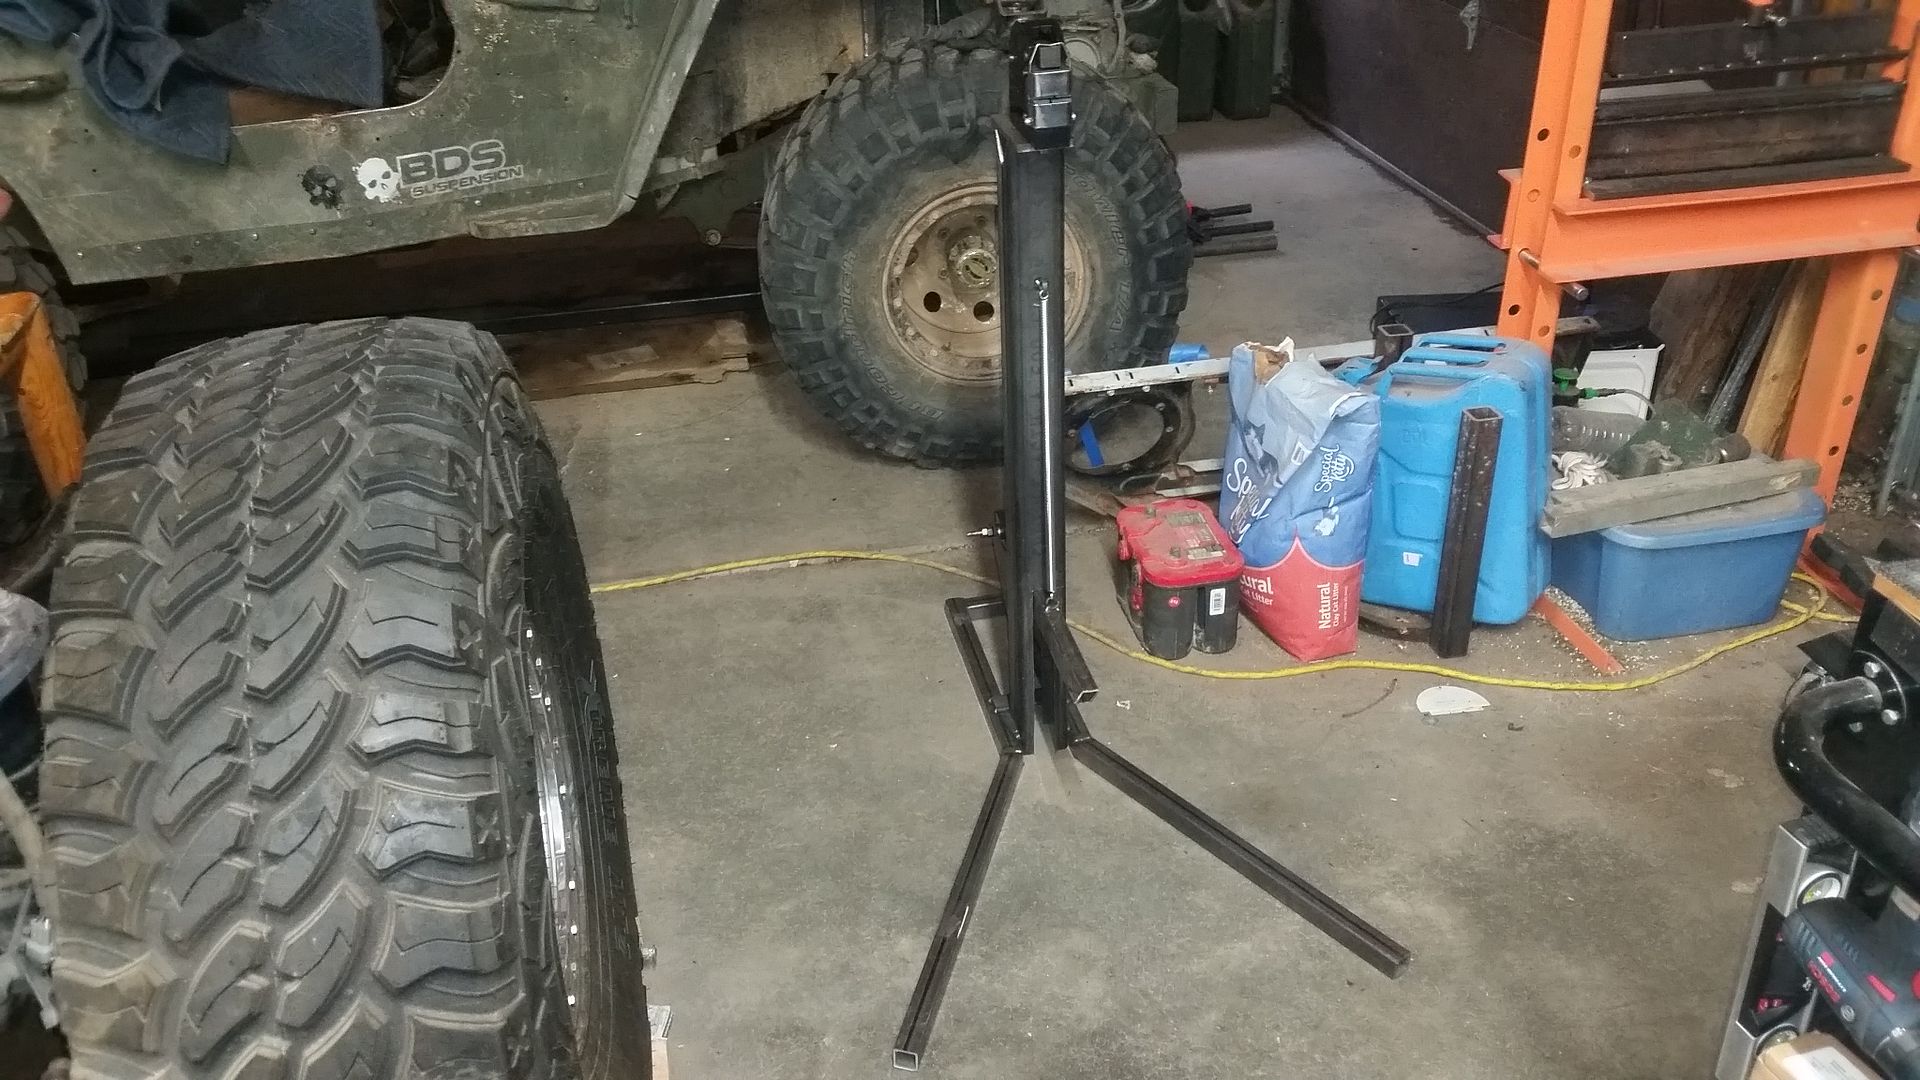
I made some legs for the shrinker stand contraption. It ended up working pretty well. It did take time to get the 16 gauge material to shrink. I lost count of how many passes I did. I would guess it was dozens. You are not trying to do all the work at once. My hands and arms where sore after I got done for sure. This panel isn't a light weight piece!
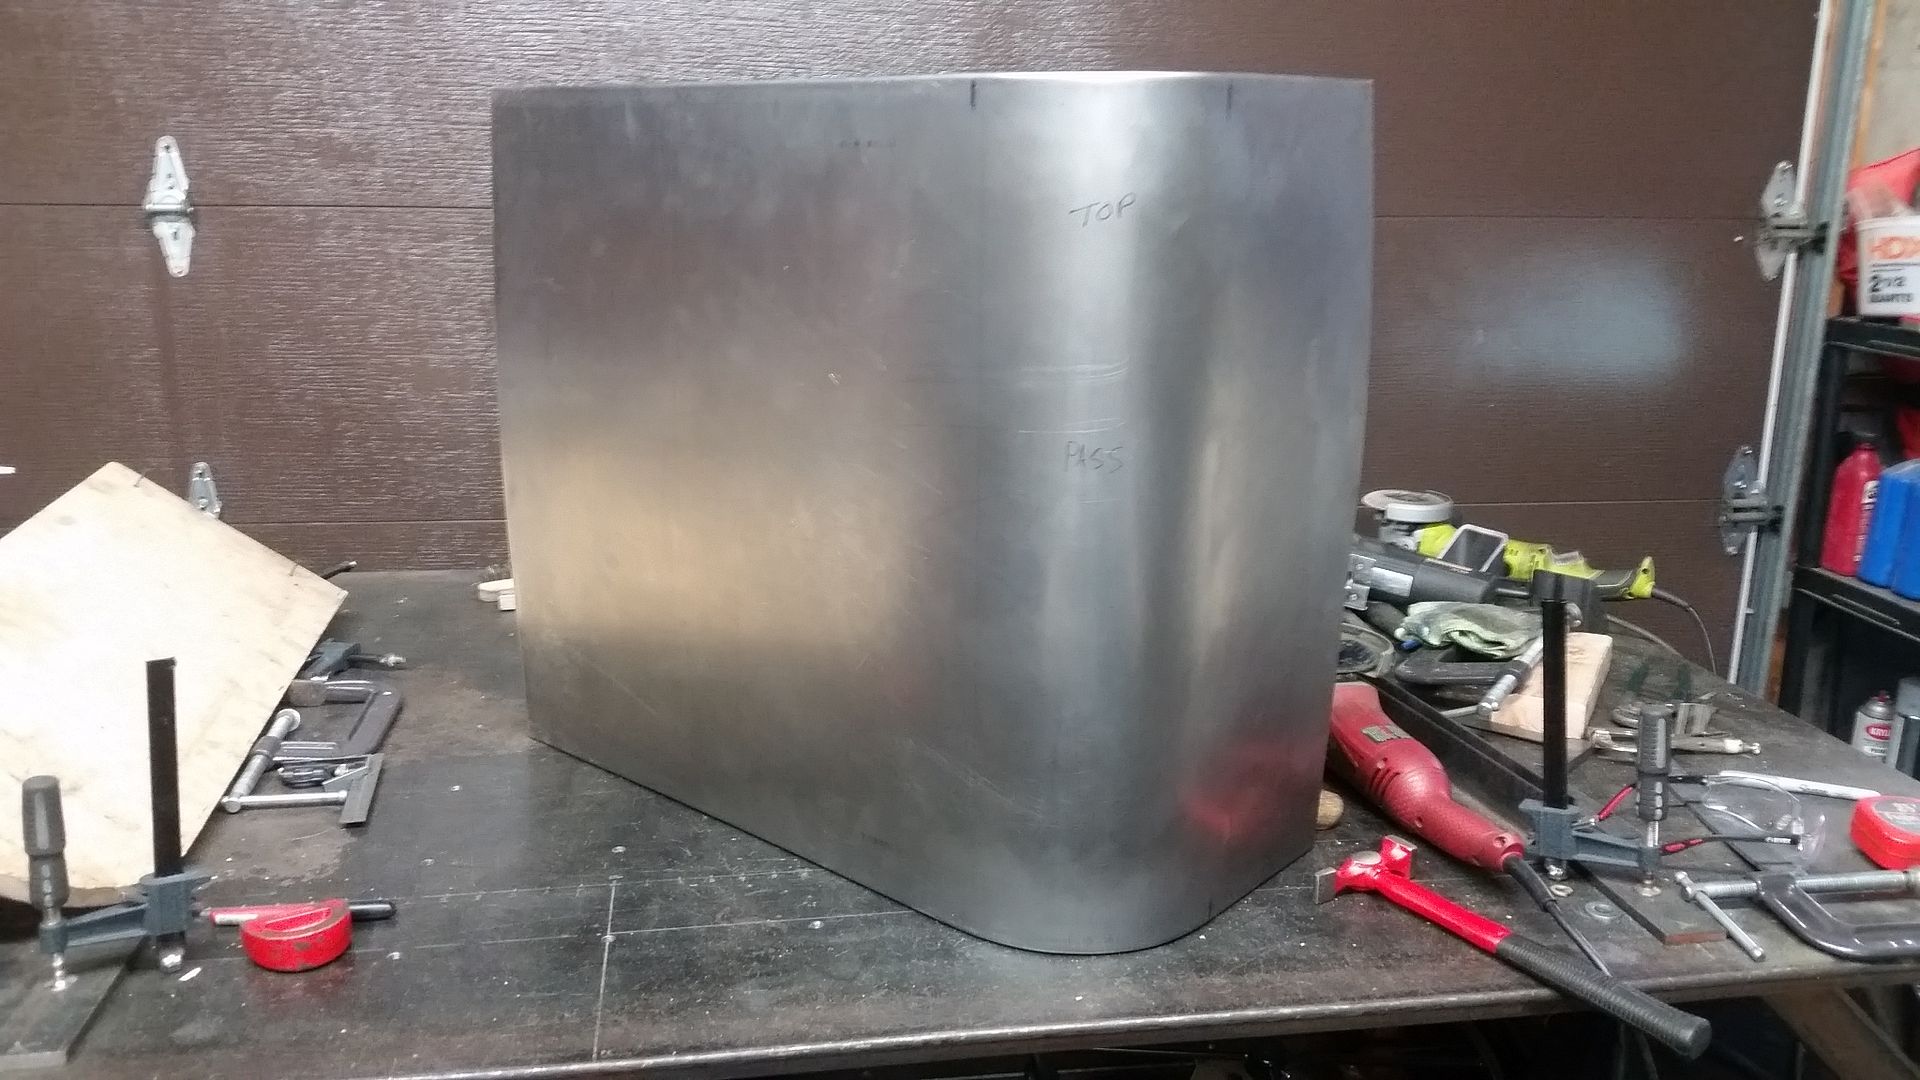
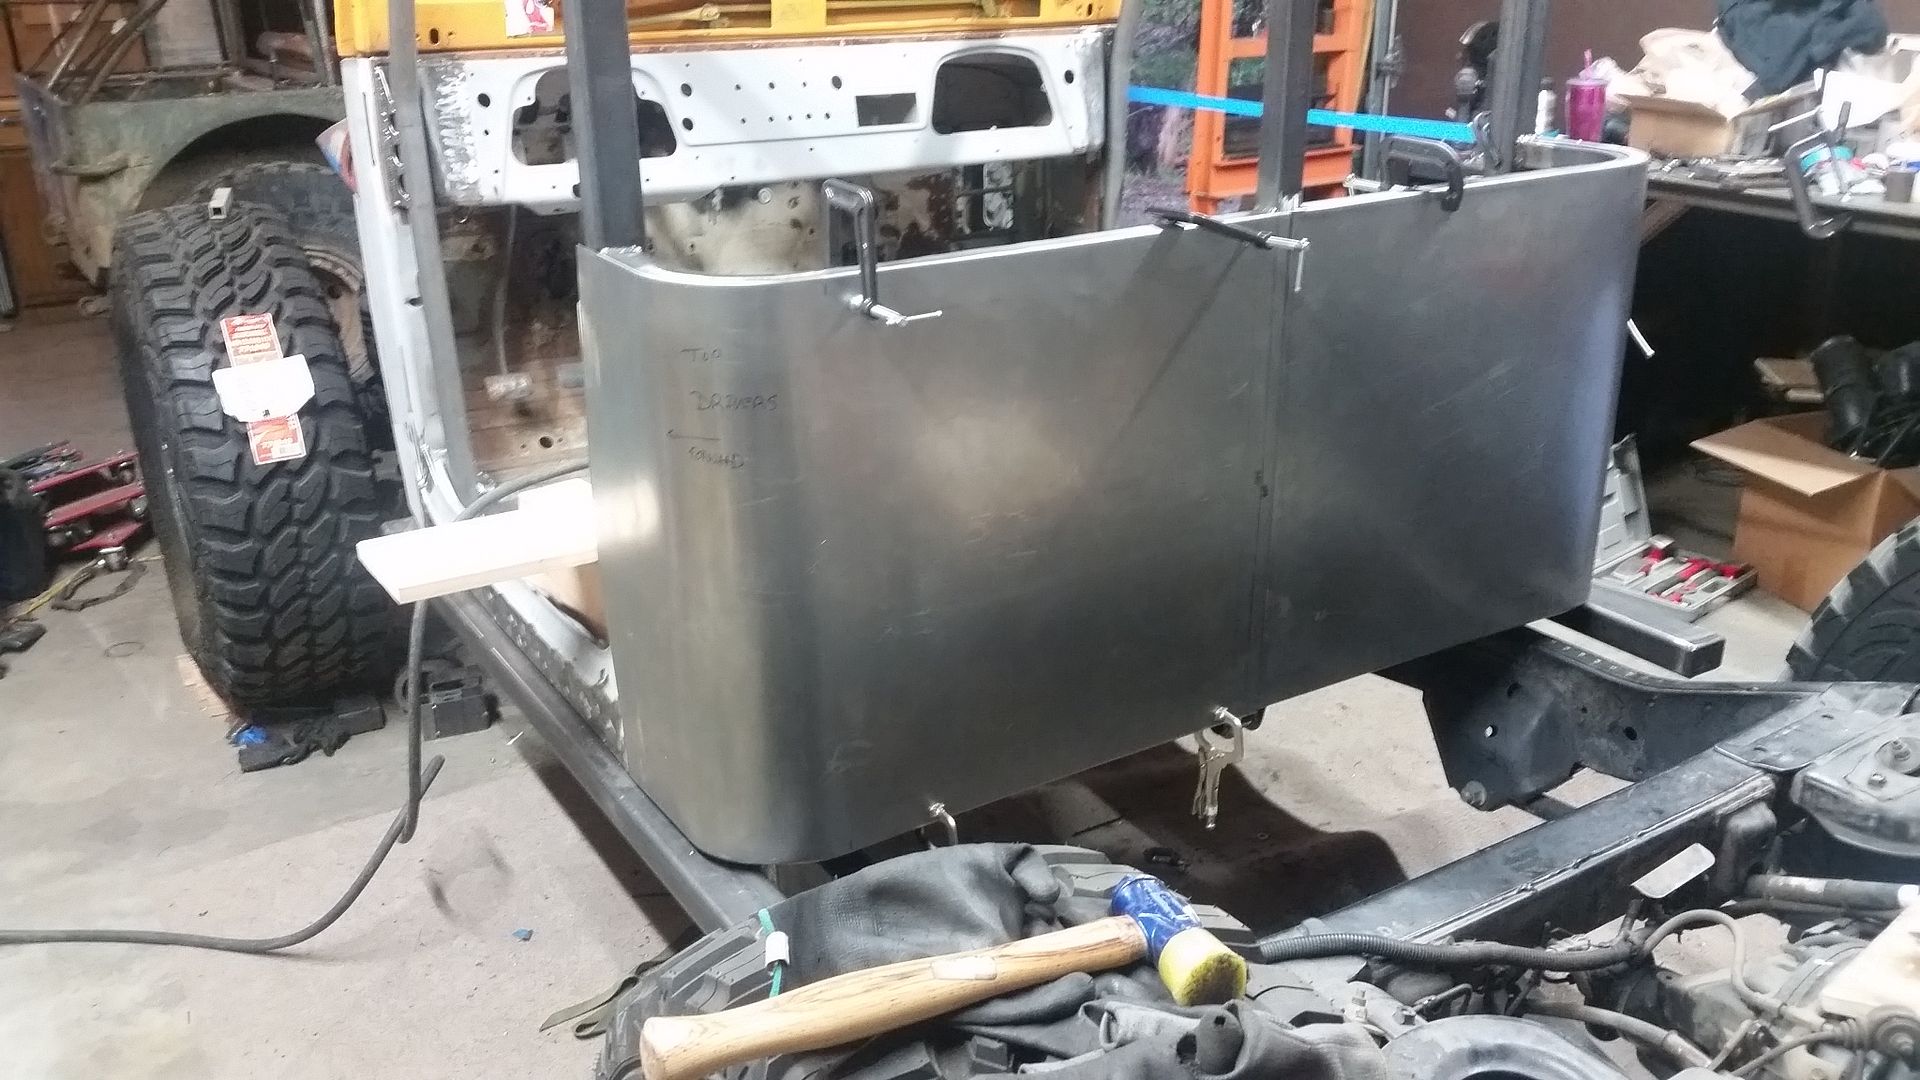
Here is the panel on the bench after forming. You can see a slight crown in the ends of the panel. I think this is mostly from the overall height of the panel. It is big enough it isn't rigid. Once hung on the body and clamped I believe all that will go away. Overall I am pretty happy with it for my 1st try at this size and complexity of panel!
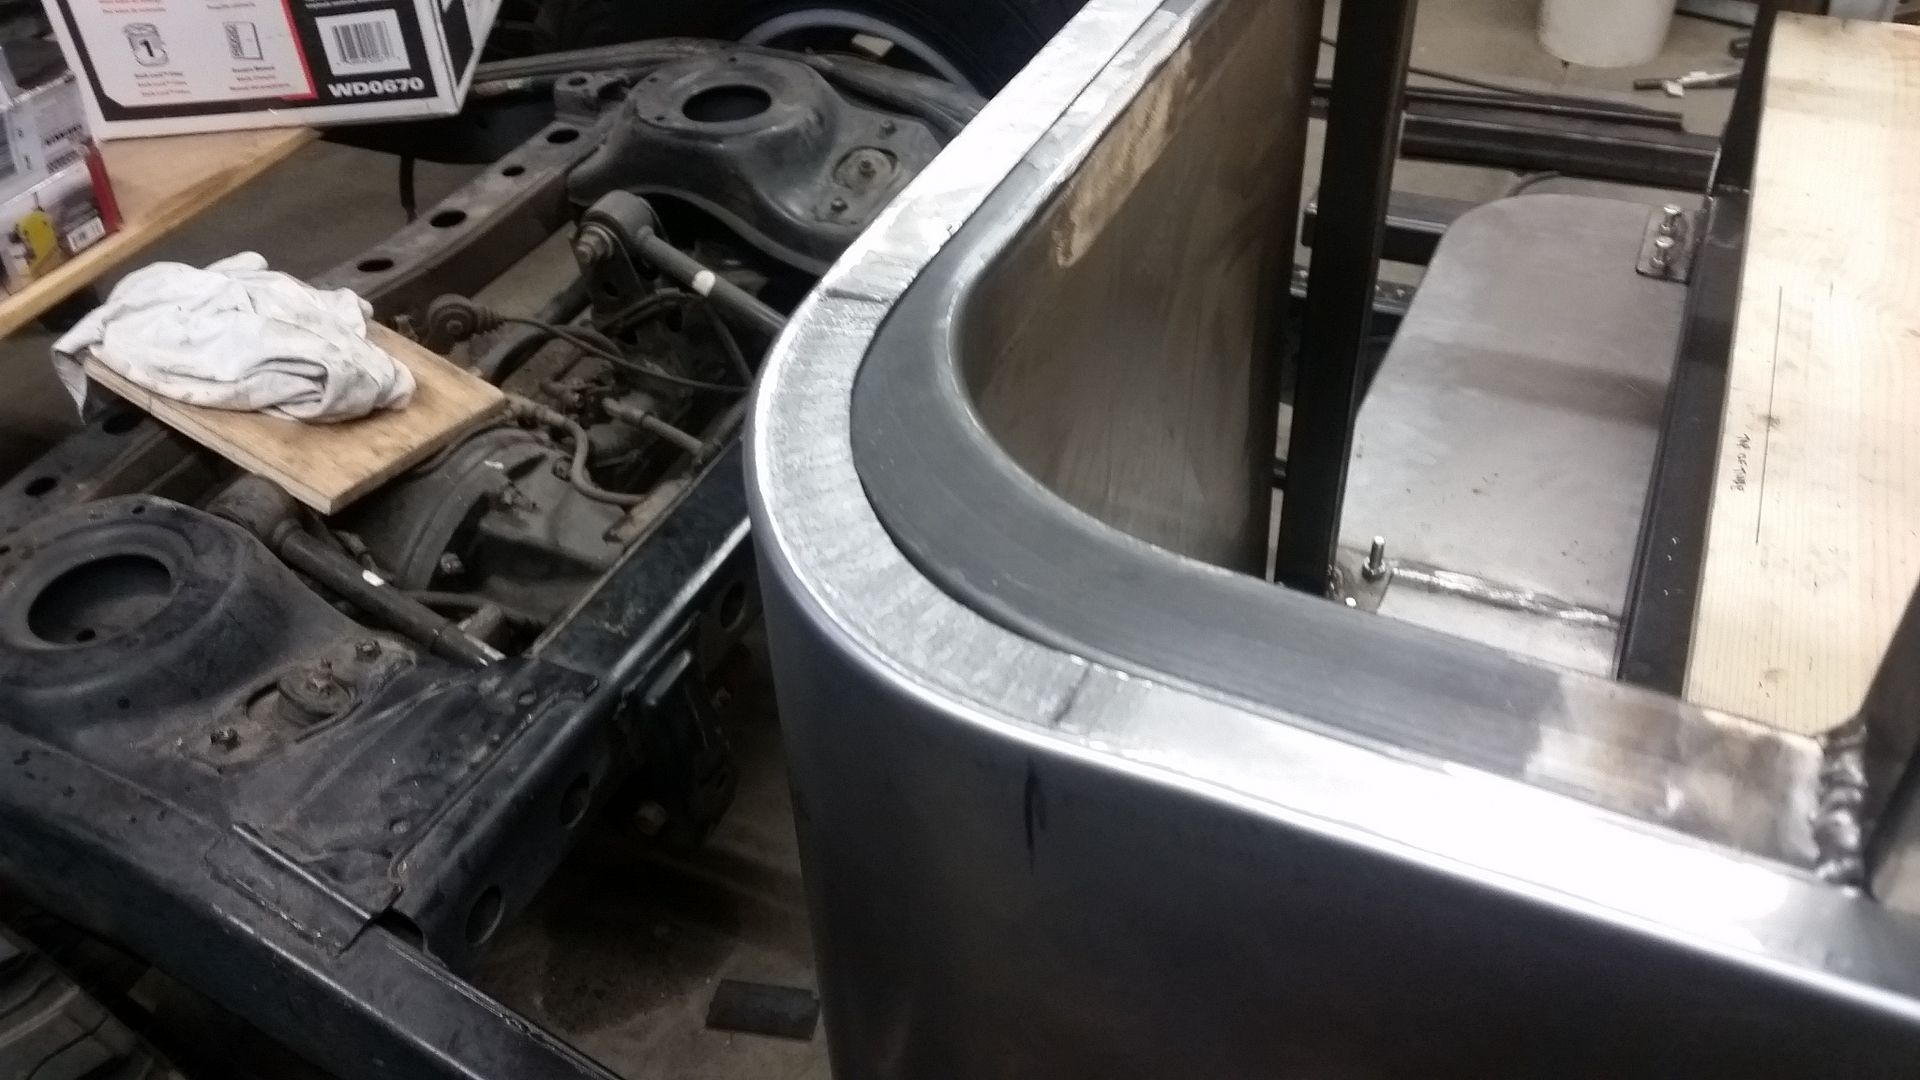
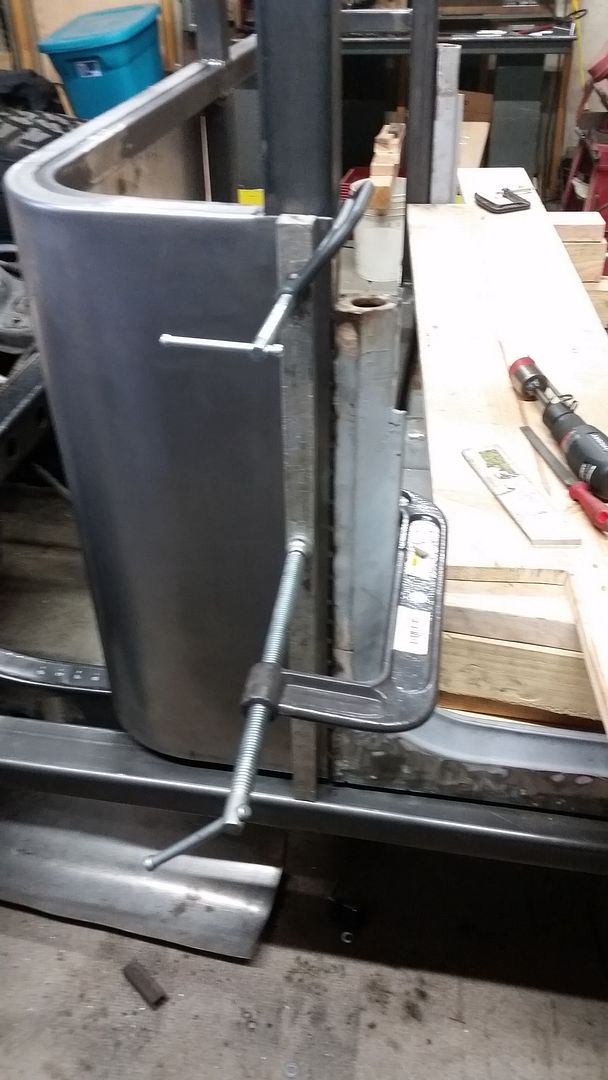
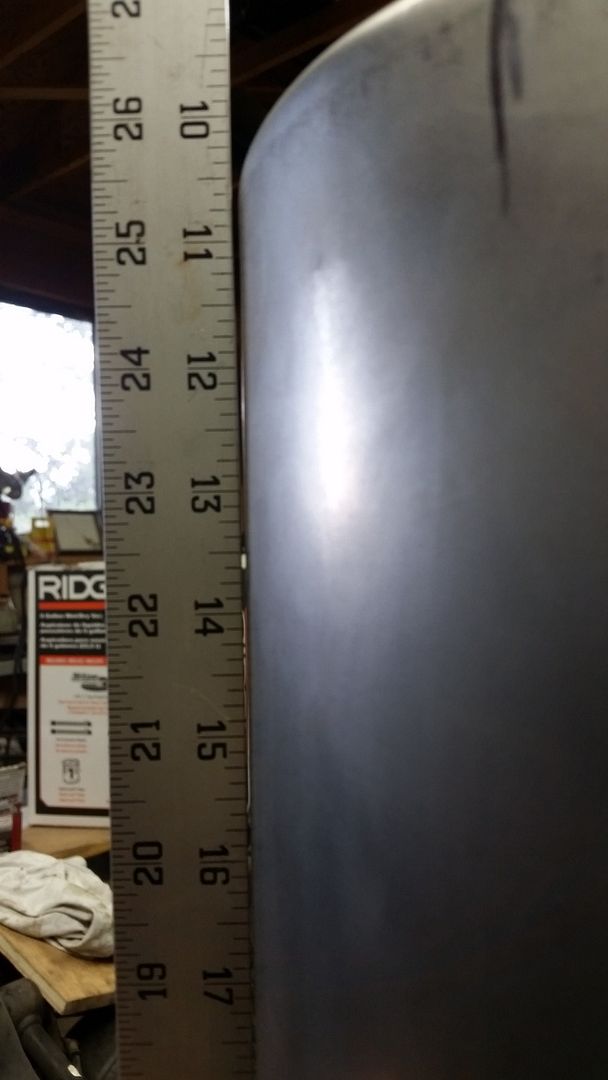
Here is a detail of one of the shrunk flanges. If you look careful you can see a slight 'bead' starting to form on the outside edge. This is the area where the shrinker dies do not reach because it is an inside corner. The panel isn't trimmed to fit just yet, and is just hanging on the rear framework....
Now I need to make a twin and trim them both to fit...

Well, I am actually very surprised that worked as well as it did.
This is the basic door to C-pillar cab corner panel I made. The 1st step was cutting be blank. That was pretty easy. Then I had to form a flange on two sides. That took a decent amount of time, some angle iron, various hammers, and I should have probably used ear protection. Once the flanges where formed on the top and bottom of the panel I marked out where the shrinking would have to happen on each flange to form the corner. Before I could shrink the flanges I needed to finish my shrinker stand. It would be almost impossible to shrink a flange on a panel this size without it....or perhaps a spare hand or ten.
Overall I am happy with the panel, but I still need to make another for the opposite side. I also need to trim each panel to fit.
Some details....

Here was my super exotic setup for making the flanges on each side. Basically I just clamped the panel between two pieces of angle iron and hammered the flange over carefully. I ended up using a combination of the air hammer, a nylon face hammer, and finally a steel body hammer to get the corner sharpness I wanted. Since the flanges where far enough apart, I could just clamp the 2nd flange with a slight bow in the panel instead of needing to come up with a more exotic jig. The blanket on top helps quiet down the rattle from the hammering.

I used a little math to figure out where the shrinking needed to happen for the corner. I used some sharpie to make notes and mark everything. The end lines need to be redone a few times as your hands and the shrinker wear the marks off. You don't want to be shrinking outside the area you need for the corner or else the corner radius will not match up.

This was the buck I knocked up to help me form the corner. I didn't end up using it as much as I thought I would. The flange shrinking did most of the work I think with forming the corner radius. I did end up draping a towel over this and using it to help 'bump' the corner a few times by laying on top of the panel. I don't think it did that much, but if you are too aggressive with it, you will warp the flanges past the bending area. I think it helped a little but I don't know if you need it for sure.

I made some legs for the shrinker stand contraption. It ended up working pretty well. It did take time to get the 16 gauge material to shrink. I lost count of how many passes I did. I would guess it was dozens. You are not trying to do all the work at once. My hands and arms where sore after I got done for sure. This panel isn't a light weight piece!

Here is the panel on the bench after forming. You can see a slight crown in the ends of the panel. I think this is mostly from the overall height of the panel. It is big enough it isn't rigid. Once hung on the body and clamped I believe all that will go away. Overall I am pretty happy with it for my 1st try at this size and complexity of panel!

Here is a detail of one of the shrunk flanges. If you look careful you can see a slight 'bead' starting to form on the outside edge. This is the area where the shrinker dies do not reach because it is an inside corner. The panel isn't trimmed to fit just yet, and is just hanging on the rear framework....
Now I need to make a twin and trim them both to fit...

