Cummins Canoe (A Stepvan Story)

PlethoraOfGuns

Adventurer
Things are really piling up. Lets get rid of it by installing it into the van!
MVIMG_20201020_145323 copy.jpg
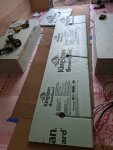
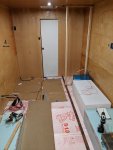
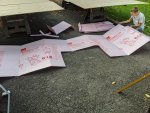
We opted to start the interior by insulating the floor, at least a little bit.

IMG_20201020_145627 copy.jpg
We plan on doing more insulating on the floor, but this will be a good thermal break for anything immediately mounted to the floor.
MVIMG_20201020_153924 copy.jpg
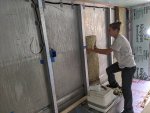
And the worst part, getting the rock wool installed. This stuff isn't as bad as fiberglass insulation, but it does get dusty. Need to go slow and gentle as to not stir up fibers in the air.
IMG_20201020_202634 copy.jpg
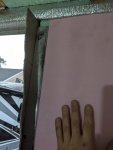
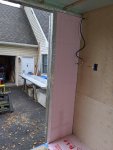
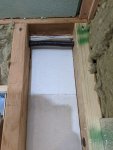
Actually ran out of rock wool. Almost made it though. Just this one small wall space. So we decided to just fill it with some styrofoam. No scrap goes to waste!
IMG_20201020_205142 copy.jpg
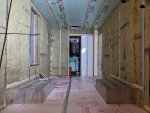
Oofta! Lots of work, but we're all ready for interior wood!
 
Last edited:

Bikersmurf

Expedition Leader
Things are really piling up. Lets get rid of it by installing it into the van!

View attachment 626556
We opted to start the interior by insulating the floor, at least a little bit.

View attachment 626557
We plan on doing more insulating on the floor, but this will be a good thermal break for anything immediately mounted to the floor.

View attachment 626558
And the worst part, getting the rock wool installed. This stuff isn't as bad as fiberglass insulation, but it does get dusty. Need to go slow and gentle as to not stir up fibers in the air.

View attachment 626559
Actually ran out of rock wool. Almost made it though. Just this one small wall space. So we decided to just fill it with some styrofoam. No scrap goes to waste!
View attachment 626560
Oofta! Lots of work, but we're all ready for interior wood!
I’ll take Roxul / Rock Wool insulation over glass any day of the week. For now I’m leaving my glass insulation alone... way too much work to do anything else with it.
 

PlethoraOfGuns

Adventurer
The rock wool wasn't as itchy as fiberglass. I still have fiberglass in the old ceiling I left. I wouldn't do anything with new fiberglass in a build though.
 

PlethoraOfGuns

Adventurer
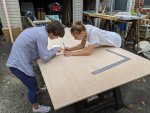
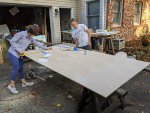
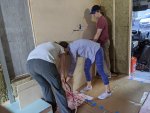
Oh boy, very busy! So busy, we needed all hands on deck!

IMG_20201021_141902 copy.jpg
So the girls did all the super easy math stuff. Gee, they're great! ?‍?

IMG_20201021_160657 copy.jpg
Women are very good at multitasking. They worked well as a team too. Very efficient.

IMG_20201021_132010 copy.jpg
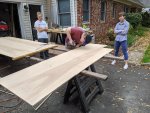
But there is no "i" in team, so "I" am going to stand over here! Well, that was their logic while they coerced the men to come in and do the real hard work! This the first time I've ever measured zero times and cut once. ;)

IMG_20201021_123800 copy.jpg
At some point, everyone had to help! Except for me, I mean someone had to take photos. This looked like too much work anyway. Don't worry, I bribed everyone with pizza and beer. These sheets were a pain to carry and hold in place!

MVIMG_20201021_165944 copy.jpg
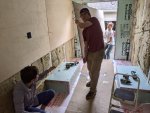
All the math the girls did really payed off! Everything fit the first time and no need to recut anything!

IMG_20201025_182933 copy.jpg
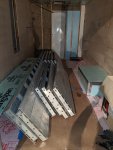
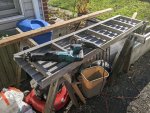
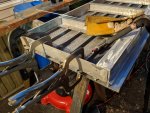
Most of the wood is in. On way home from work I picked up these bad boys out of the trash. It's old above ground pool aluminum decking! We're thinking we can incorporate them into the cabinets somehow. Suggestions?
 

Buddha.

Finally in expo white.
That decking looks super strong, you could make some kind of folding bed/bunks/counter platform(s).
Maybe even a ramp/deck for the back.
 

screwball48

Explorer
That decking looks super strong, you could make some kind of folding bed/bunks/counter platform(s).
Maybe even a ramp/deck for the back.

Bed/bunk idea with a recirculating hot water system. Think radiant style flooring. Small tubes of circulating hot water warms the aluminum under your bedding.


Sent from my iPhone using Tapatalk
 

PlethoraOfGuns

Adventurer
They are quite light and strong. The long 12' ones, I bet I can support them up on ends and jump on the middle and it would be fine. We do plan on putting in hydronic heating, so maybe heated bunks, hmmm...
 

PlethoraOfGuns

Adventurer
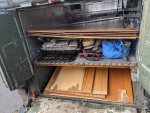
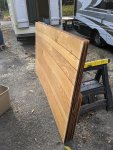
Found some more goodies out of the garbage!

IMG_20201027_141959 copy.jpg
This is old 1960's cedar panelling.

IMG_20201027_152907 copy.jpg
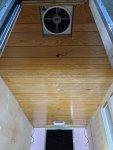
We wanted something for the ceiling that was thin, lightweight, and cheap. And this fits the bill for sure!

IMG_20201027_170340 copy.jpg
In preparation for the ceiling, we took down some of the ceiling insulation and made grooves for the recessed light wiring on the inside of the foam boards.
 

PlethoraOfGuns

Adventurer
Finishing up some odds and ends on the walls and getting the ceiling up!

IMG_20201028_105150 copy.jpg
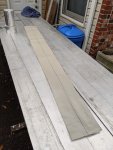
Got this sticky back Frost King insulation from the store.

IMG_20201028_110240 copy.jpg
We'll use that to cover all the exposed aluminum to reduce condensation buildup on the cold metal. Made it long enough to overlap onto the 0.25" XPS foam we put up to fill in the last gap in the rear walls on top of the 1.5" of foam underneath.

IMG_20201028_110349 copy.jpg
Ready for walls and ceiling.

IMG_20201028_184345 copy.jpg
Had just enough of the one color of panelling to get the ceiling done. Doesn't look too bad for being free. Can't wait to get the lights working so we don't need to work inside with flashlights anymore!
 
Last edited:
PlethoraOfGuns

Adventurer
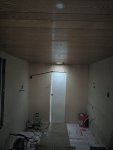
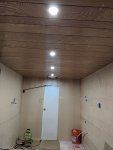
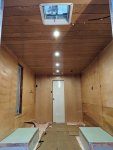
Oh boy, it's starting to look like something on the inside!

IMG_20201030_122324 copy.jpg
But it's kinda dark in here...

IMG_20201030_122233 copy.jpg
Ah! That's much better!

IMG_20201030_123233 copy.jpg
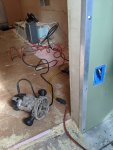
Fixing odds and ends. Some spots the edges of the plywood didn't sit perfect.

IMG_20201030_145559 copy.jpg
But nothing a flush trim bit on a router can't fix!

IMG_20201030_150815 copy.jpg
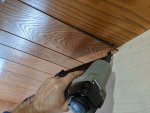
Tacked up the inside corners of the ceiling with a brad nailer.

IMG_20201103_165914 copy.jpg
And once all that stuff was done, we polyurethane everything!
 

PlethoraOfGuns

Adventurer
Amazing what you can get done when there is a pandemic and you no longer have hobbies or a social life. And sauna? Hmmm, maybe we should put that hot tub back in the rig...
 

PlethoraOfGuns

Adventurer
Polyurethane is all dry, time to start framing and fitting components.

IMG_20201104_113729 copy.jpg
Cleaned up some of these sections of old pool decking. Many years of chlorine all up on the aluminum created a mess. Nothing a wire wheel couldn't fix. Do this outside with good ventilation so people don't think you have the corona.

IMG_20201103_231834 copy.jpg
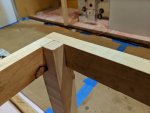
Laying out some stuff, seeing where it all fits. We didn't want to randomly put screws through the floor in a whole bunch of spots. So, we took a 16' 2"x4" that we found in the garbage, ripping it down to 1"x1.5" and bolted that to the floor in about 6 spots with 3/8" aluminum bolts. the bolts are countersunk into the wood so the bolt heads are flush with the top of the wood. The idea is to mount everything to either the walls or this strip of wood that is at about the edge of all the future cabinets. We're going for real simple aisle design. To frame any interior walls, we're going lightweight with 2'x2" wood.

IMG_20201104_103955 copy.jpg
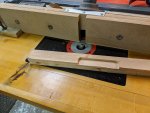
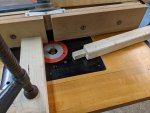
I have a feeling this router table is going to be everything in this build.

IMG_20201104_104248 copy.jpg
So the water heater we have has mounting brackets of the sides. To get the water heater all the way against the wall, we made this groove under the bottom plate of the framed wall to hold down the one side of the water heater. The other side, which we have access to, we'll just bolt down to the floor with another aluminum bolt.

IMG_20201104_150459 copy.jpg
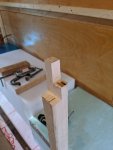
Started to get real fancy with the router table. Making vertical supports for the countertop.

IMG_20201104_160227 copy.jpg
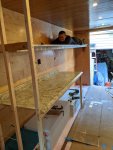
And finished the wall and got the pool decking up. This will be our upper cabinets. the aluminum is very light and strong. You can hang and do pull-ups underneath and it doesn't flex. This will save lots of weight instead of building upper cabinets with all wood construction.

PXL_20201110_231319314 copy.jpg
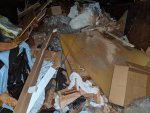
Found some foam in a dumpster. We pulled that out and cleaned it. Maybe it will come in handy?

PXL_20201111_013623863 copy.jpg
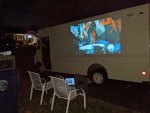
And to treat ourselves for all that hard work, we got to watch a movie using the projector. Who would have thought the side of the van could be such a great movie screen!
 
Last edited:
PlethoraOfGuns

Adventurer
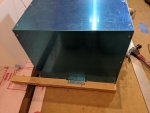
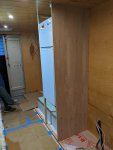
Lots of motivation to get things out of the garage, like that stupid big fridge.

PXL_20201111_193234755.MP copy.jpg
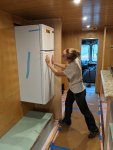
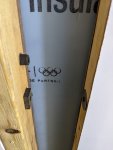
It's big indeed. But it fits in the spot we framed out for the fridge.

PXL_20201111_213430653.MP copy.jpg
It will probably sit something like this.

PXL_20201112_225505588 copy.jpg
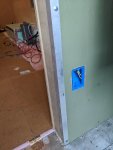
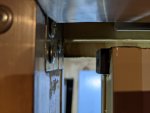
Got tired of the pocket door flying open while driving. So we got a really strong rubber covered magnet and rigged this up to keep the door closed.

PXL_20201112_222719184 copy.jpg
We took the wall plywood down in the cab and stuck a magnet inside the wall to keep the door open.

PXL_20201113_014145653 copy.jpg
Also attached this brush door sweep to help seal the door.

PXL_20201112_213231827 copy.jpg
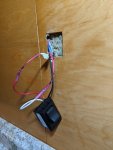
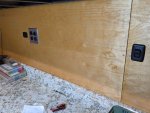
Wired in some 12v switches.

PXL_20201113_031910432 copy.jpg
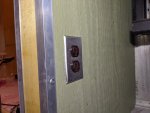
Got 120v and 12v outlets in too.

PXL_20201113_214913773 copy.jpg
Even have an outlet in the cab now. Never had a vehicle with an outlet next to the drivers seat, hoping this will be useful.
 

PlethoraOfGuns

Adventurer
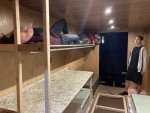
People have been complaining that there are only 2 seats in the rig. Everyone wants to go for rides. I guess we need to build more seats...

PXL_20201113_235318934 copy.jpg
Can't stop making cool stuff with other cool stuff!

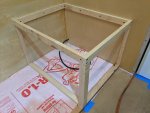
PXL_20201114_025428089 copy.jpg
Some lightweight seat framing. We'll skin the frame with some 1/2" birch plywood later on.

PXL_20201114_031959474 copy.jpg
Oh that feels so nice and warm inside...

PXL_20201115_003033885 copy.jpg
Something like this should work. Picked up some simple seatbelts and bolted them to the floor. They're not much, but they at least give the passenger a chance. A small dinette table thing in between the seats and storage for underneath.

2020-11-05.jpeg
These lightweight aluminum shelves are so strong! We need to incorporate them on the drivers side. But the fridge is in the middle of the wall. Hmmm...

PXL_20201114_191003712 copy.jpg
I guess we'll have to cut a section in half.

PXL_20201115_215903936 copy.jpg
Just need to weld new ends on the cut sides.

Screen Shot 2020-12-07 at 9.13.31 AM.png
And just like that, we have two smaller sections.

PXL_20201116_012332507 copy.jpg
And now to enjoy the fruits of our labor. So glad we made that bulkhead wall out of 2x4's. Very sturdy for side loaded forces like this.
 
Last edited:
Forum statistics

Threads
188,337
Messages
2,905,676
Members
229,959
Latest member
bdpkauai
Top