PaulJensen
Custom Builder
Twenty-One...
Twenty-One...
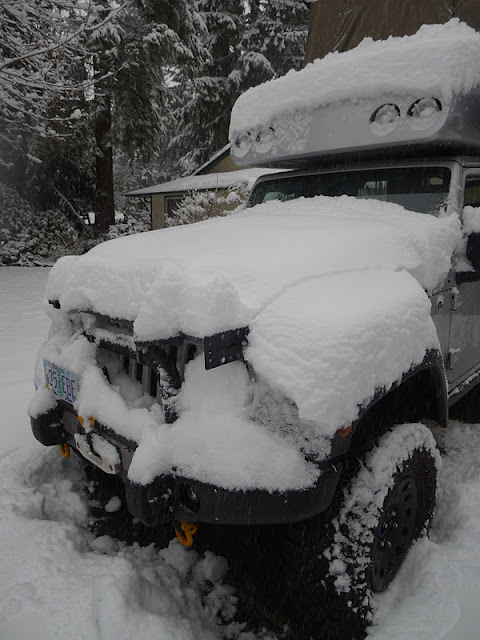
(above) Overnight , it snowed...Eleven inches...The most I've seen here in twenty plus years living here...
I opened up the Jeep and was pleasantly surprised how cozy it was...I ran the space heater overnight and thought the escaping heat would lead to trickles or seepage of water and found none from the roof side-wall fabric, or the areas I already fixed...There is still that trickle on the cab-over sidewall...But from where exactly...Hmmmm...???...

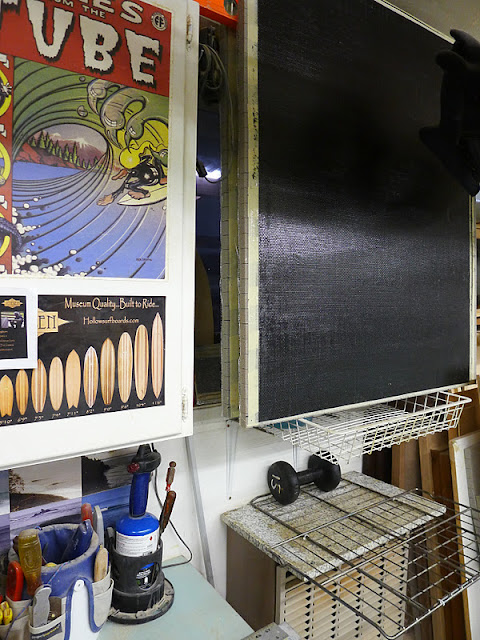
(above) Back in the shop, the carbon fiber / foam panels had hardened overnight in the 80 degree temperature...Love a heated shop...
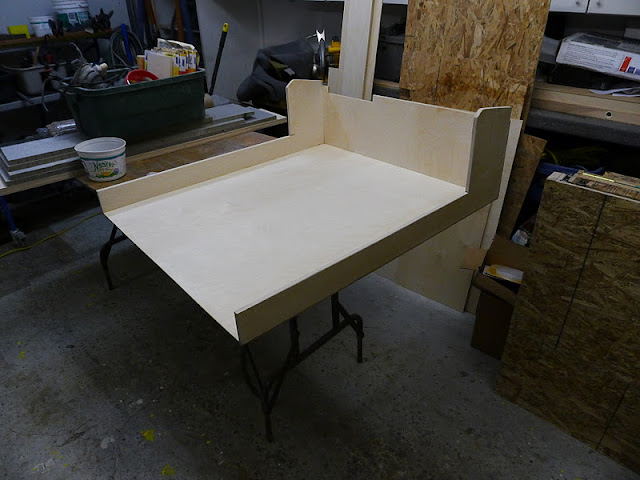
(above) I sanded the bed 'foundation'...
(above) Next I flipped the CF panels over and prepped, then epoxied the panels just as I did yesterday...The plywood foundation also got another coat of epoxy...
(above) Between checking out the ongoing snow and making sure that some outside sheds had enough support for the heavy snow load, I settled into the warm shop to start the teak floor...
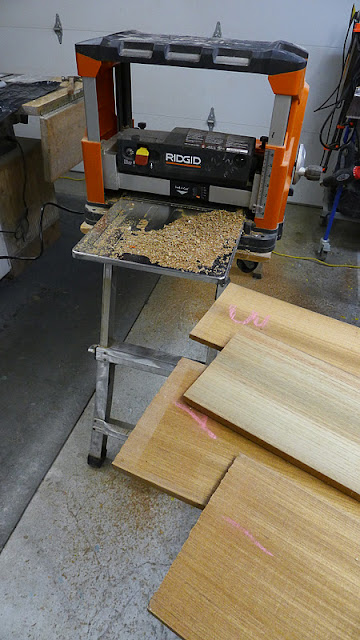
The teak stock I bought was a full 1" thick...I had it bandsawed in half...The surfacing planer came out and the teak was planed to just under 7/16"...
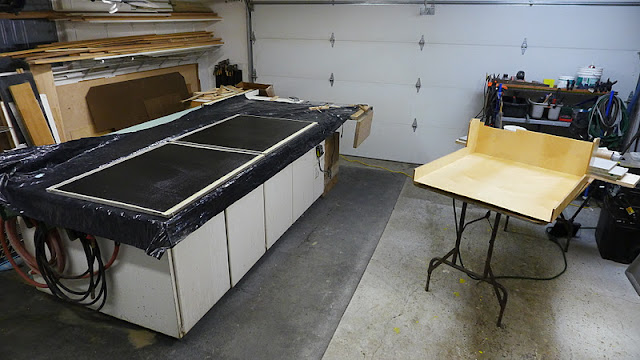
(above) I needed to work on the big work table , so the CF panels were put over the heater to cure overnight...
(above) With the work table cleared off, I first cut a straight edge on the teak with the Festool rail saw, next I ran the boards through the tablesaw to fine tune straight, parallel edges...
Prepping teak before gluing is vital...First the edges were hand sanded with 100 grit on a hard wood block...Machine sanding or machine planing can heat the teak which can raise the oils to the surface that can prevent the epoxy from penetrating the wood cells...You need penetration to get the epoxy to bond...
To further reduce an oily glue-face, the teak edges were wiped with lacquer thinner...Next I got the table set-up for clamping... Plastic sheeting cover on the table, clamps made ready, plywood strips for edge clamping, screws to put the plywood hard to the table, epoxy measured and mixed...
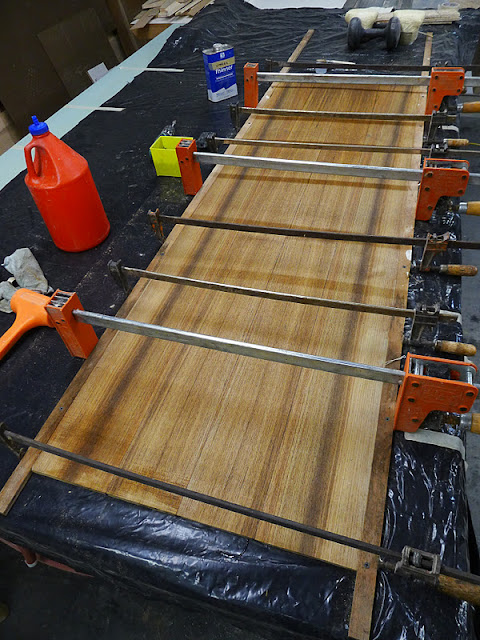
Next the teak edges were wiped with denatured alcohol, then brushed with epoxy on all the glued edges...The boards then were placed edge to edge, the plywood clamp strips were screwed at the ends to the table and then clamped on the ends...Just a pair...Then I screwed additional screws through the plywood to keep the assembly from moving or lifting...The clamps were set between where the screws were placed so the plywood would flex under the pressure of the clamps and draw tight the teak...With a big dead-blow hammer the boards were beat on to make sure they laid flat to each other...
Finally the excess glue squeeze-out was wiped off with alcohol...

(above) Good enough for now...
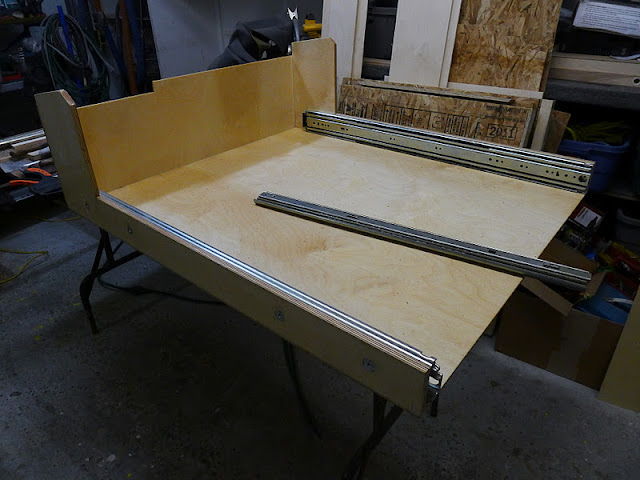
(above) The epoxy for the bed 'foundation' had dried so I disassembled the OSB mock-up and set the drawer guides with T-nuts...
Tomorrow with the CF panel cured enough to work with, I'll get the bulk of the bed work done as well as making the underside of the teak floor more secure...
See y'all later...
Twenty-One...
(above) Overnight , it snowed...Eleven inches...The most I've seen here in twenty plus years living here...
I opened up the Jeep and was pleasantly surprised how cozy it was...I ran the space heater overnight and thought the escaping heat would lead to trickles or seepage of water and found none from the roof side-wall fabric, or the areas I already fixed...There is still that trickle on the cab-over sidewall...But from where exactly...Hmmmm...???...
(above) Back in the shop, the carbon fiber / foam panels had hardened overnight in the 80 degree temperature...Love a heated shop...
(above) I sanded the bed 'foundation'...
(above) Next I flipped the CF panels over and prepped, then epoxied the panels just as I did yesterday...The plywood foundation also got another coat of epoxy...
(above) Between checking out the ongoing snow and making sure that some outside sheds had enough support for the heavy snow load, I settled into the warm shop to start the teak floor...
The teak stock I bought was a full 1" thick...I had it bandsawed in half...The surfacing planer came out and the teak was planed to just under 7/16"...
(above) I needed to work on the big work table , so the CF panels were put over the heater to cure overnight...
(above) With the work table cleared off, I first cut a straight edge on the teak with the Festool rail saw, next I ran the boards through the tablesaw to fine tune straight, parallel edges...
Prepping teak before gluing is vital...First the edges were hand sanded with 100 grit on a hard wood block...Machine sanding or machine planing can heat the teak which can raise the oils to the surface that can prevent the epoxy from penetrating the wood cells...You need penetration to get the epoxy to bond...
To further reduce an oily glue-face, the teak edges were wiped with lacquer thinner...Next I got the table set-up for clamping... Plastic sheeting cover on the table, clamps made ready, plywood strips for edge clamping, screws to put the plywood hard to the table, epoxy measured and mixed...
Next the teak edges were wiped with denatured alcohol, then brushed with epoxy on all the glued edges...The boards then were placed edge to edge, the plywood clamp strips were screwed at the ends to the table and then clamped on the ends...Just a pair...Then I screwed additional screws through the plywood to keep the assembly from moving or lifting...The clamps were set between where the screws were placed so the plywood would flex under the pressure of the clamps and draw tight the teak...With a big dead-blow hammer the boards were beat on to make sure they laid flat to each other...
Finally the excess glue squeeze-out was wiped off with alcohol...
(above) Good enough for now...
(above) The epoxy for the bed 'foundation' had dried so I disassembled the OSB mock-up and set the drawer guides with T-nuts...
Tomorrow with the CF panel cured enough to work with, I'll get the bulk of the bed work done as well as making the underside of the teak floor more secure...
See y'all later...

")
 Coolest and best woodworking powertools available