Hilux_Max's New D4D Hilux from OZ

Hilux_Max

Adventurer
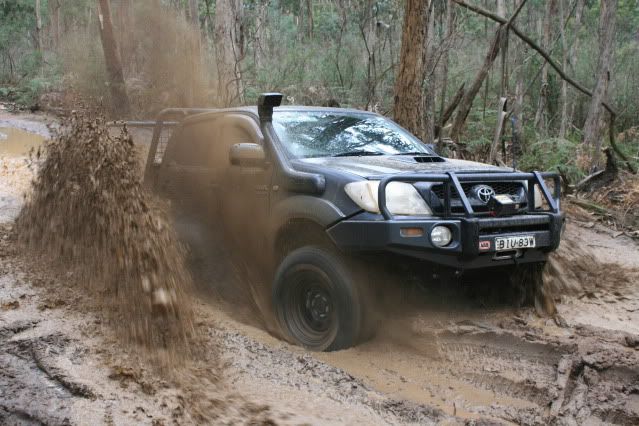
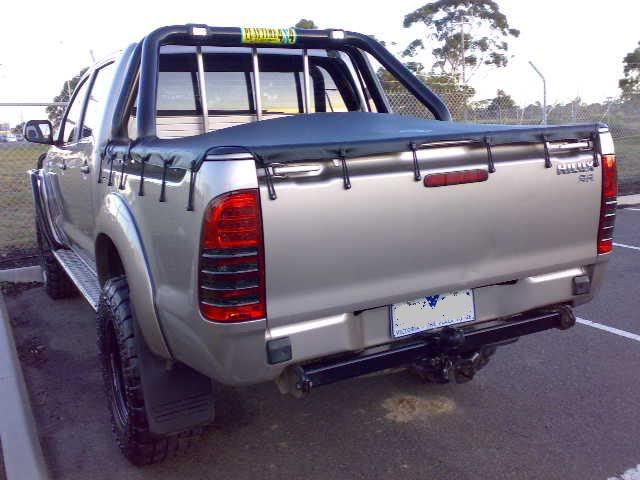
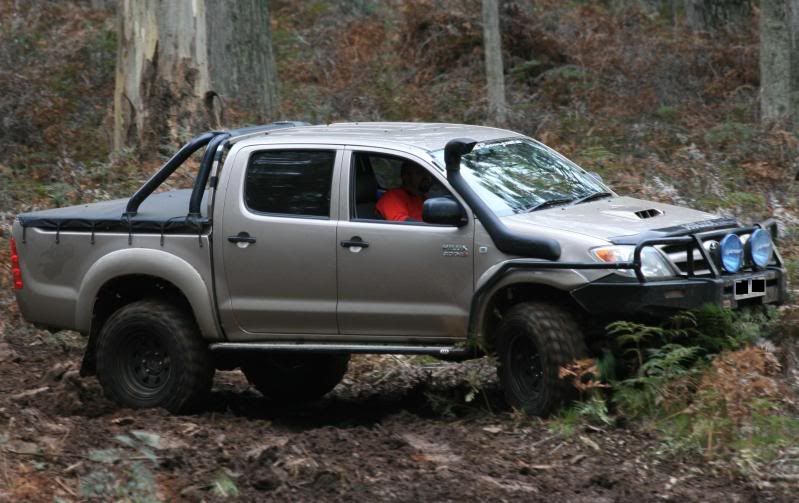
Heres.me.new.boots.on.the.hilux.285/75x16.Silverstone.MT117.Sports-

01112008428.jpg


Between.60-80kph.they.sing.like.a.nightingale......a.bloody.loud.nightingale.probably.not.
for.everyone.or.for.those.of.you.that.like.quiet.tyres....after.80kph.they.quieten.down.
abit.but.you.can.still.hear.them.

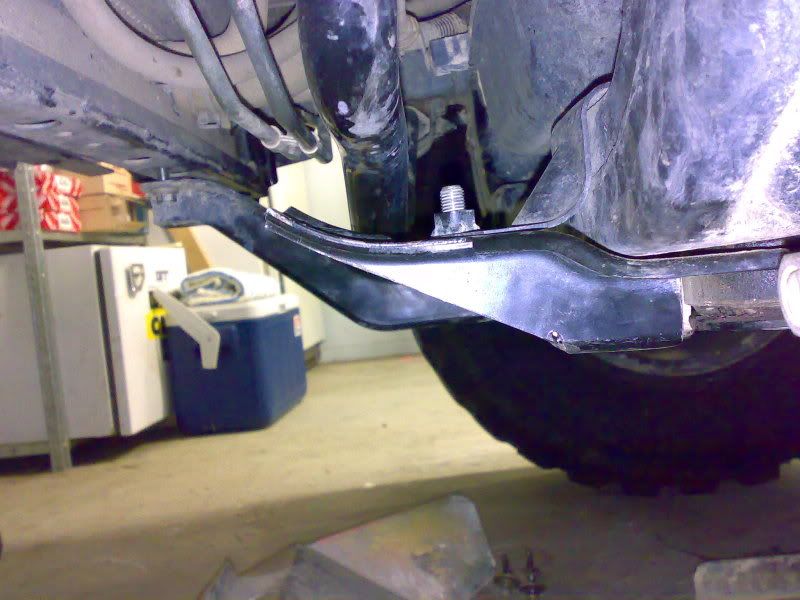
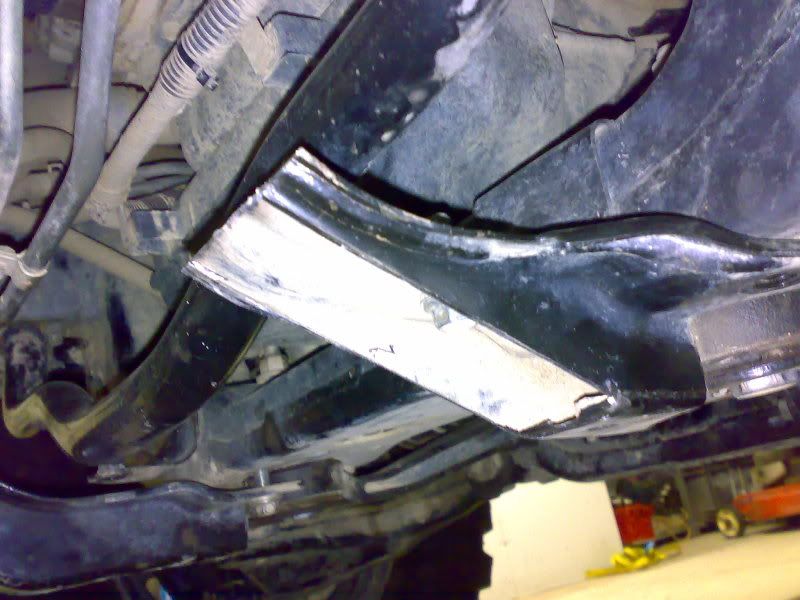
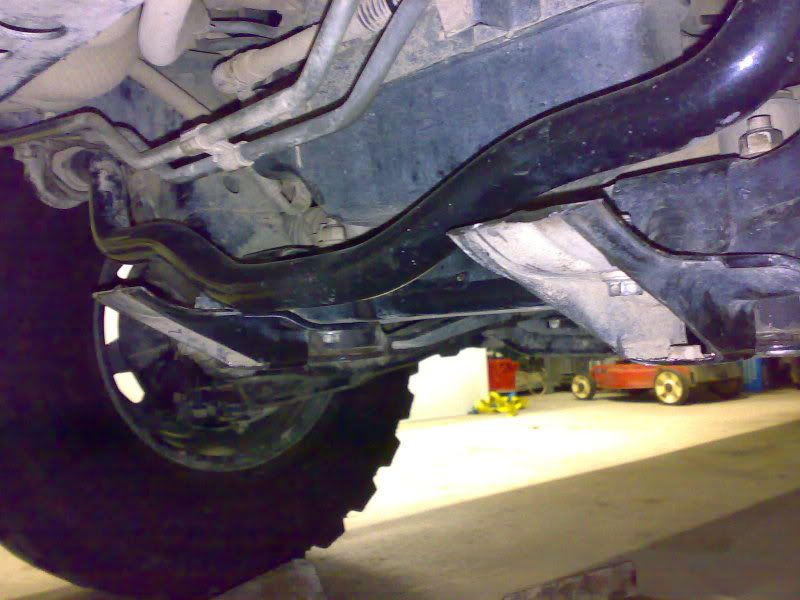
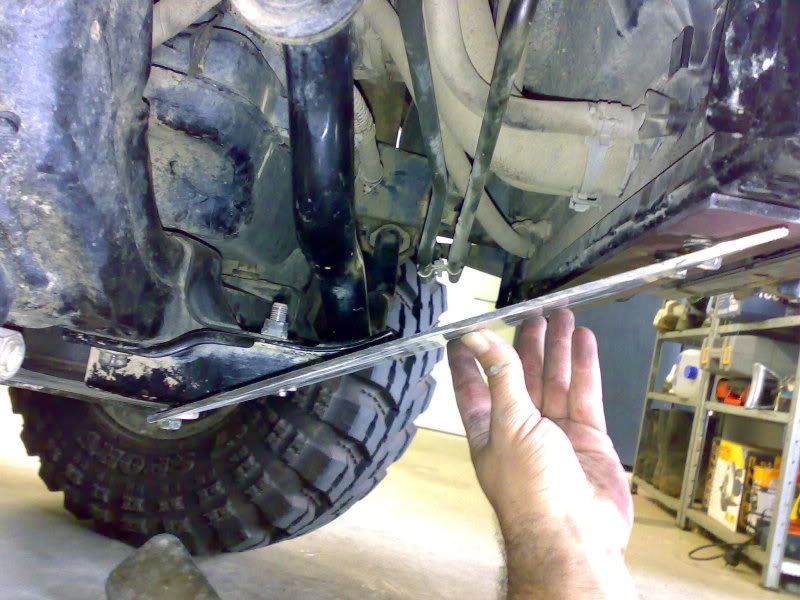
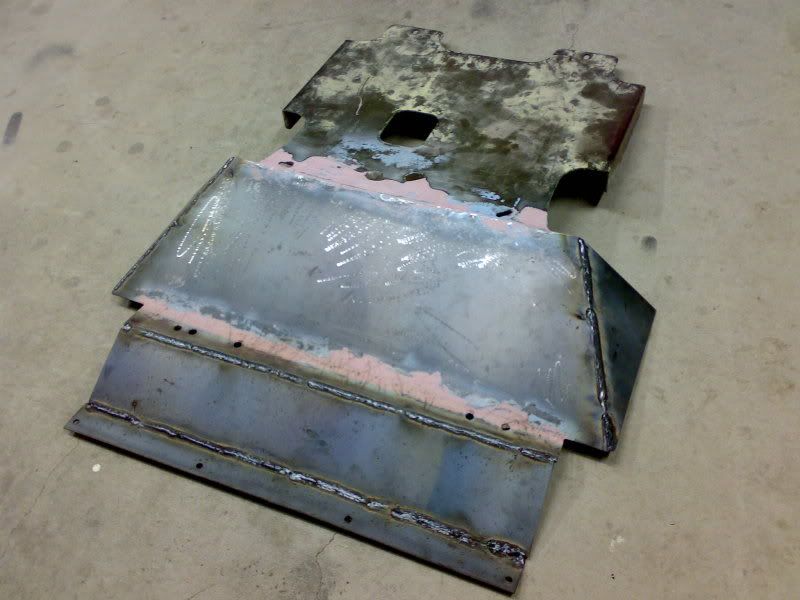
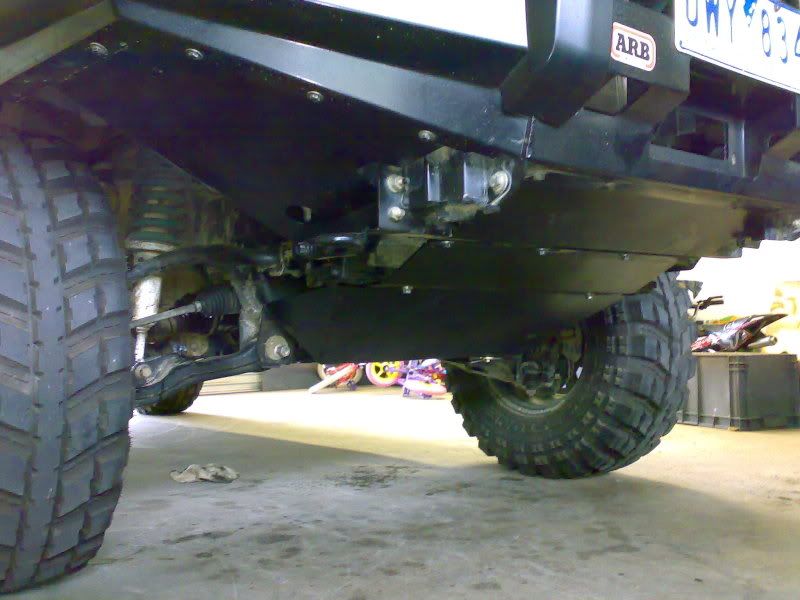
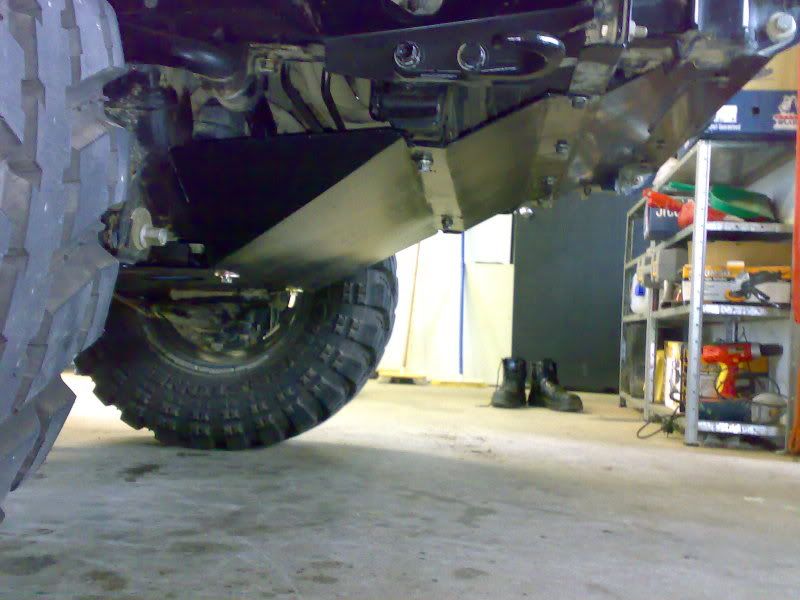
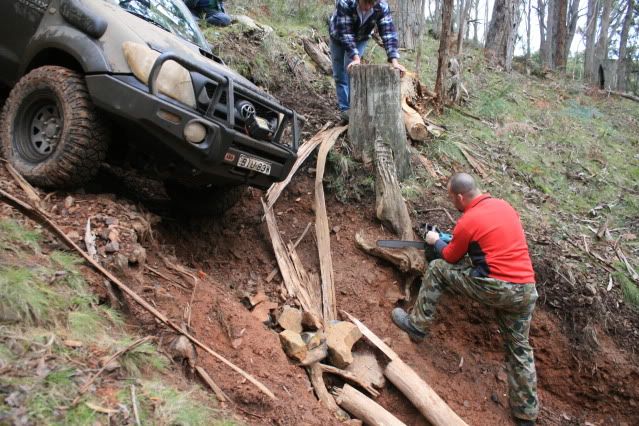
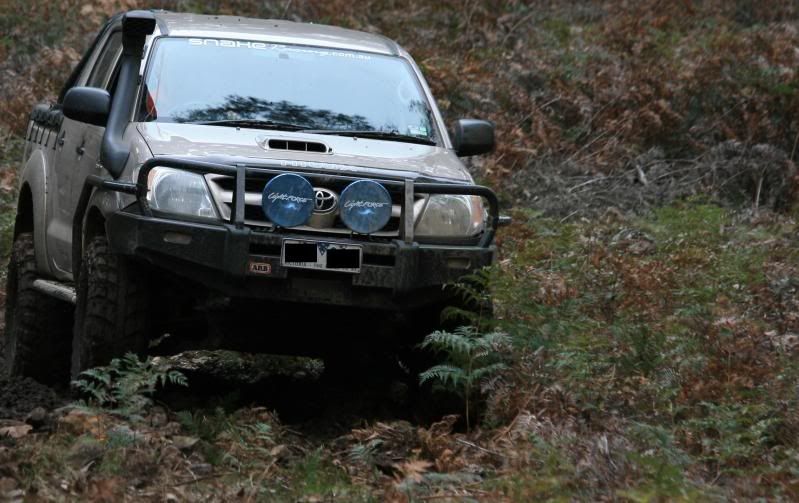
Heres.a.shot.of.the.suspension.and.driveshaft.angle.for.those.of.you.that.may.be.interested.

01112008431.jpg


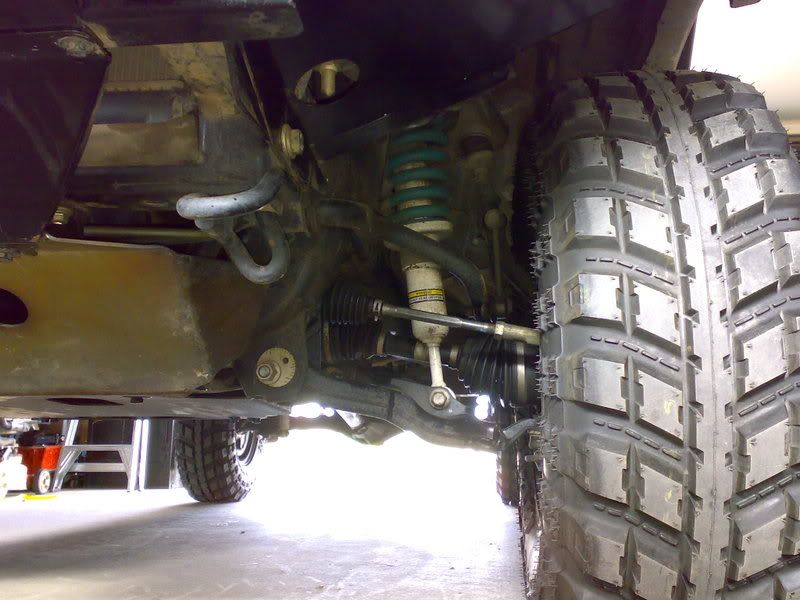
Like.Ive.said.before.the.front.has.sagged.slightly.and.the.inner.CV.boots."just".touch.
when.at.rest.

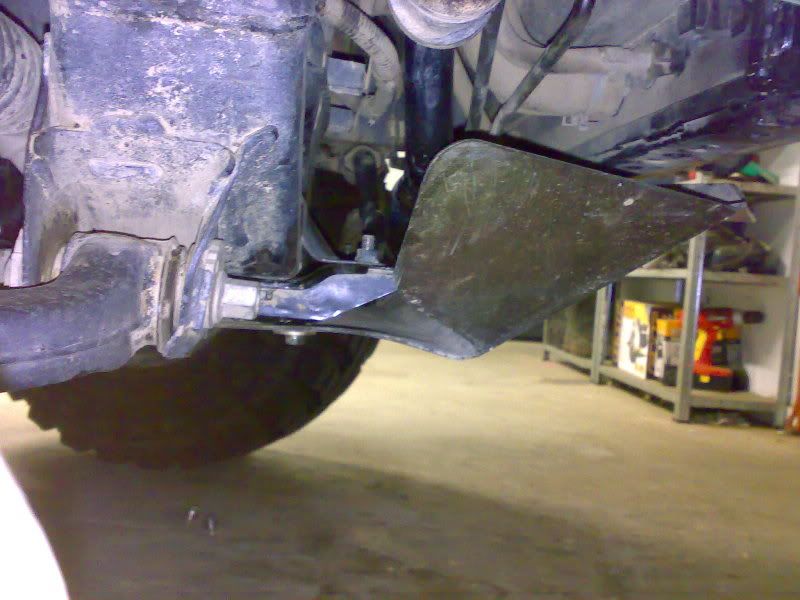
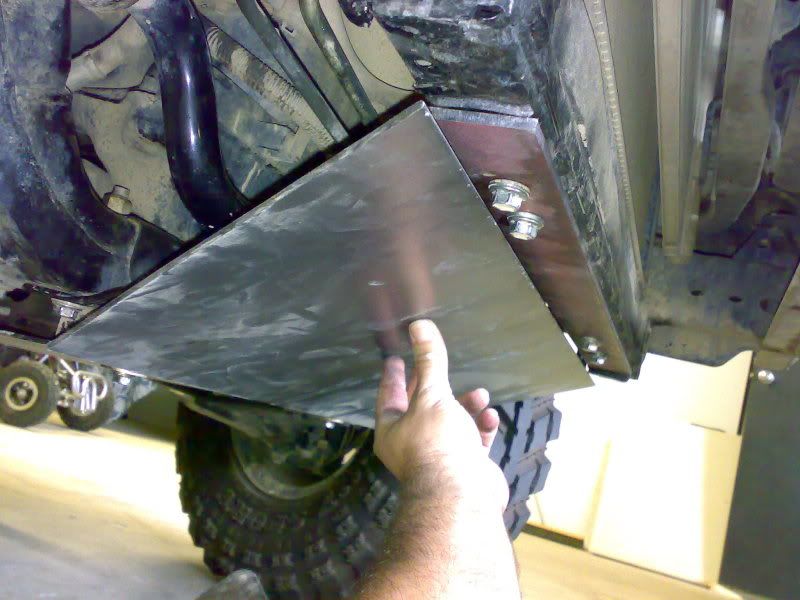
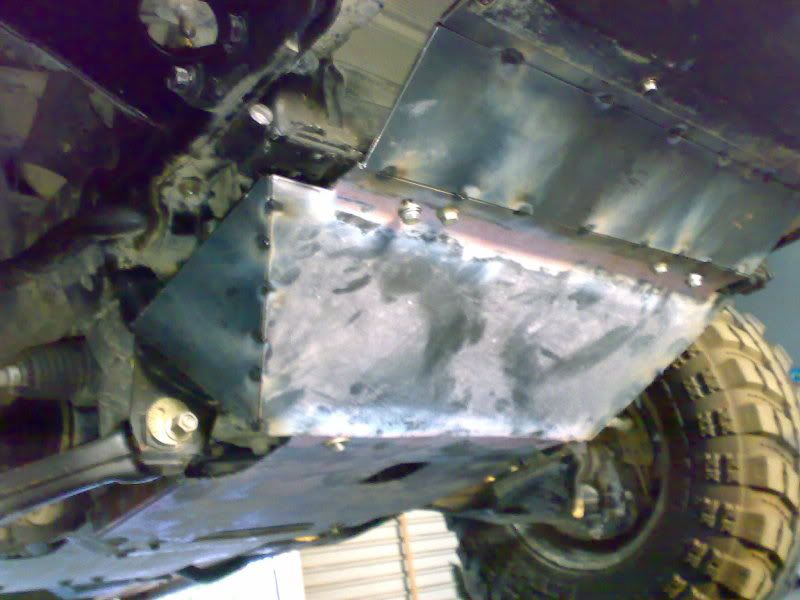
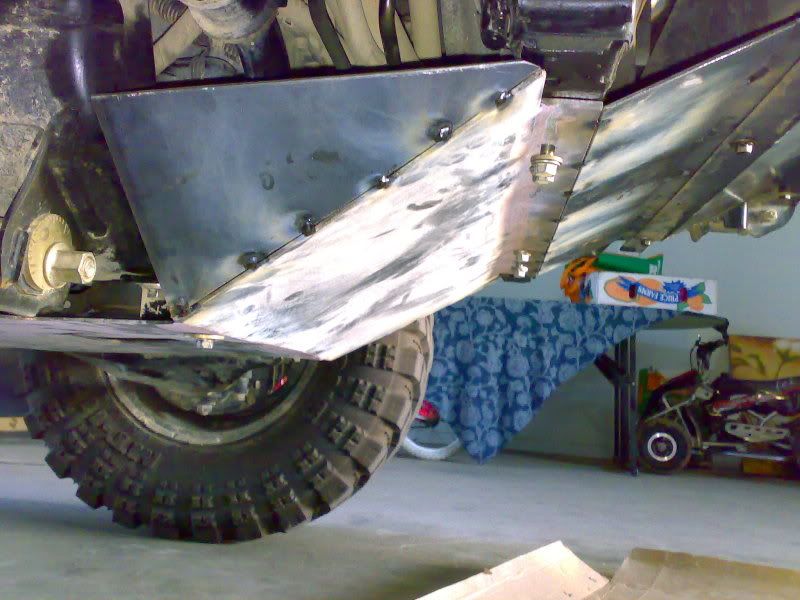
I.like.it.the.way.it.is.and.between.the.ground.and.the.corner.of.the.TJM.bashplate.
I.got.34.5cm......just.for.comparisons.sake.

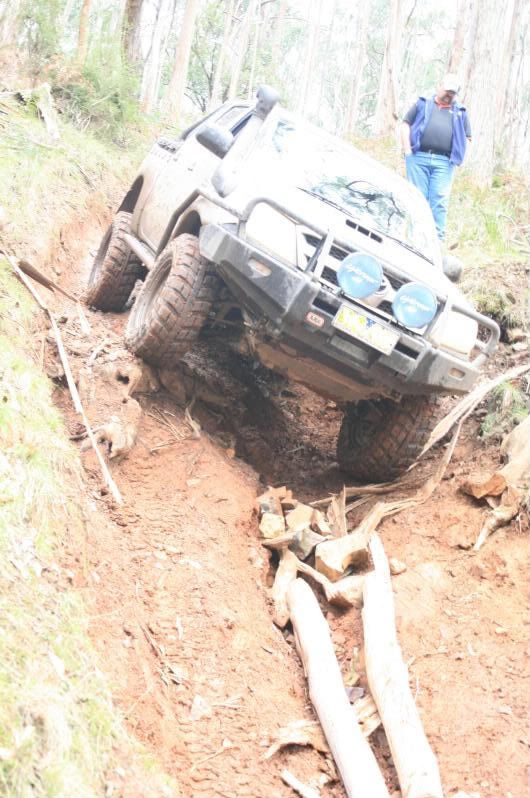
And.heres.me.daughter.posing.with.her.mighty.beast.....50cc.quad.......gotta.get.em.
into.the.offroading.scene.ASAP...and.get.em.liking.it.Ive.been.offroading.with.her.
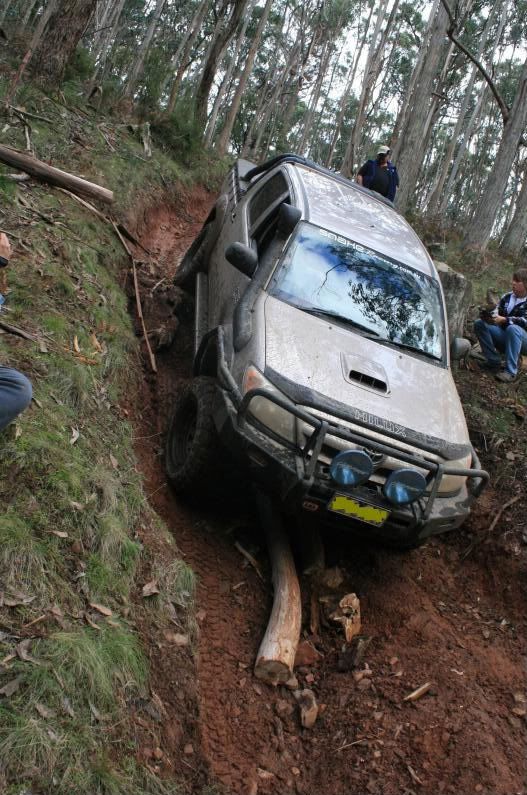
and.she.loves.it.until.I.get.the.hilux.balancing.on.cross.axles.thats.when.she.says.
thats.enough.I.wanna.go.home.

01112008430.jpg


will.be.taking.her.offroad.tomorrow.to.test.em.out.will.let.you.know.how.i.go.with.them.

sorry.bout.all.the.full.stops.between.the.words.me.keyboard.****.itself.and.the.
spacebar.thinks.its.the.backspace.button.and.deletes.the.previous.letter.
 

taco chaser

Supporting Sponsor
Those should last, for a bit anyways and they look nice wrapped on those rims, tires never last long enough for how much they cost...The rig looks good :sombrero:
 

Hilux_Max

Adventurer
Hey Guys,

Been a while since I updated my very slow buidlup but heres what Ive done in the meantime.

Ive fitted a front ARB AirLocker which has made a world of difference to the capabilities of the Hilux on those loose and rocky mountain trails. Its my first vehicle to have a locker of any sort and I cant beleive I never did it earlier.Thou it may be a while till I save enough money to locke the rear and regear to 4.5's as I would like.

The other thing I've done is modify my front bashplate to gain more approach anglesince the hilux isnt reknowned for under front diff clearance, here is the mods that I did to achieve this.

I have drawn up 2 or 3 different designs and contemplated heaps about whether to keep the sway bar on or off.....if keeping it on, whether to make a bashplate like the Artic Trucks with the lower portion of the swaybar exposed through the bashplate or to cover it completely.....well,.....I decided to keep the swaybar on and ended up with a fourth idea. You know, kind of progressing and modifying as you go along.

Artic Trucks Bashplate below-
articnudgebar_skid1.jpg


This is what I ended up doing - My TJM FUG I decided to make use of, be a shame not to, so I used the rear portion of the front bashplate. The brackets that go between the engine crossmember to the radiator crossmember where removed and cut on an angle to not only provide a support for the bashplate on either side, but also for a mounting location for the rear portion of the TJM FUG which I had cut into 2 pieces.

In the pic below you can see one of the brackets that has been cut to suit the future profile of the new bashplate, and in the distance you can see the standard bracket as a comparison. Also, note, that the bottom of the swaybar will not stick out past the bashplate-
14032009550.jpg


Another view of the cut bracket-
14032009551.jpg


And both brackets cut and mounted up-
14032009552.jpg


Before I cut the TJM FUG, I fitted it onto where it would go with the newly modified brackets behind it, and measured where I would need to cut it-
14032009553.jpg


I had a long strip of 5mm thick steel plate lying around so I measured up bolthole locations where the brackets used to mount upon and fitted the plate to the radiator crossmember. This will be a mounting point that I will weld the bashplate to between it and the modified FUG.
14032009554.jpg


Heres another view-
14032009555.jpg


When I get round to it, I will weld that plate onto the TJM Guard, and the steel plate, then I will make another smaller plate to replace the ARB one which is weak as piss, to go from the steel plate forwards towards the ARB bar.

This bashplate design gives me 2" more clearance in height, and puts the first and lowest point of contact behind the front of the tyres, 4" further back then before...I think thats not a bad improvement in clearance.

I think Ill find Ill more than likely impact things at the front lower edge of the bullbar now before the actual bashplate.

One thing the newhilux's are reknowned for is clearance in this area, but this surely has improved it abit.
 

Hilux_Max

Adventurer
Heres the rest of the bashplate fabrication.

Heres a pic of the side plates and front plate tacked in place before removing to finish the weld properly.Damn its hard to weld with one hand upside down when the other hand is holding the pieces in place!
27032009563.jpg


Heres more of a side view. Its hard to tell because I cant get the camera exactly side on but the bottom corner of the bashplate is about 3 inches behind the front of the tyre....awesome!
27032009565.jpg


And an aerial shot....still have to clean up the weld, grind them flat and smooth and complete the welds on the inside.
27032009566.jpg

I tried using some metal filler to smooth out the corners, but it dont look like it went too good.

In amongst all of this, I reworked my resr suspension abit. I added a leaf to stiffen up the rear slightly so when carrying camping gear she dont sagg so much. also finally getting greaseable shackles and nolathane bushes all round....

The way me mate setup the rear, when the vehicle is empty she still rides the same as before, but as soon as I start loading some weight into here, that extra leaf really comes into effect......
 

Hilux_Max

Adventurer
heres some pics of it finished....was abit fidly to install, the welding as you may know tends to re-adjust metal so had to clean up a couple holes and it weighs a tad more than before but all is good.

Front View
03042009572.jpg


Side View
03042009573.jpg


I also fabricated me own front recovery hook. The factory metal loops at the front of the Hilux arent really mated for snatch recovies in an emergency so I fabricated me own.

There is no point trying to gain approach angle if the factory tie down loops remain, which will still get in the way.

A fellow member on newhilux.net , Rod kindly sent me a pic of his aftermarket K & N recovery hook mount and some dimension of it and suggested I could make one along the lines seen in red below-

rodshook.jpg


But cut it off at the bottom red line, drill a new hole D which would along with the mounting hole B become the new location of the recovery hook.

The original yellow recovery hook is made from 75mm steel plate, I'll be using 100mm steel plate just for added strength. You can never go wrong with extra strength.

I started on it last night and hopefully will complete by weekend. Then its off with the factory loops below "B" and "D" and mod the under ARB bar bashplate to allow this to fit through.

Heres a pic of the Yellow K&N one fitted to a Hilux...see how long it hangs down?
IMGP1699.JPG


These brackets have been know to bend when recovering at an angle, which is why Im using 10mm steel plate instead of 75mm and my bracket will be not only be shorter but also mounted with four bolts instead of the other designs 2. and I have a tab sitting above and below the chassis rail to help spread forces/load.

So heres what I came up with-
14012009500.jpg


The steel plate I used already had the holes in it which is why you see a couple of hole in the side. Wont affect strength.

Below is a pic of it loosely fitted to the vehicle.
14012009501.jpg


And next pic is of it fitted, the under bar wing plate modified to fit in along with the new bracket, and the right hand side factory recovery looops have been cut off.
14012009502.jpg


alot more clearance now :D

Let me tell ya those factory recovery loops are a fair effort to cut off.
 

Hilux_Max

Adventurer
And heres a couple updated pics and video's from my trip since the mods I did.

04042009578.jpg


04042009574.jpg


A pic of some of the moutain trails we did with awesome views.
04042009580.jpg

04042009581.jpg

04042009586.jpg


And heres a couple of short vids of the hilux using its locker up the hills....like always the camera never does it justice ot how slippery and steep it was.....

Driving over a mound -
http://s61.photobucket.com/albums/h68/mmaaxx1977/?action=view&current=lakeeildon3.flv

And 2 vids of going up some tracks-
http://s61.photobucket.com/albums/h68/mmaaxx1977/?action=view&current=lakeeildon1.flv

http://s61.photobucket.com/albums/h68/mmaaxx1977/?action=view&current=lakeeildon2.flv

heaps of things I'd love to still do to the hilux, but it all costs money. Rear Locker and 4.5 diff gears would be one of them...a transfercase protector undeneath, a custom high clearance rear bar, maybe with a tyre carrier, and then I'll get onto the mor expedition orientated modificatiosn for carrying gear like racks and canopies and the like.
 

Hilux_Max

Adventurer
Trip report from Tallarook

Guys,

I haven't posted an update in a while here .....thought I'd share a trip I did with a group of hilux's from the www.newhilux.net forum here in australia.

Unfortunately alot of the tracks were closed (they close the good ones over winter to recover and not get too destroyed) but we did find a couple that were open to have some fun on.

We met at Freeman's Camp Ground where some of us camped the night.
P1000215.jpg

P1000216.jpg

Yes, we had an imposter Patrol come along too....... :p
P1000217.jpg


My attemp at manourvering between a big tree and boulder on the side of a hill-
P1000230.jpg

P1000231.jpg

And out the other side-
P1000232.jpg


One of the blokes decided to check the depth of this one big mud hole so he backed into it only to get stuck -
QuinnyCheckingtheDepth.jpg

IMG_4865.jpg

The following pic was a very sad one of a patrol recovering a toyota :(
P1000233.jpg
 

Hilux_Max

Adventurer
We did this one hill climb that was abit more challenging than the expected....not only slippery but there were alot of exposed tree roots running across the tracks that kept dragging the vehicle to one side.....
IMG_0123.jpg

IMG_0129.jpg

IMG_0131.jpg


One of the blokes thought he'd explore a track he saw on the out skirts of one clearing we passed...it didn't take him long to get back to us on the CB that he had bitten slightly more than he expected to chew.....the track was very narrow, had high sides to it, loose and wet and at the point it got really steep there was also a tree that had fallen across the track.....

IMG_0149.jpg

IMG_0150.jpg

P1000237.jpg


Right beneath that tree going across the track there was a steep drop off to the right hand side and a deep rut on the left with an exposed sharp tree root hanging out.
P1000239.jpg


After cutting the tree going across in half aswell as the exposed tree root we packed the deep rut on the left hand side to keep the hilux up abit higher as he didnt have sliders and ran the risk of damaging his sills-
MmaaxxwiththeToothlessChainsaw.jpg

IMG_4956.jpg
 

Hilux_Max

Adventurer
Once that was taken care of, Jeff began his decent very slowly down the track, with me guiding him.....the ruts were trying to drag the hilux into the side of the embankment and he got to the bottom with only some scrathces on his mirror.

QuinnyTurnatNavigation.jpg


I didn't want to let him go down by himself so I followed behind him with the other blokes guiding me -
MmaaxxgoingwithQuinnyforsomealongti.jpg

GuessWhos.jpg


Once me and Jeff got to the bottom, could you only then realise how bad the track really was......(pictures never do it justice)
P1000242.jpg

P1000243.jpg


After that, we sat for 15 minutes with a refresher and watched a couple of bikes try and go back up that hill.....with success...they kept getting 50metres up hill and the ruts would throw them into the side of the embankment, throwing them off their bikes.


And of course we need the usual mud-splash photo's to boot -

Mmaaxgettingwet.jpg

Quinnydointhesame.jpg

Andagain.jpg

P1000234.jpg

P1000236.jpg
 

Hilux_Max

Adventurer
Another poser shot on a rock -
Mmaaxxonrock.jpg


And we end it all with a big group poser shot -
IMG_5006a.jpg


Forgot to mention the damage report.....

I clipped a tree on one track.....smashed the RHR Tail-light, the lense is barely holding together, the panel in front of the lense has ripples and decent scratches in it, one of the light mounts inside the panel has pushed outwards and cracked the paint from inside out, and one of the buttons that was pop riveted for the tonneau cover got ripped out -

P1000246-1.jpg


and my drivers side mirror is loose after collecting another tree climbing a steep track that wasnt in the pics above.

So I ordered a set of smoked LED tail-lights the next day and fitted them up.....
28072009632.jpg


Now, I have to work out what design for a rear bar I want to make.....will cut the lower rear quarter panels and need to make a high clearance rear bar with a tow hitch.....any idea's/design to help me out fella's...?????

Here's a couple of vid's showing the boys doing their hill climbs...some did it first go, some took 2.....

Jeff giving it a crack-


Steve nailing the mountain -


Johnny's MQ on 35" silverstones going up-


Brad's first attempt -


Brad's second attempt -
 

Hilux_Max

Adventurer
Just a couple more pics from my last trip to tallarook I just got of a mate.....

untitled2.jpg


untitled5.jpg


untitled6.jpg


The next one is the track draggin me sideways coming down the hill......I had to drive into it otherwise she would have gone over I reckon.....pulling up was another effort...... :shock:
untitled4.jpg


untitled3.jpg


And me going over the ledge on that steep track -
IMG_4978-1.jpg


IMG_4986-1.jpg


Not a Taco, not US, something different for ya's.....:D
 

Forum statistics

Threads
186,729
Messages
2,889,456
Members
226,872
Latest member
Supreet.dhaliwal
Top