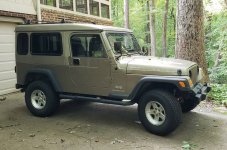
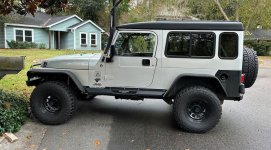
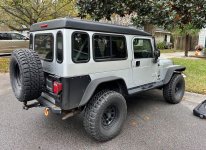
How would you outfit this custom LJ?

jscherb

Expedition Leader
I've just about finalized the plan for this year's Colorado expedition in the LJ. The plan includes more than a dozen trails; the plan is pretty much what's in my last post, plus a number of side trails along the way; if I do everything planned it'll be about 140 miles off-road.

It's a solo trip (my better half is out of the country) so I'll be traveling light and using hotels each night to save time for trail running rather than camp setup/breakdown. So no RTT, no Trail Kitchen (I'll carry a small cooler). I will carry all my solo recovery gear (winch, ground anchors, sand ladders) but not much else.

Most of the trails I've done at one time or another in the LJ in the last dozen years but since it's been a while for many of them it'll be fun to do them again.

I'll post photos and reports as the trip happens and I do have a new piece of gear or two to test and report on; stay tuned.
 

jscherb

Expedition Leader
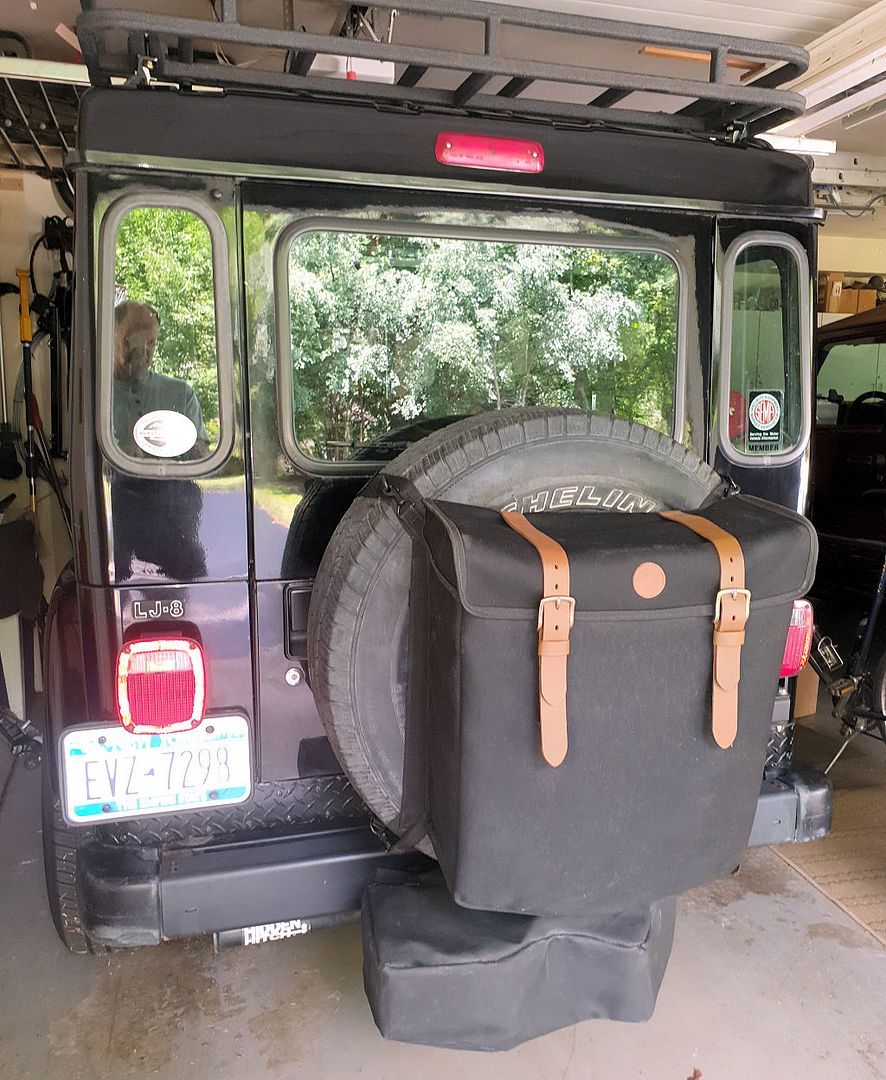
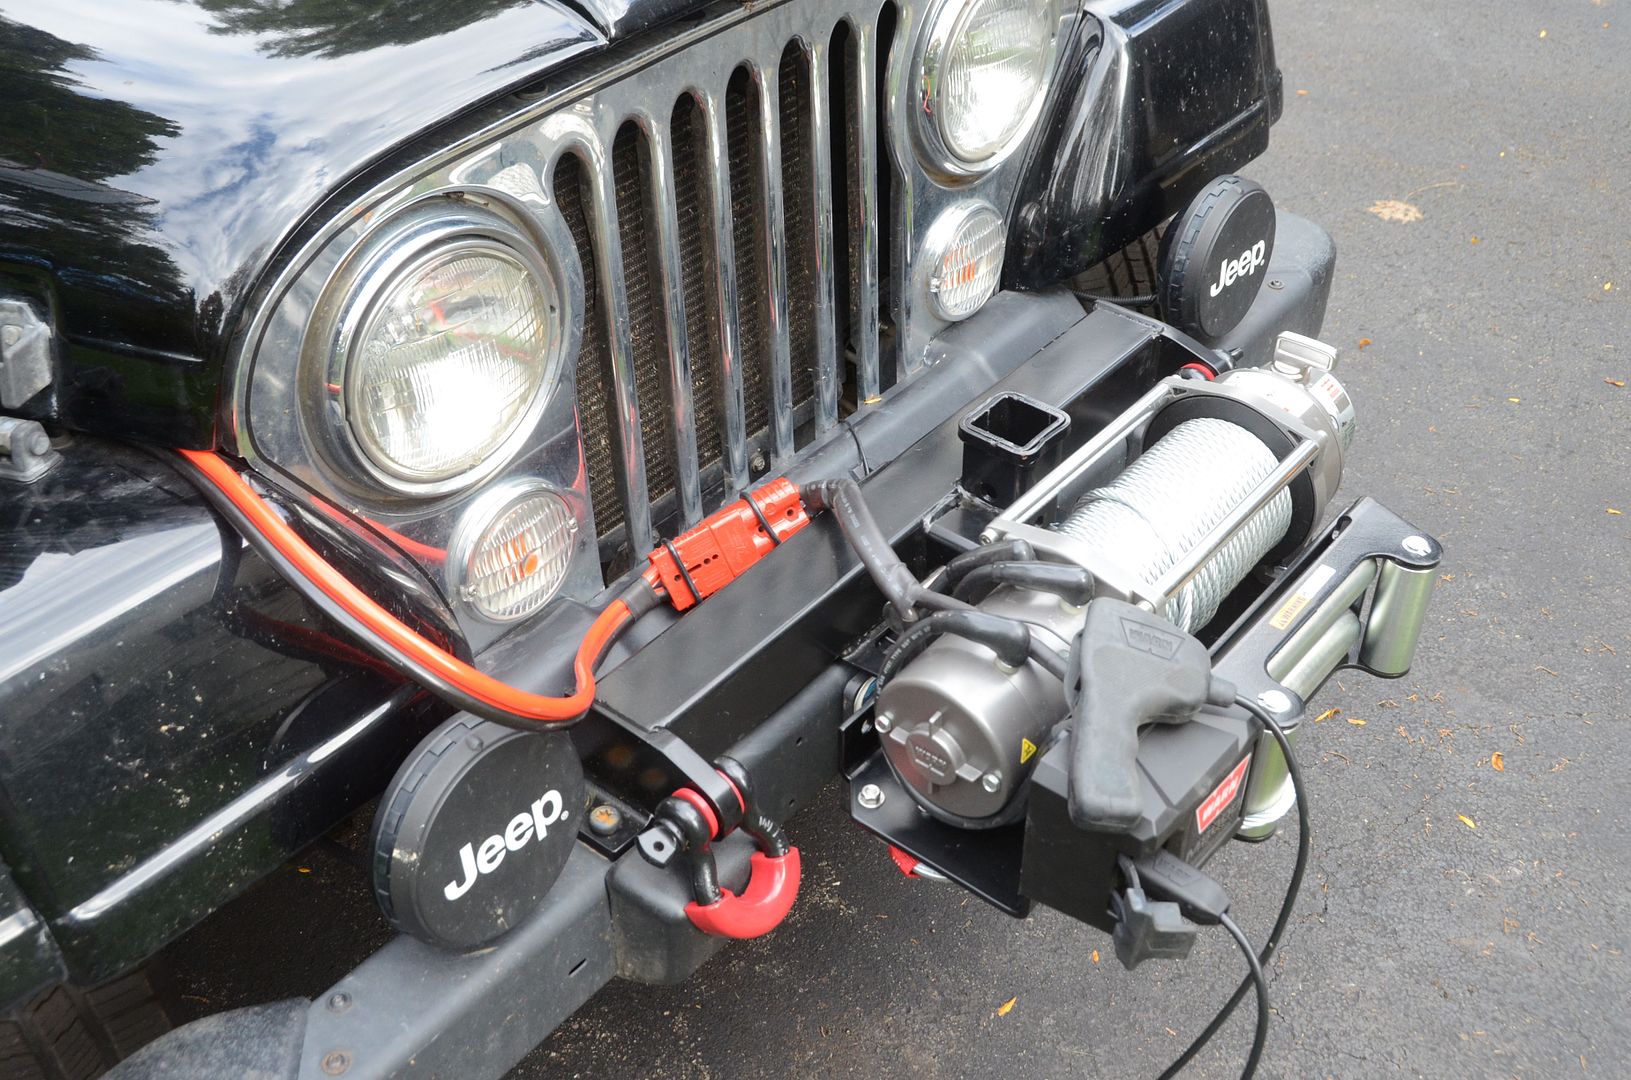
Getting ready for the Colorado expedition... recovery gear is a first priority even though it's unlikely I'll need any of it because the trails I'm planning are fairly tame. I've installed the front winch mount (takes <5 minutes) and for highway travel I'll keep the winch in the rear receiver.

WinchInBack.jpg


With the receiver mount for the winch and an extension cable to power the winch, I can use the winch in either the front or rear receivers depending on where I might need to extract myself from.

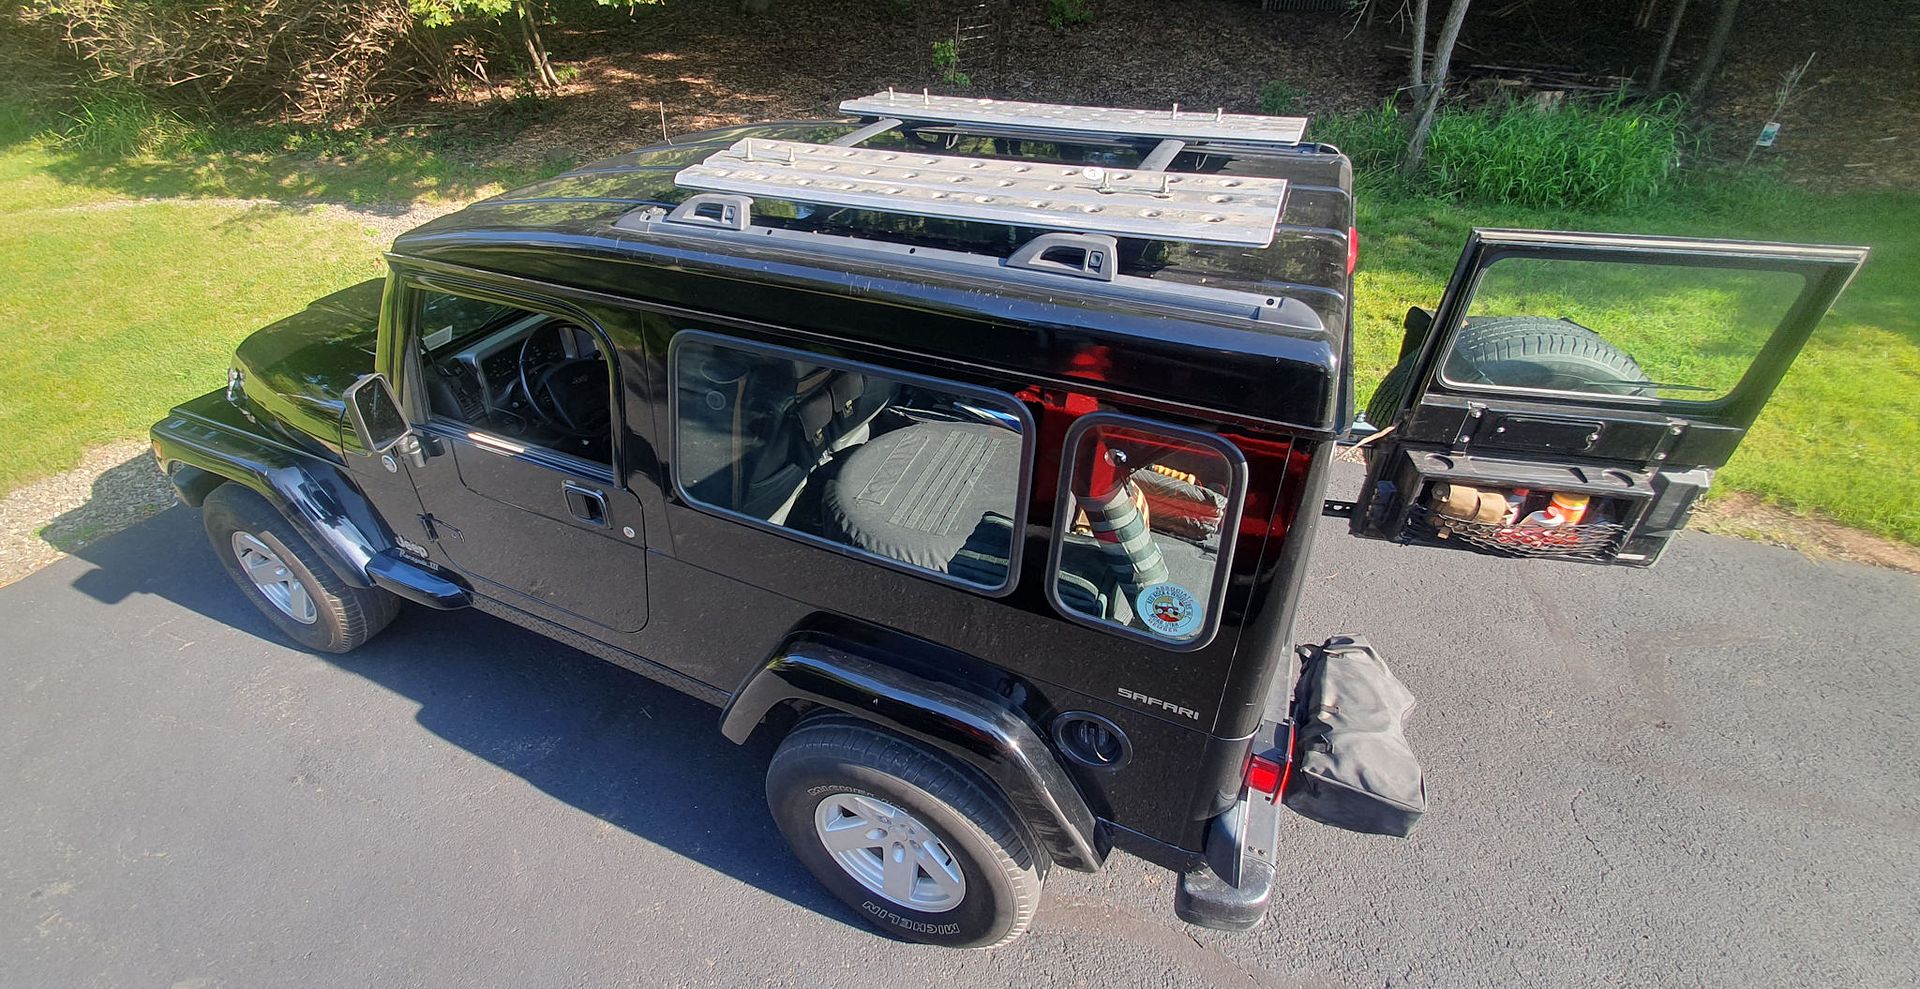
LJDone1_zps1vbsp3bz.jpg


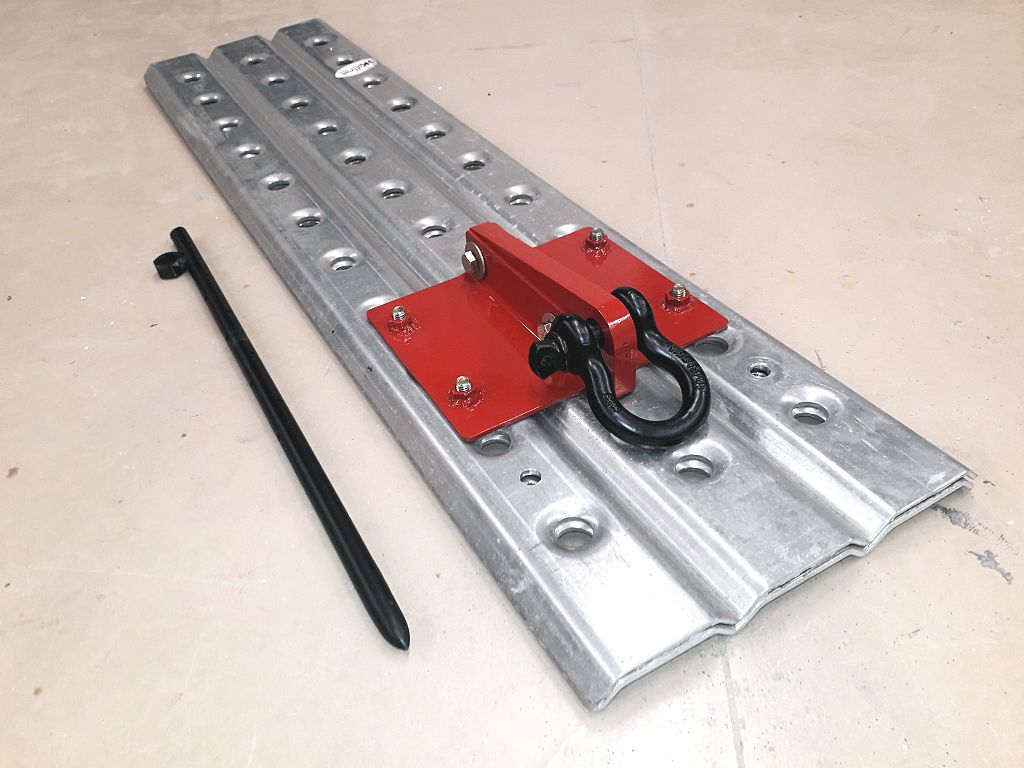
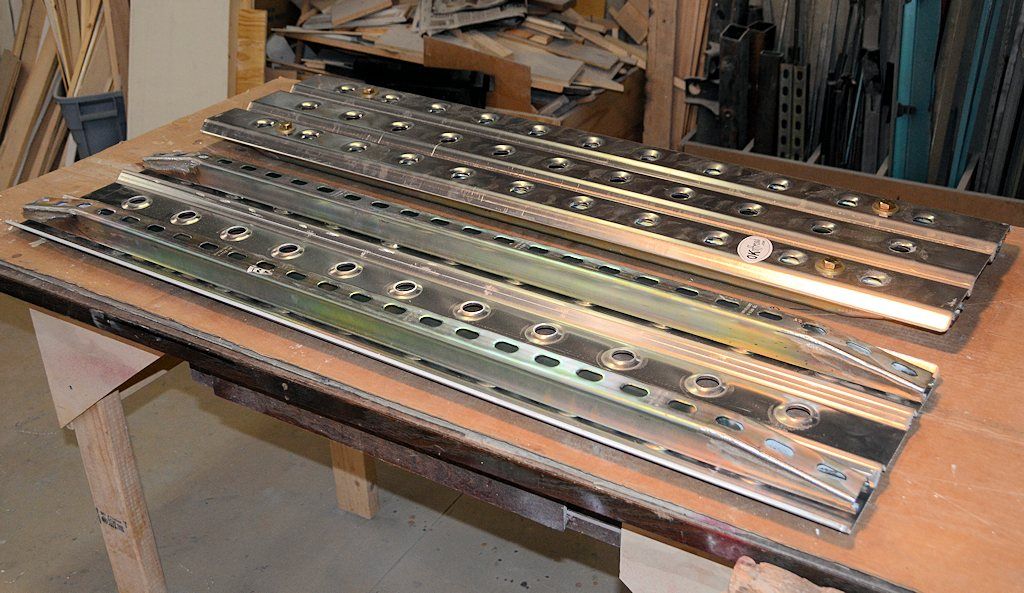
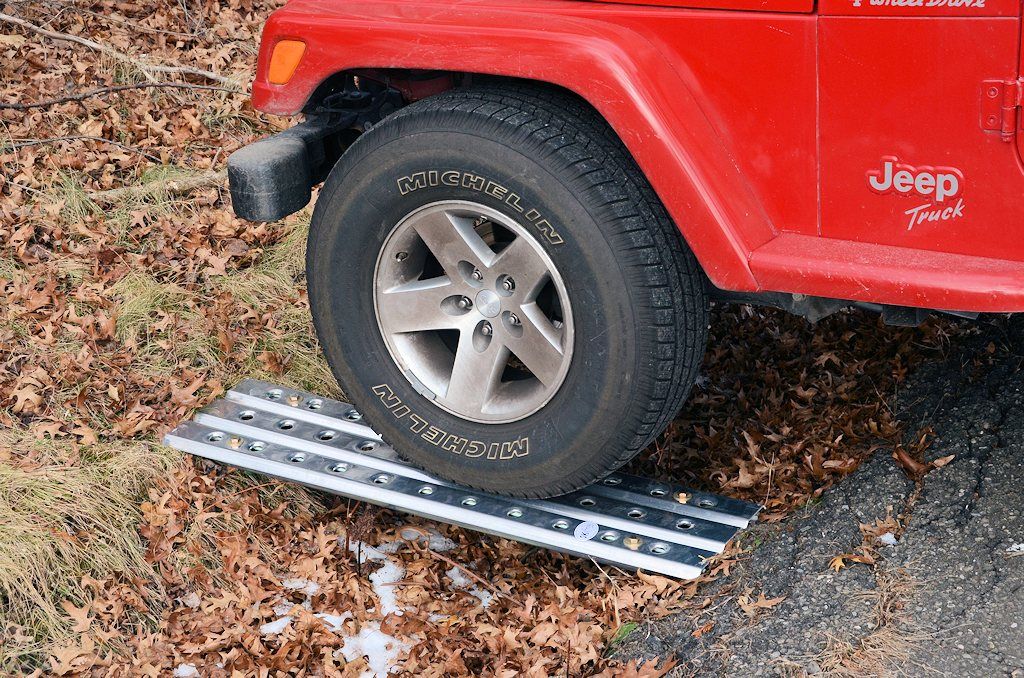
I put the recovery boards up top; unlikely they'll be used but could help with mud or perhaps large ledges - I've got unistrut reinforcements I can bolt to the bottom of the boards to they can be used as ramps or bridges. They also serve as ground anchors in case I need to winch and there's no place to winch from.

RecoveryBoards.jpg


Assembled1.jpg


A backyard example of winching with the recovery board ground anchors:


How the recovery boards are used for bridging... unistrut bolted to the bottom:

BridgeLadders3_zpslaojrwpi.jpg


A trivial example in a ditch nearby:

BridgeLadders5_zpsb1bbrb5l.jpg


They can be very useful as ramps to help get up a ledge that's higher than the approach angle of the Jeep.

I also carry a recovery strap in an Overland Outfitters Roll Bar bag; I am traveling solo on this trip but more than once I have used the strap when I've come upon someone else who needs to be pulled out of a situation.

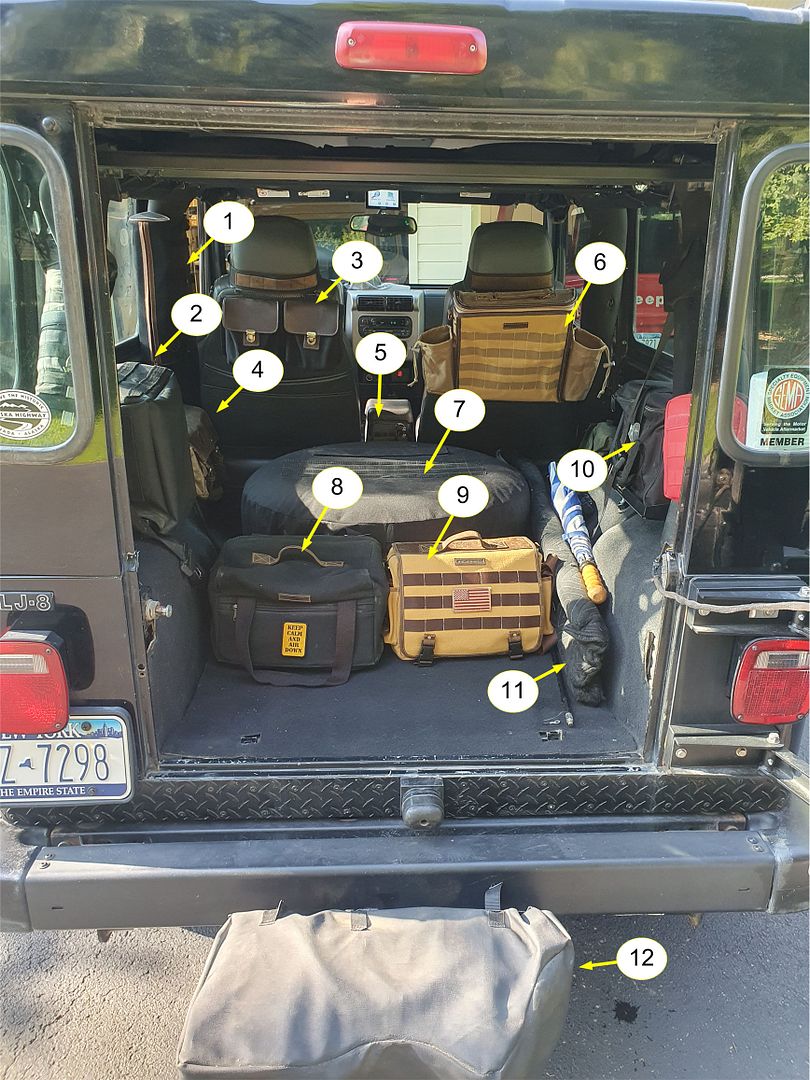
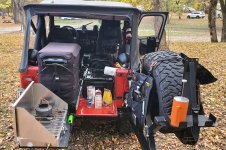
Inside the Jeep is my compressor bag with tire repair supplies and my tool bag, winch gear bag, a box with a few spare parts, a saw to deal with trees fallen across the trail, and a bottle jack. Since this is a short trip with a fairly tight schedule, I'll also carry a second spare; if a tire fails and can't be repaired I don't want to continue the trip without a good spare or interrupt the schedule to get a new spare, so I carry a spare spare. The spare is covered with an Overland Outfitters tactical spare cover to keep things clean inside the Jeep.

Gear.jpg


  1. Roll bar bag with recovery strap
  2. Second battery, usually for Trail Kitchen but can be used as a starting battery by flipping a switch on the dash.
  3. Extra d-ring shackles in a seat-back bag
  4. OO Saddlebag, holds extra tools
  5. CB radio
  6. OO Cool Bag, extra cooler for drinks, etc.
  7. Extra spare tire in OO Tactical Spare cover
  8. OO Compressor Bag with compressor and tire repair supplies
  9. OO Tactical Tool Bag
  10. TrailVision Camera System, I probably won't be setting it up for these trails but it lives in this box to be ready whenever I need it.
  11. Unistrut reinforcements for recovery boards
  12. Winch

Not pictured is the Winch Gear bag, I put that on the floor in front of the passenger seat since nobody will be with me.

Other than that, a small bag for clothing, a small cooler and food bag - no need for the Trail Kitchen on this trip, since I'm staying at hotels every night I only need lunch on the trail, camera gear and a few odds and ends will go in the Jeep just before I leave.

I considered carrying extra fuel because some of the days are long, but on the two longest trail days there are short highway stretches between trails where I can top off.
 

jscherb

Expedition Leader
I'm back from my Colorado expedition; it was a quick trip because I don't have much time this year with everything else that's going on in my life. I drove from upstate NY to Colorado in two days, spent 4 days on trails and 2 1/2 days driving back. Most of the trails were ones I've done already - I thought it would be interesting to see what's changed in the dozen years or so I've been doing these expeditions. I did about 44 miles each day off-pavement in those 4 days (174 total); I'll do a quick summary of the trip over the next few posts.

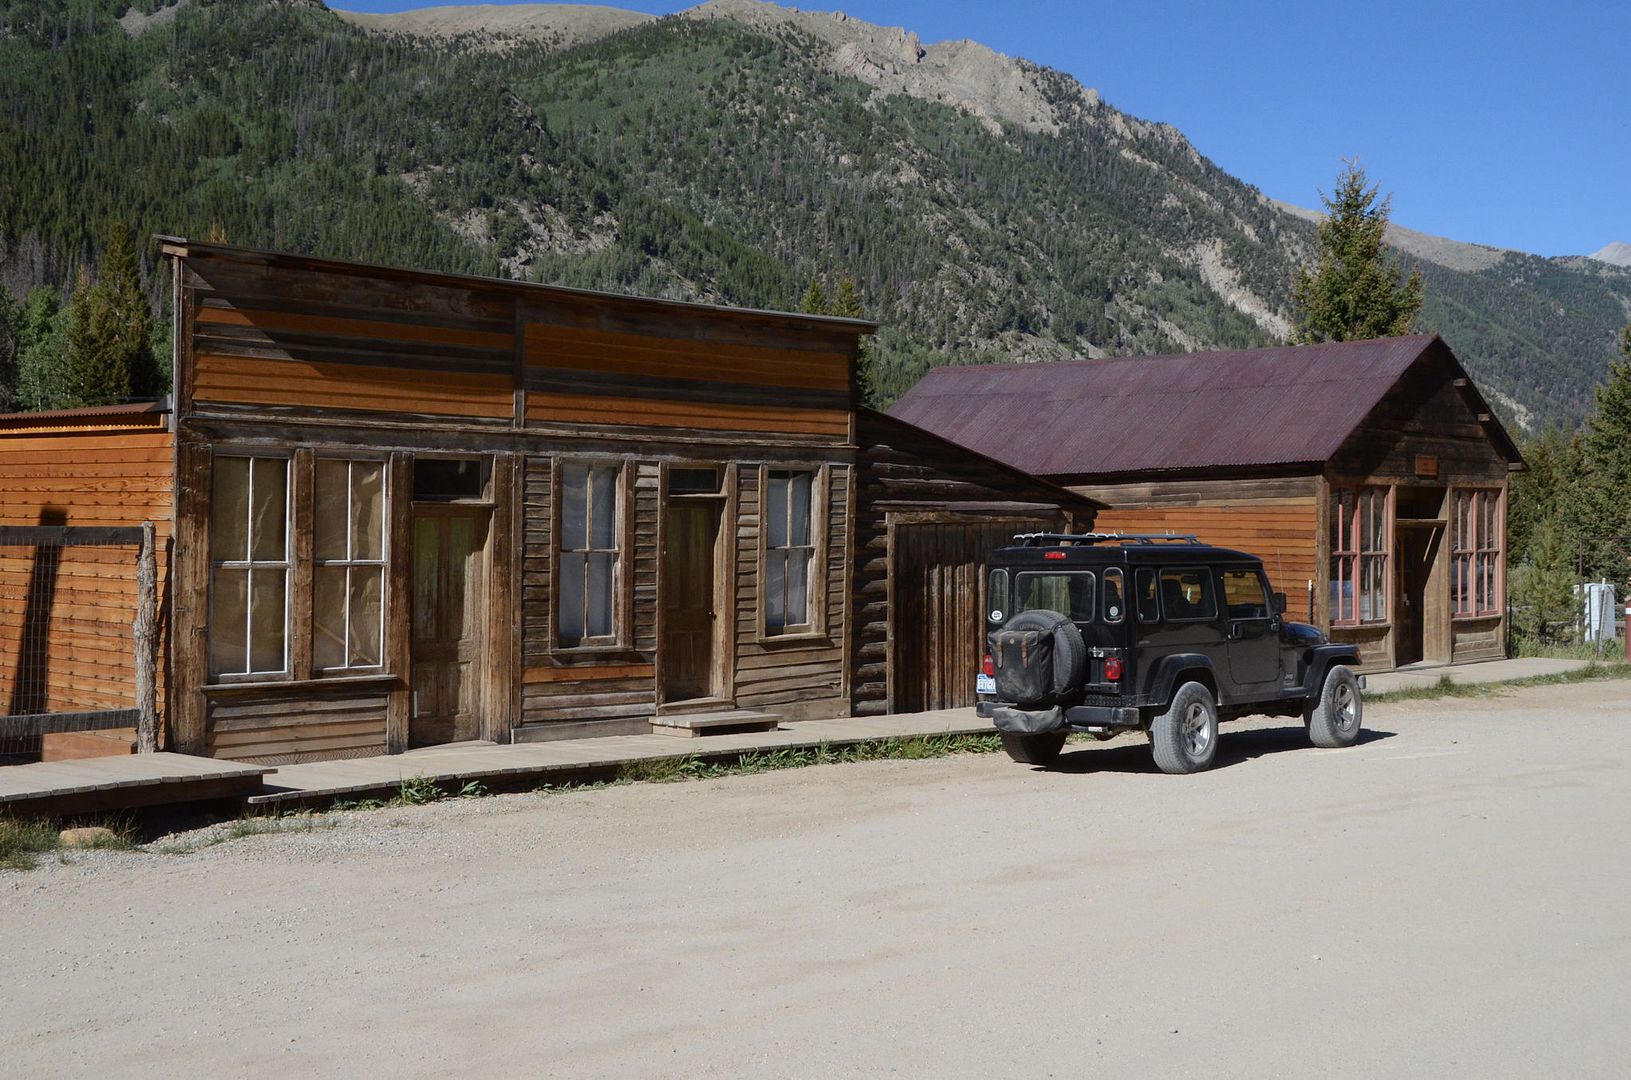
Day 1 started in the St. Elmo "ghost town" north of Salida.

StElmo2.jpg


I put "ghost town" in quotes because it seems to have more life in it than when I first went there in 2012 - there's a store, a small museum and a lot of structures converted into vacation homes.

The first trail was Tincup Pass. I didn't notice any real changes on this trail and it was still a good ride.

TincupPass23.jpg


Next I drove up to the town site of Hancock (only one foundation exists there) and along the way started a side trip up the trail to the Mary Murphy mine. I had visited the mine in 2012 but this time I turned back after about a quarter mile - this trail has suffered a lot of erosion over the last 10 years and has become more of a challenge for my small lift and tires than I wanted to take on - many 12"+ loose rocks made the shelf portions of the trail a bit hazardous due to slipping on the rocks.

I did stop on the way to Hancock to photograph the Allie Belle Mine; it's suffered considerably since my last visit.

AllieBelleMine.jpg


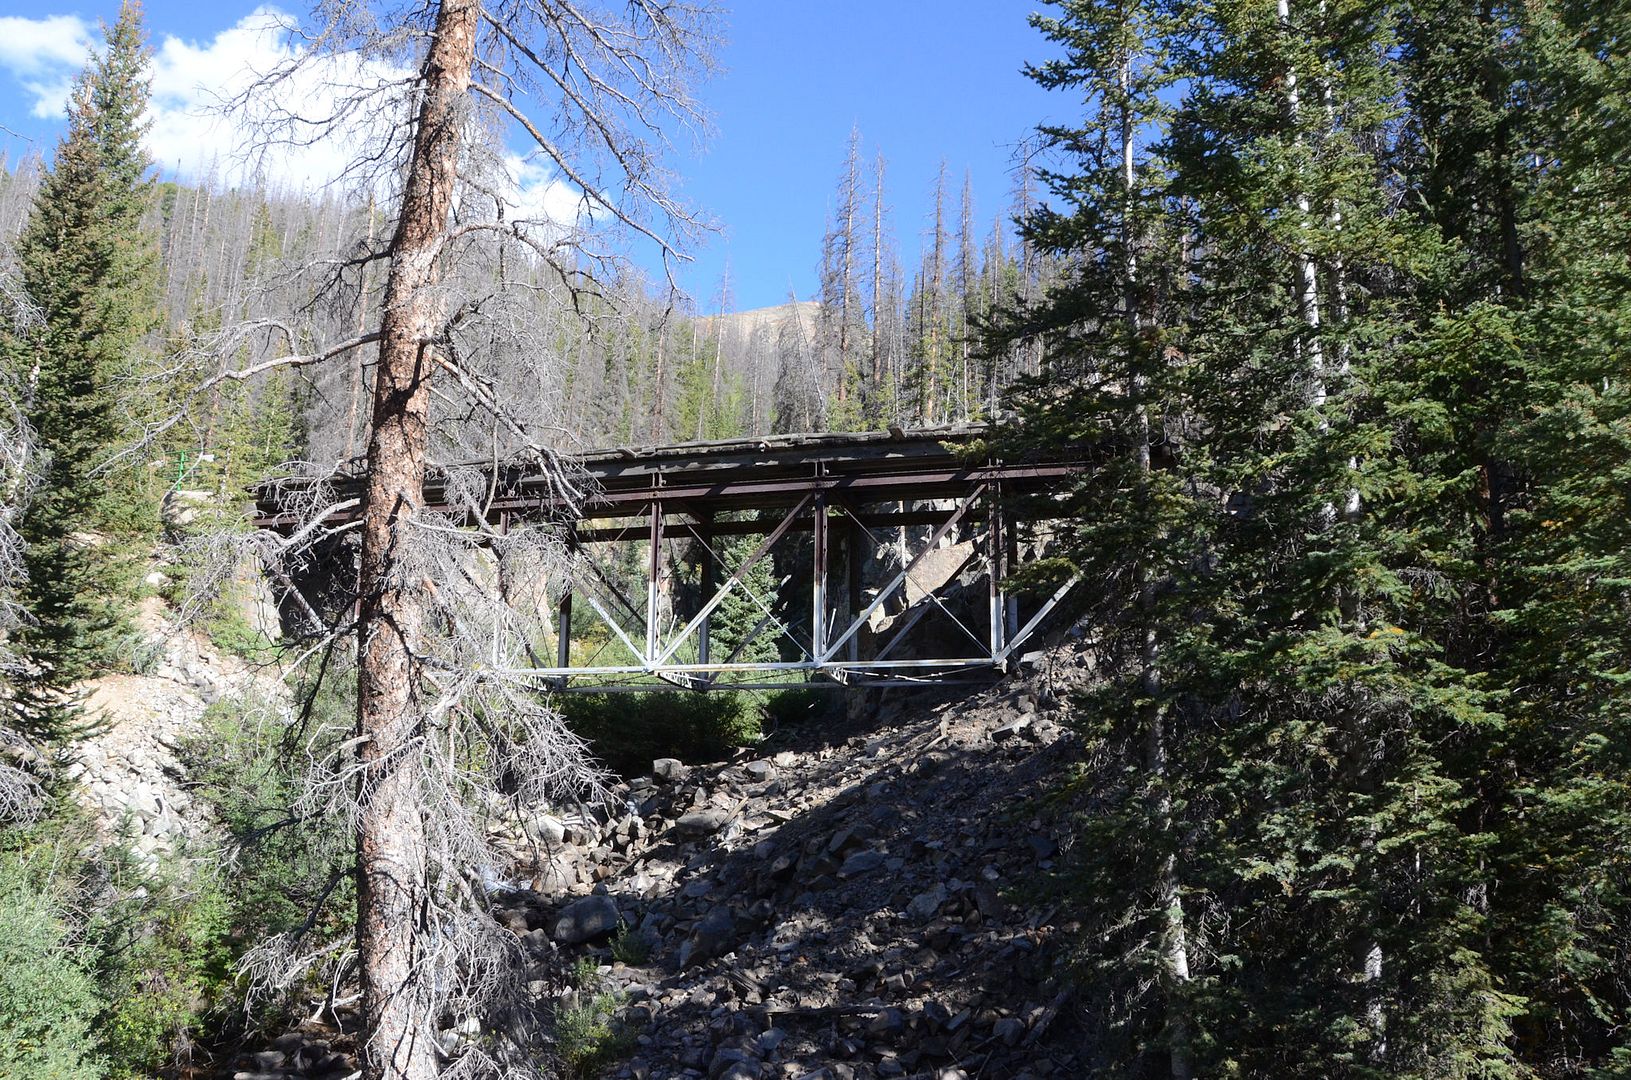
Also, always interested in railroad history, I snapped a photo of this bridge which was on the line up to the Alpine Tunnel. It's been abandoned for over 100 years.

HancockBridge.jpg


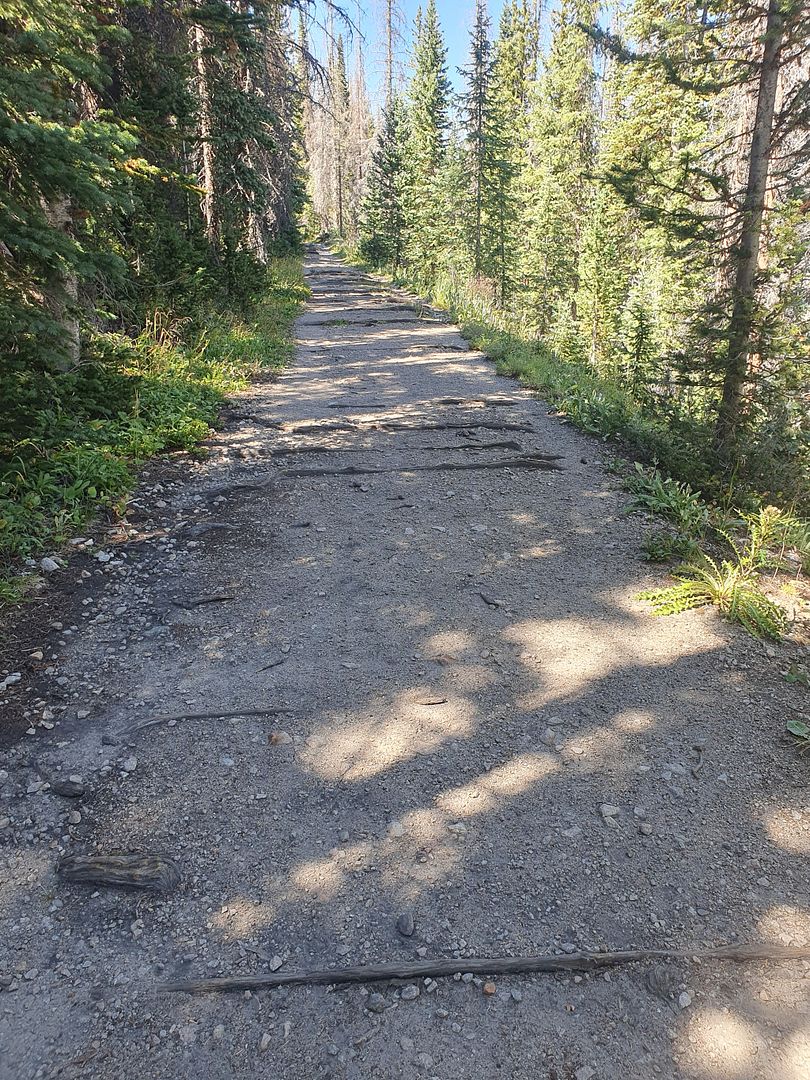
In past years I've visited the west portal of the Alpine Tunnel and this year I wanted to see the east portal. It was an 8-mile round trip hike along the old railway grade, there are many ties still embedded in the ground.

AlpineTunnelRoute.jpg


It was a bit of a wasted hike, the portal is totally collapsed and if you didn't know it used to be a railway tunnel you'd have a hard time figuring that out.

AlpineTunnelEastPortal.jpg


Overall about 40 off-pavement miles the first day. Spent the night in a hotel in Salida.
 

jscherb

Expedition Leader
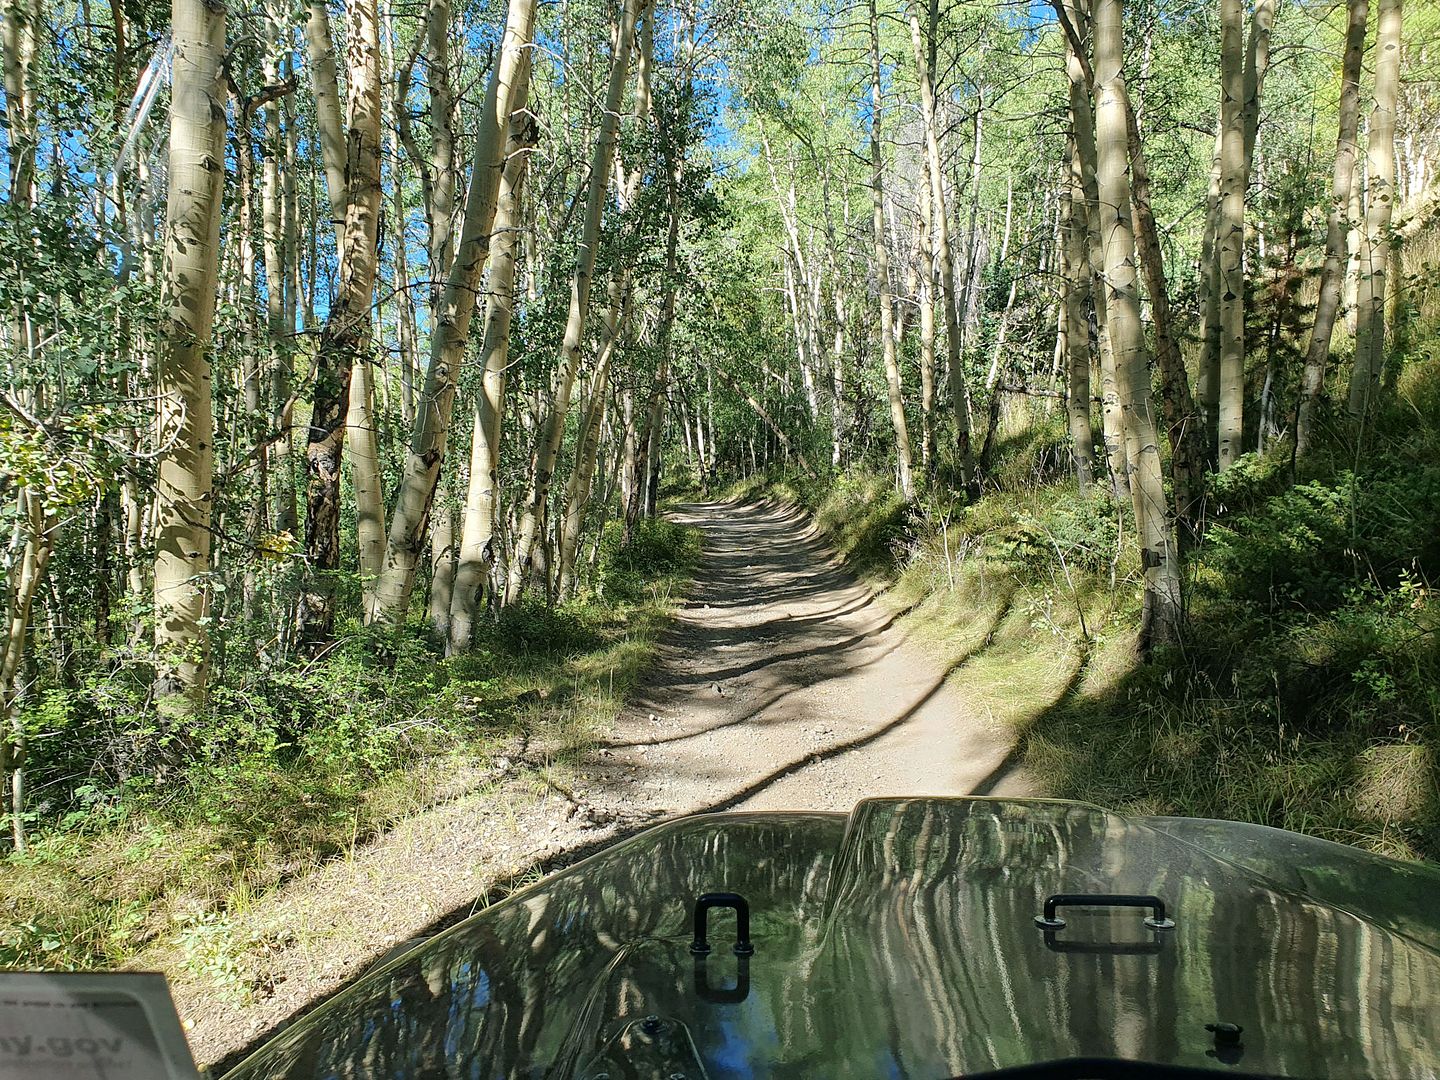
Day 2 started with a trip up to and over Monarch Pass. I took the very scenic Poncha Creek trail up to the summit, it's one of my favorites. At the mid elevations it's a beautiful trip through a dense Aspen forest.

PonchaCreekTrail.jpg


Took a now and then photo at the pass...

MarshallPass_oAxKUE8iW7F1dsgFYCfSSY.jpg


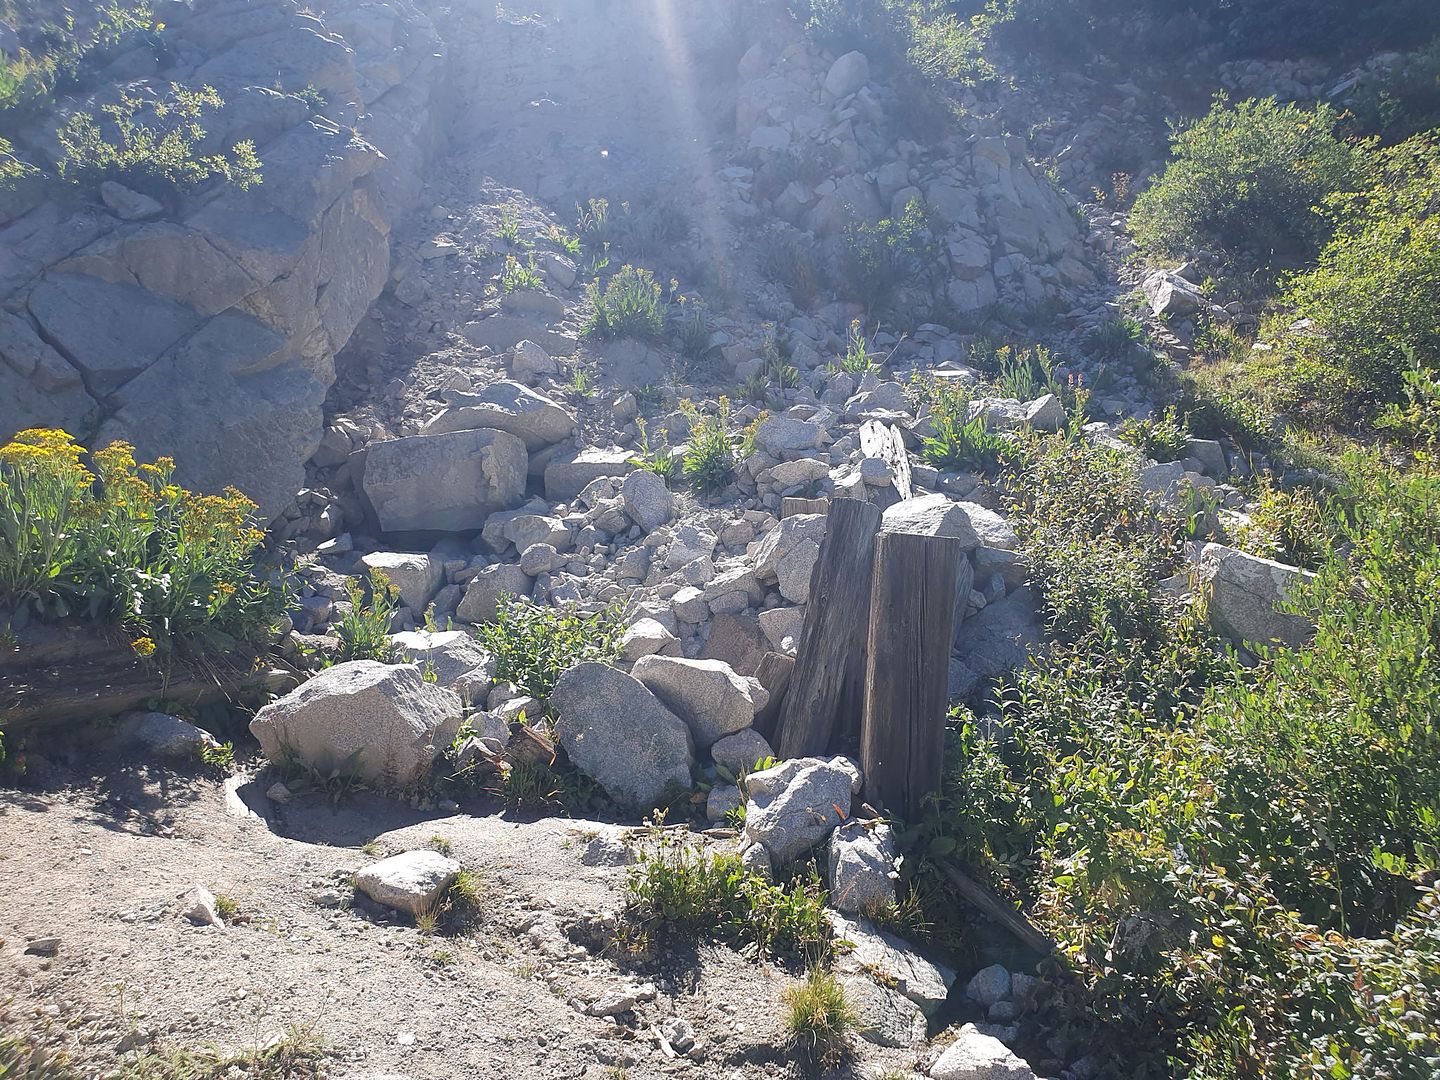
At the pass is the foundation of a railway station; it was a rest stop for the trip from Salida to Sargents.

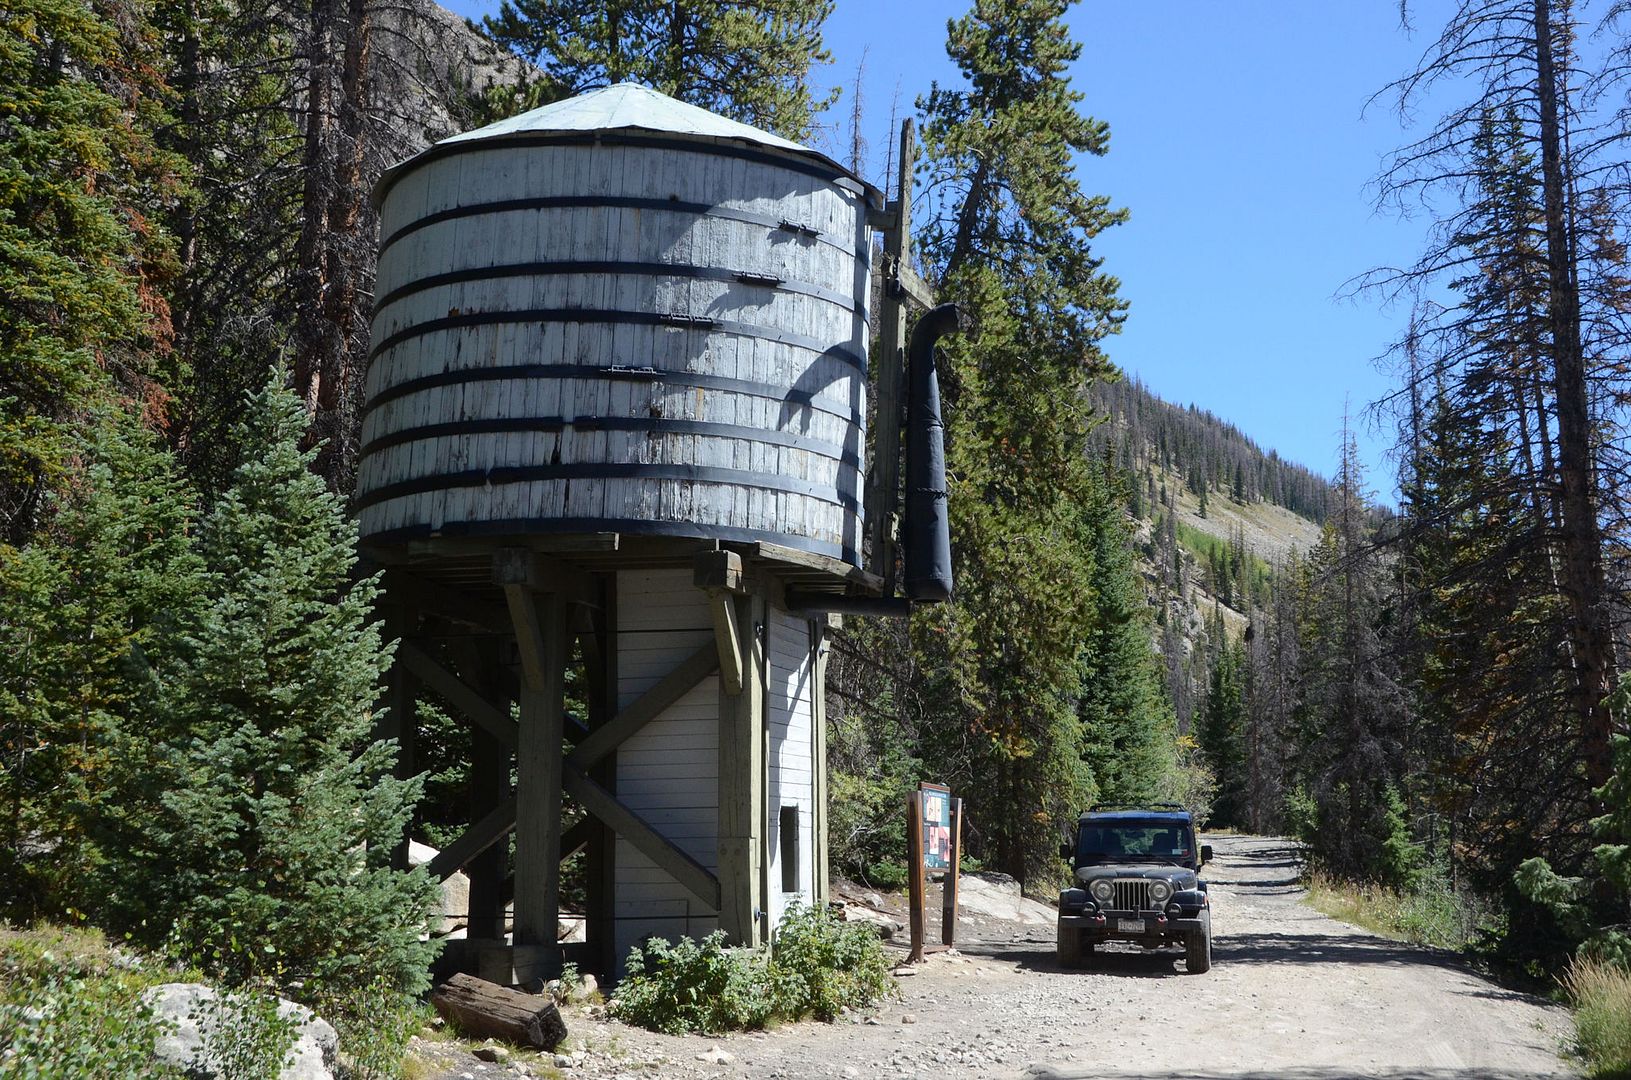
After getting to Sargents, I took a combination of trails along the way to try to get to the west portal of the Alpine Tunnel. Tomichi Pass - Black Sage Pass - Waunita Pass - Middle Quartz Creek - Alpine Tunnel Road. The bad news - the last three miles of the trail were closed for maintenance. I had been to the west portal some years ago and I just wanted to see what had changed but it was not to be. There are several restored structures up there and it's a very interesting place for a railroad buff. I did take this photo along the way, it's one of two tanks that were on the line from Pitkin.

AlpineTunnelTank.jpg


Overall did 78 miles off-pavement this day and ended at a hotel in Gunnison. Had a nice steak dinner in town.
 

jscherb

Expedition Leader
On day 3 I drove to Lake City and took the Engineer Pass trail west.

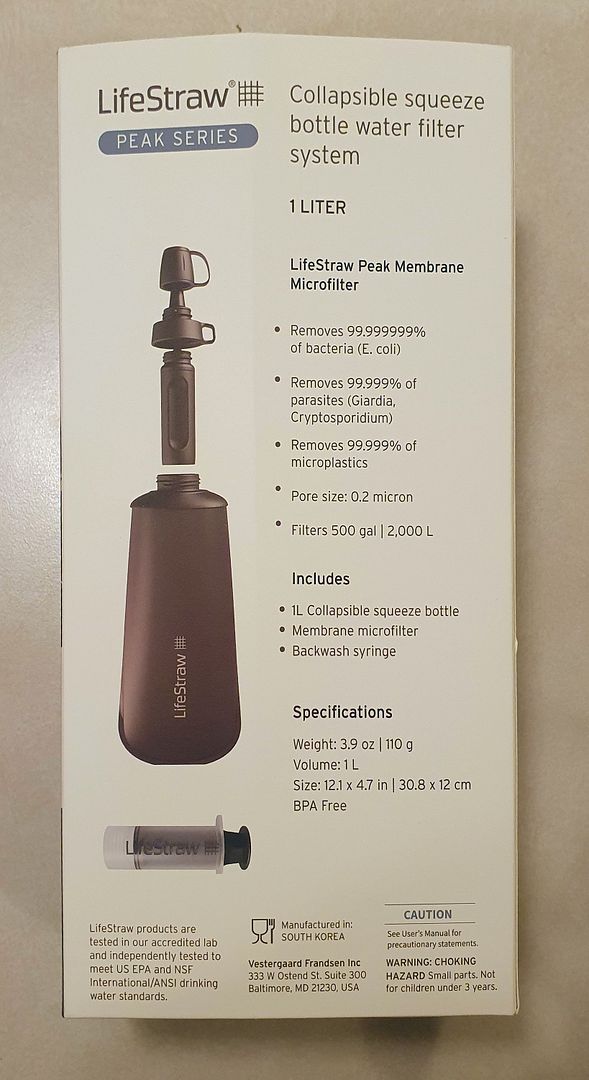
Along the way I tried out a new (well, new to me) product on this trip. It's called a LifeStraw, and I actually bought it for India, where I shouldn't drink the water that comes from the tap.

LifeStraw.jpg


It claims to remove almost all bacteria and parasites (from 99.99% to 99.999999% depending on the type) so I brought it on this trip and figured I'd try it in a Colorado stream.

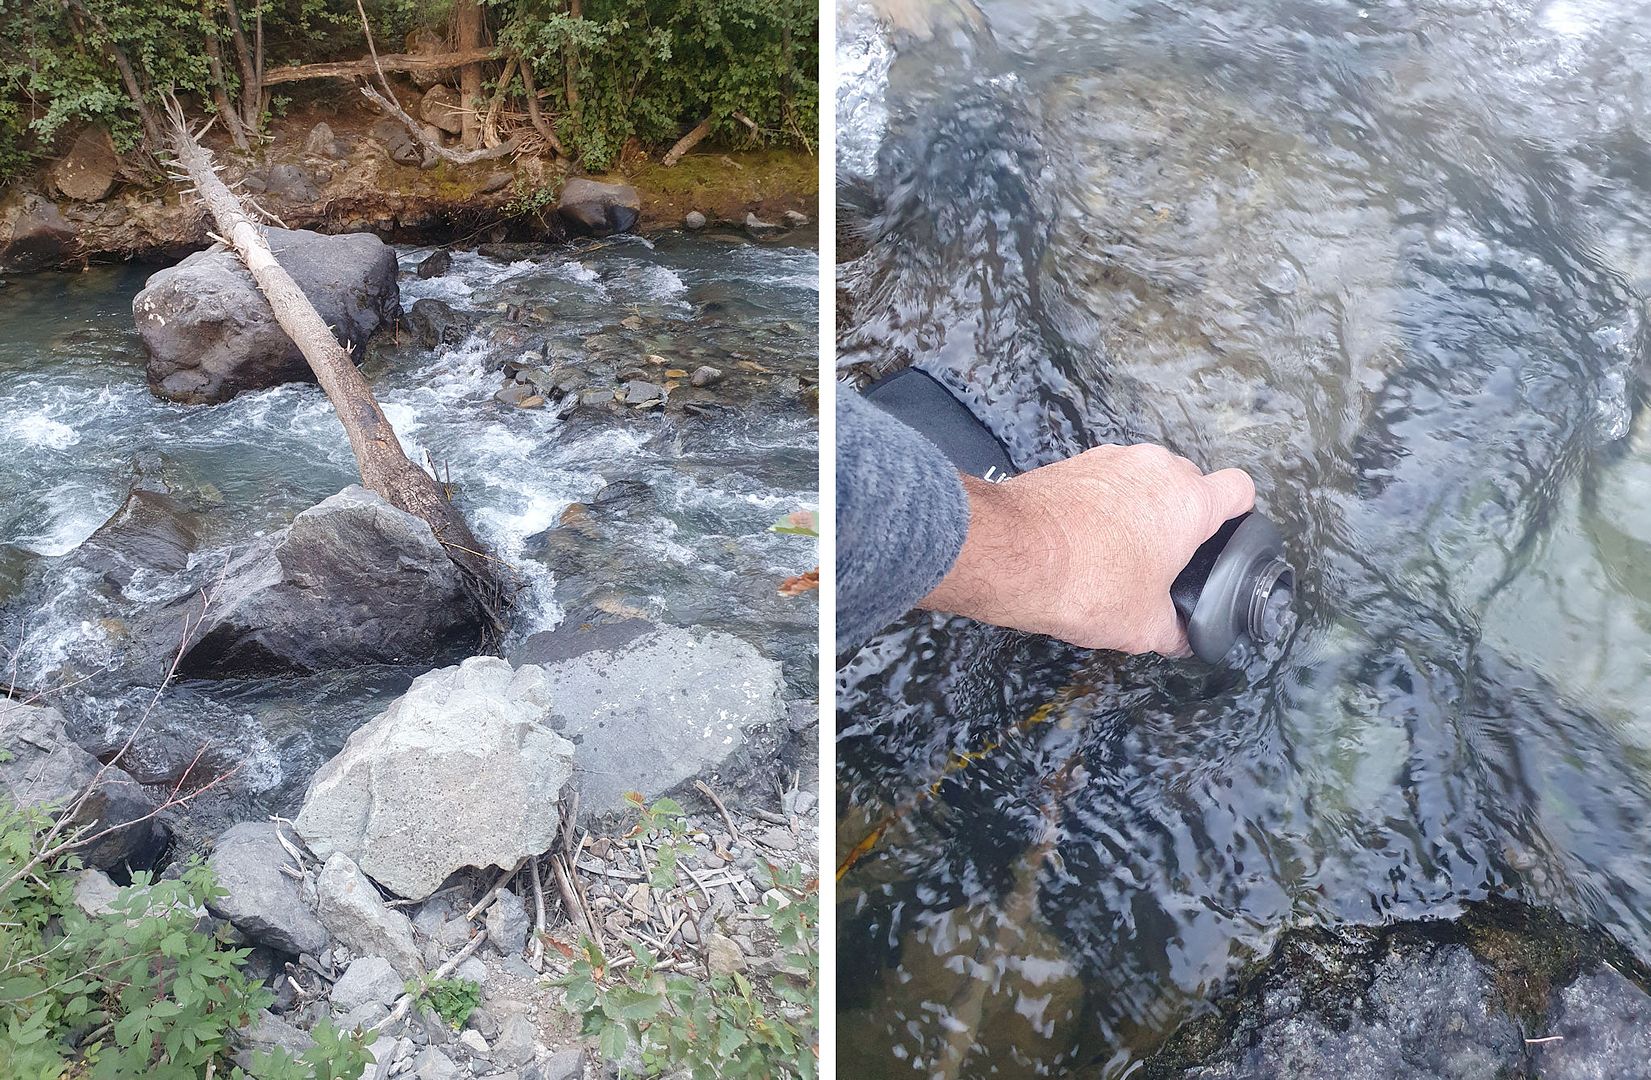
I found a good stream to try along the trail. Filling the bottle:

LifeStrawFillup.jpg


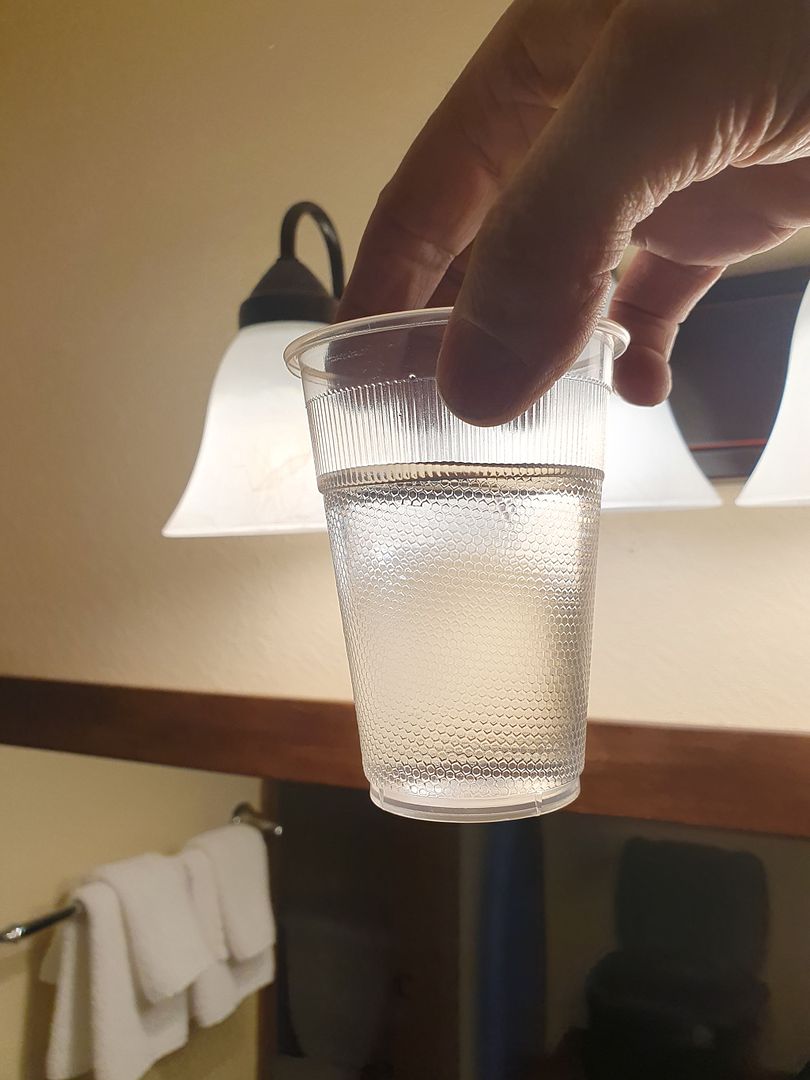
Later that evening I tried the filtered water from the bottle.

LifeStrawWater.jpg


It looked very clear but that indicates nothing because the contaminants the bottle is supposed to remove aren't visible to the naked eye. Anyway, the water tasted great and if I drop dead from it I guess I won't be able to post anymore :).

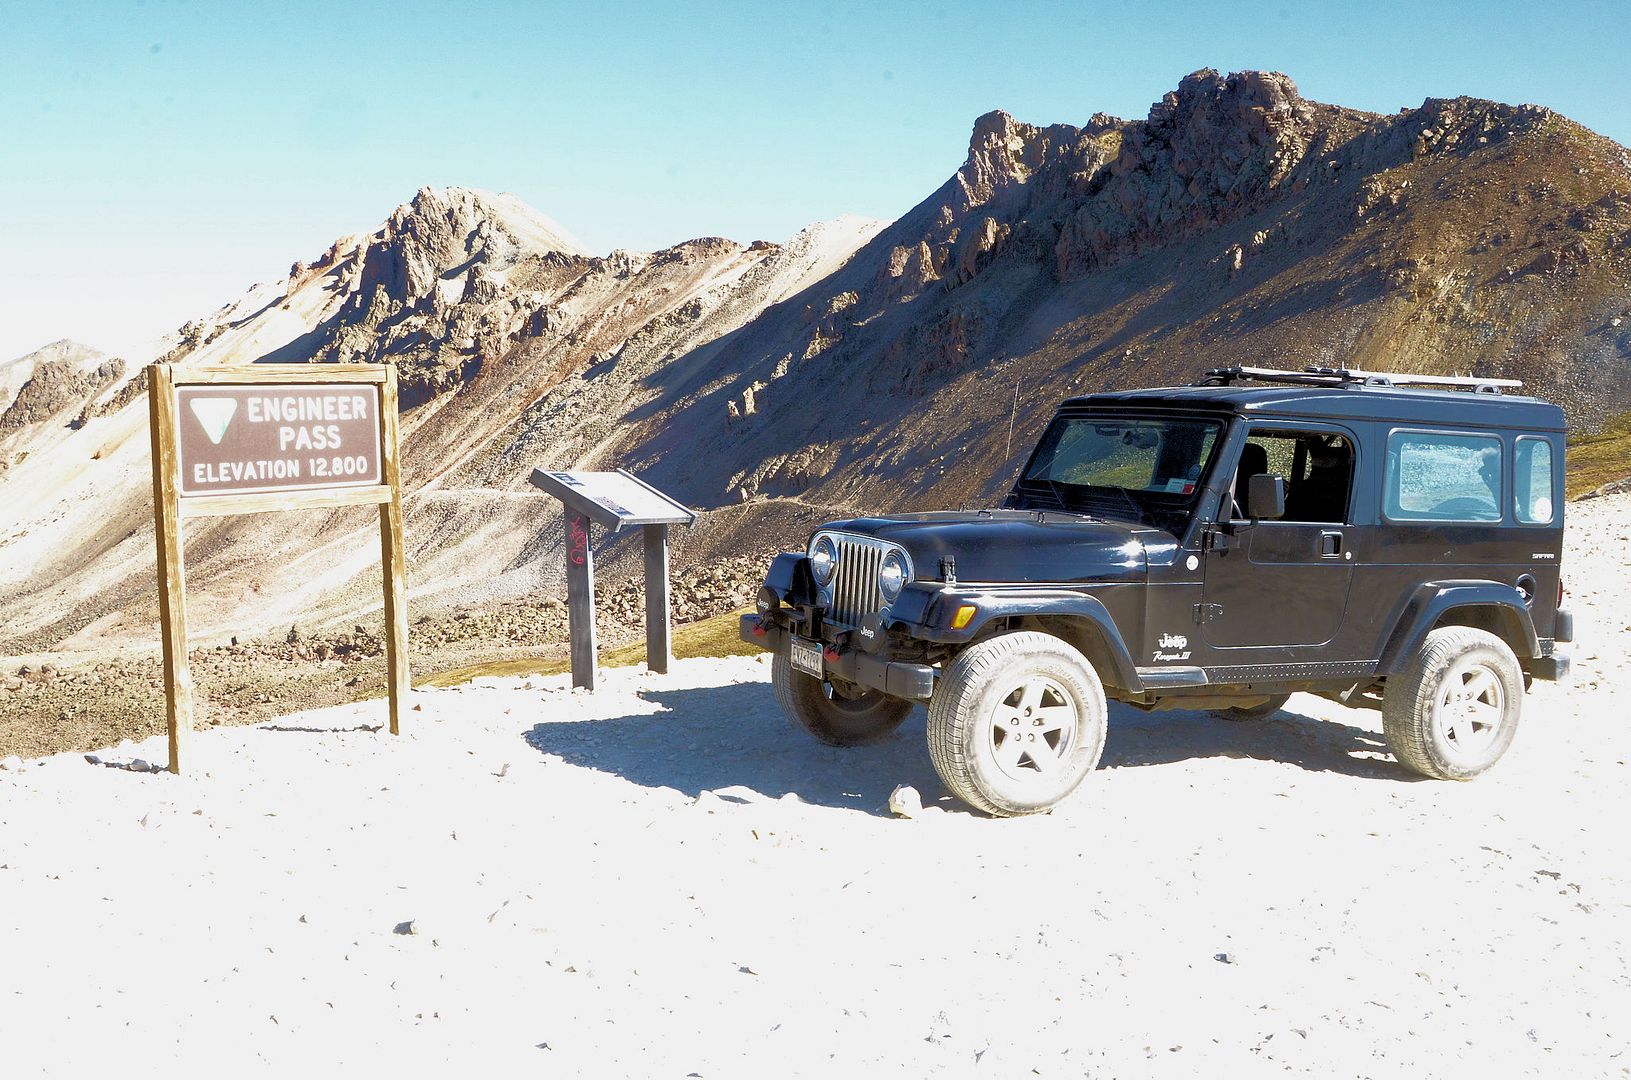
Didn't do a then and now photo at Engineer Pass, just now:

EngineerPass.jpg


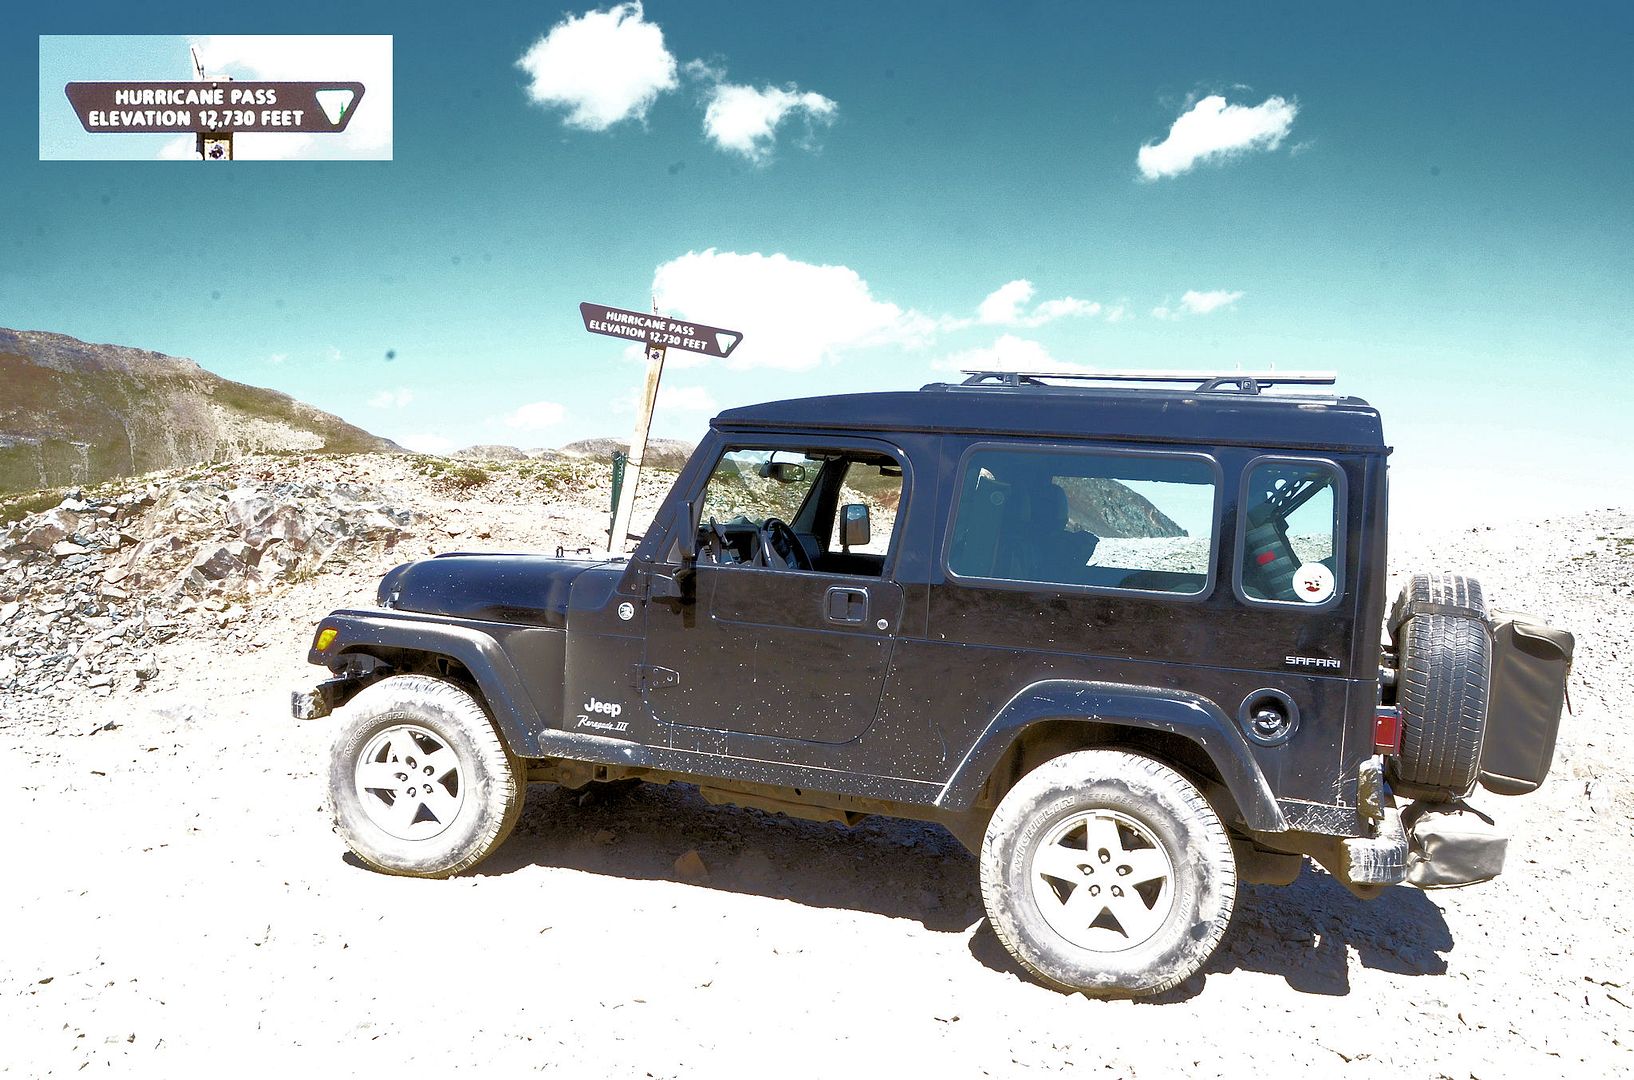
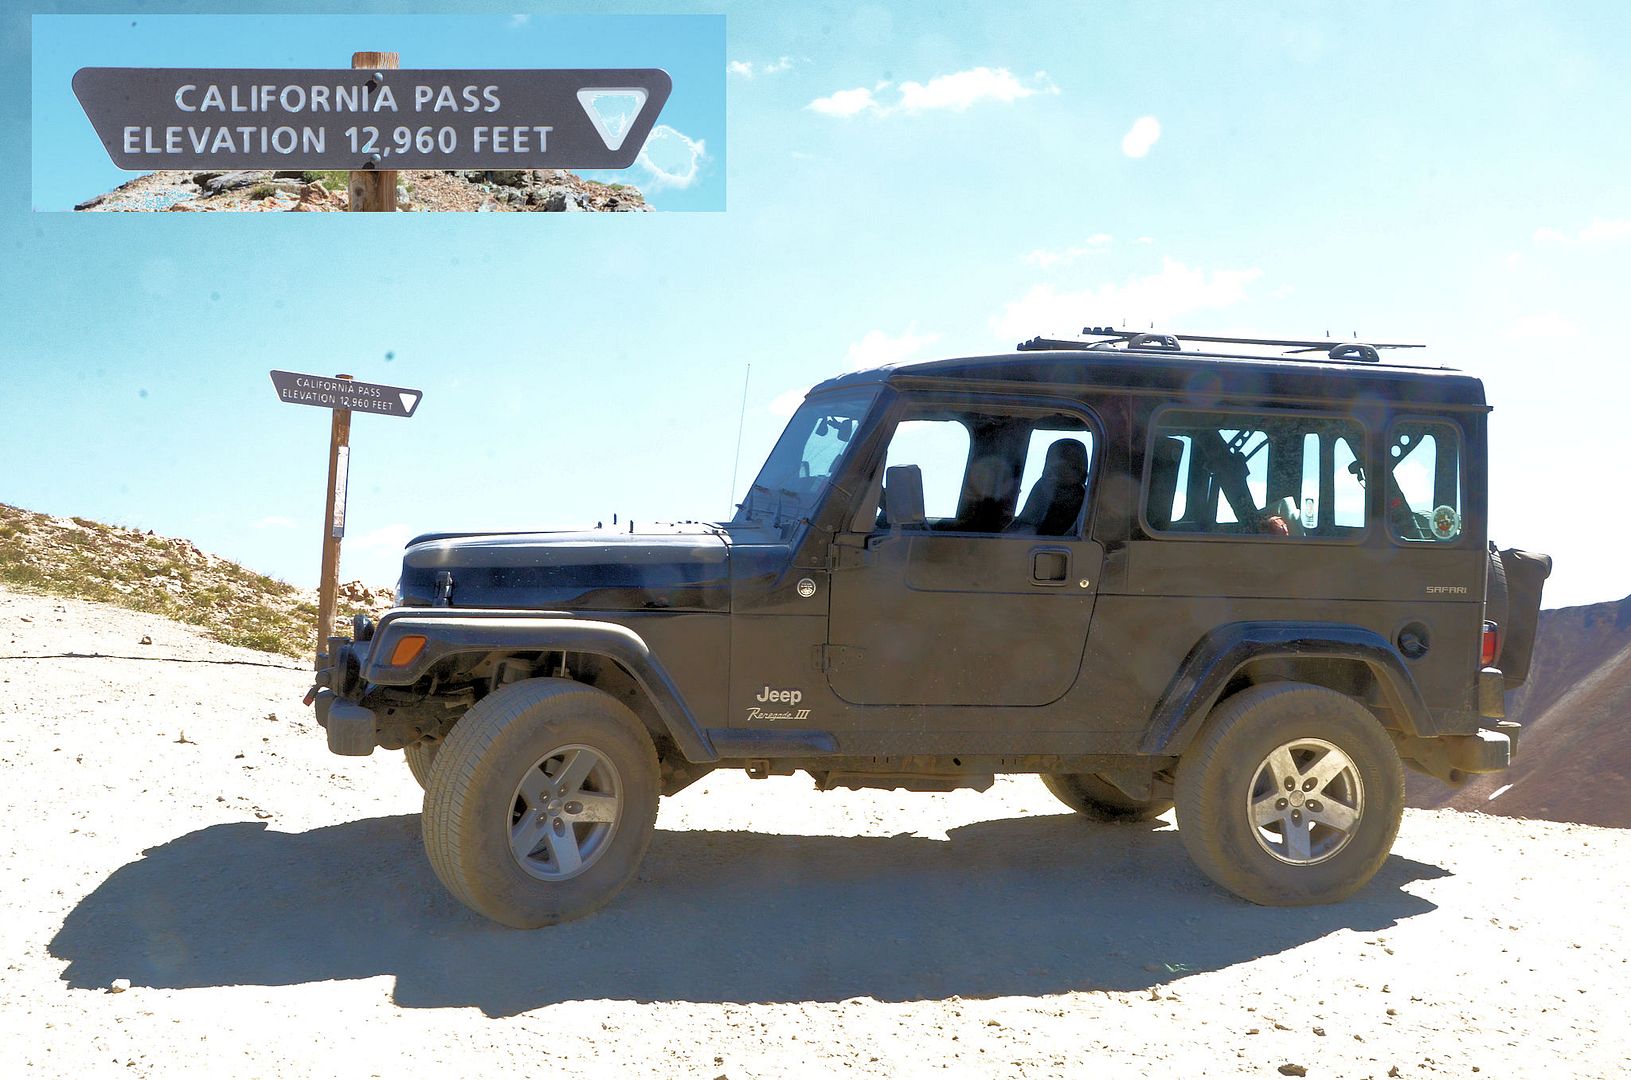
Engineer Pass (and the rest of the trails for the day) were just as I remembered them, I didn't notice any significant deterioration of the trails. After descending the west side of Engineer Pass into the Animas Forks ghost town, I took California Gulch trail west to California Pass. Somehow my camera settings got messed up and I didn't notice it so the next two photos are a little off.

HurricanePass_qHYNDzYFNhooXiTYU3bg7G.jpg


And on to Hurricane Pass.

CaliforniaPass_86AcZ4tpuHe2RHm1nZ8tsB.jpg


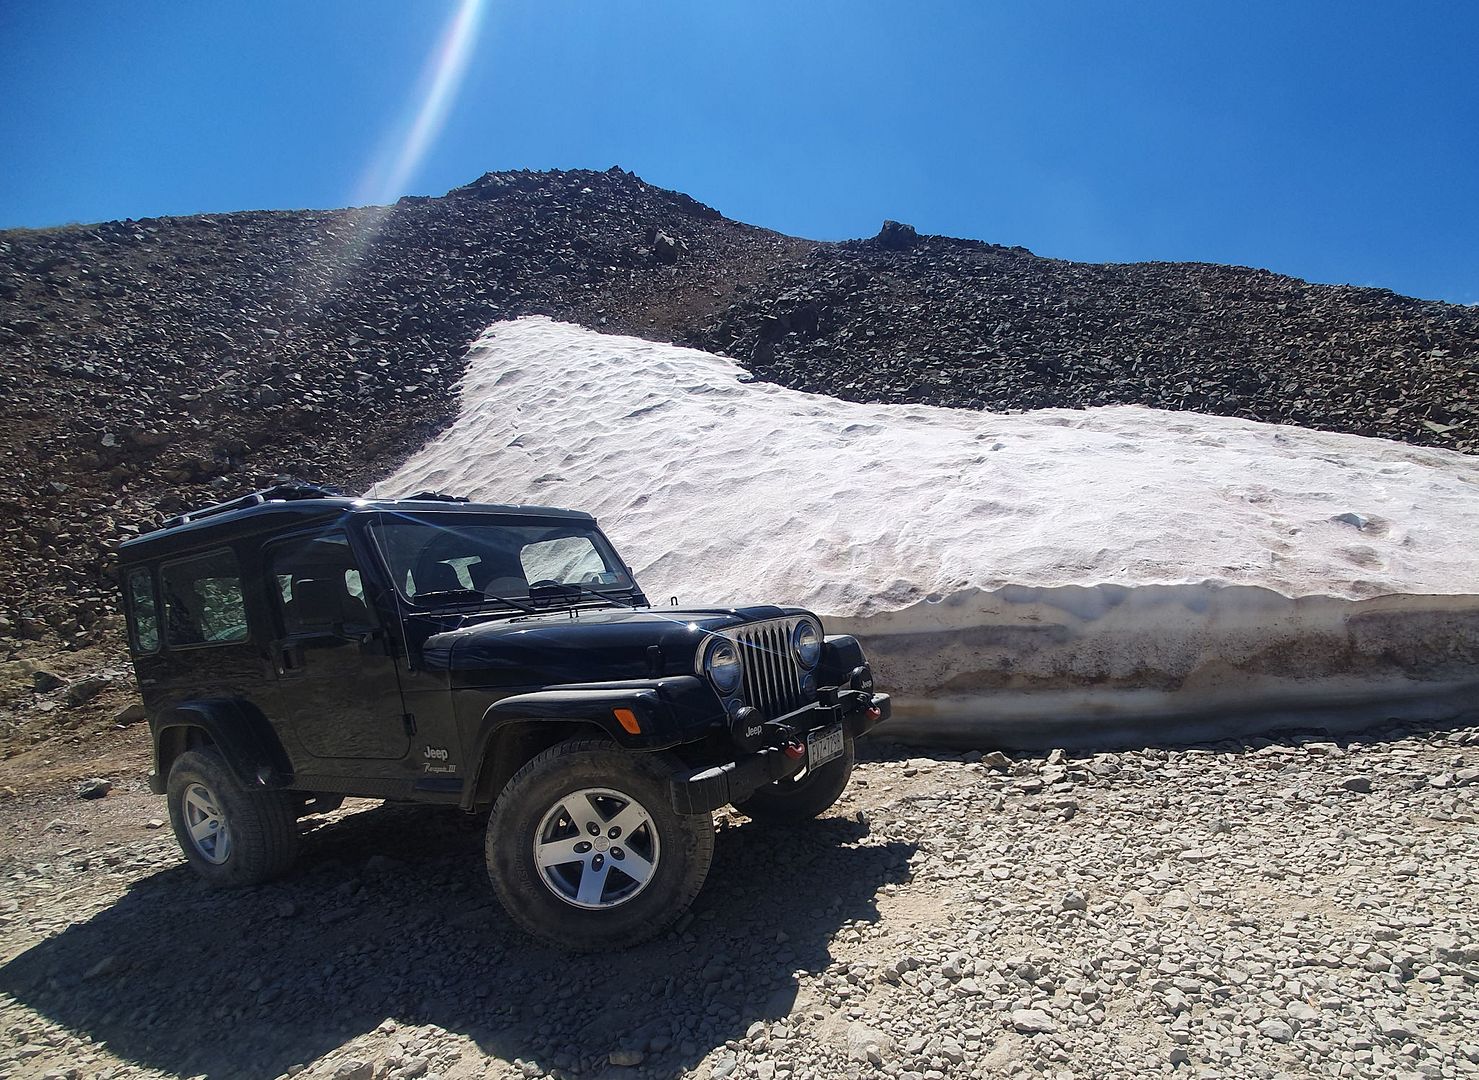
There's still snow at Hurricane Pass:

HurricanePassSnow.jpg


And then down to pavement via Corkscrew Gulch. This is also one of my favorite trails - it's a very steep trail up the side of the mountain with very tight switchbacks and at the lower elevations it's also steep and in many places like a roller coaster.

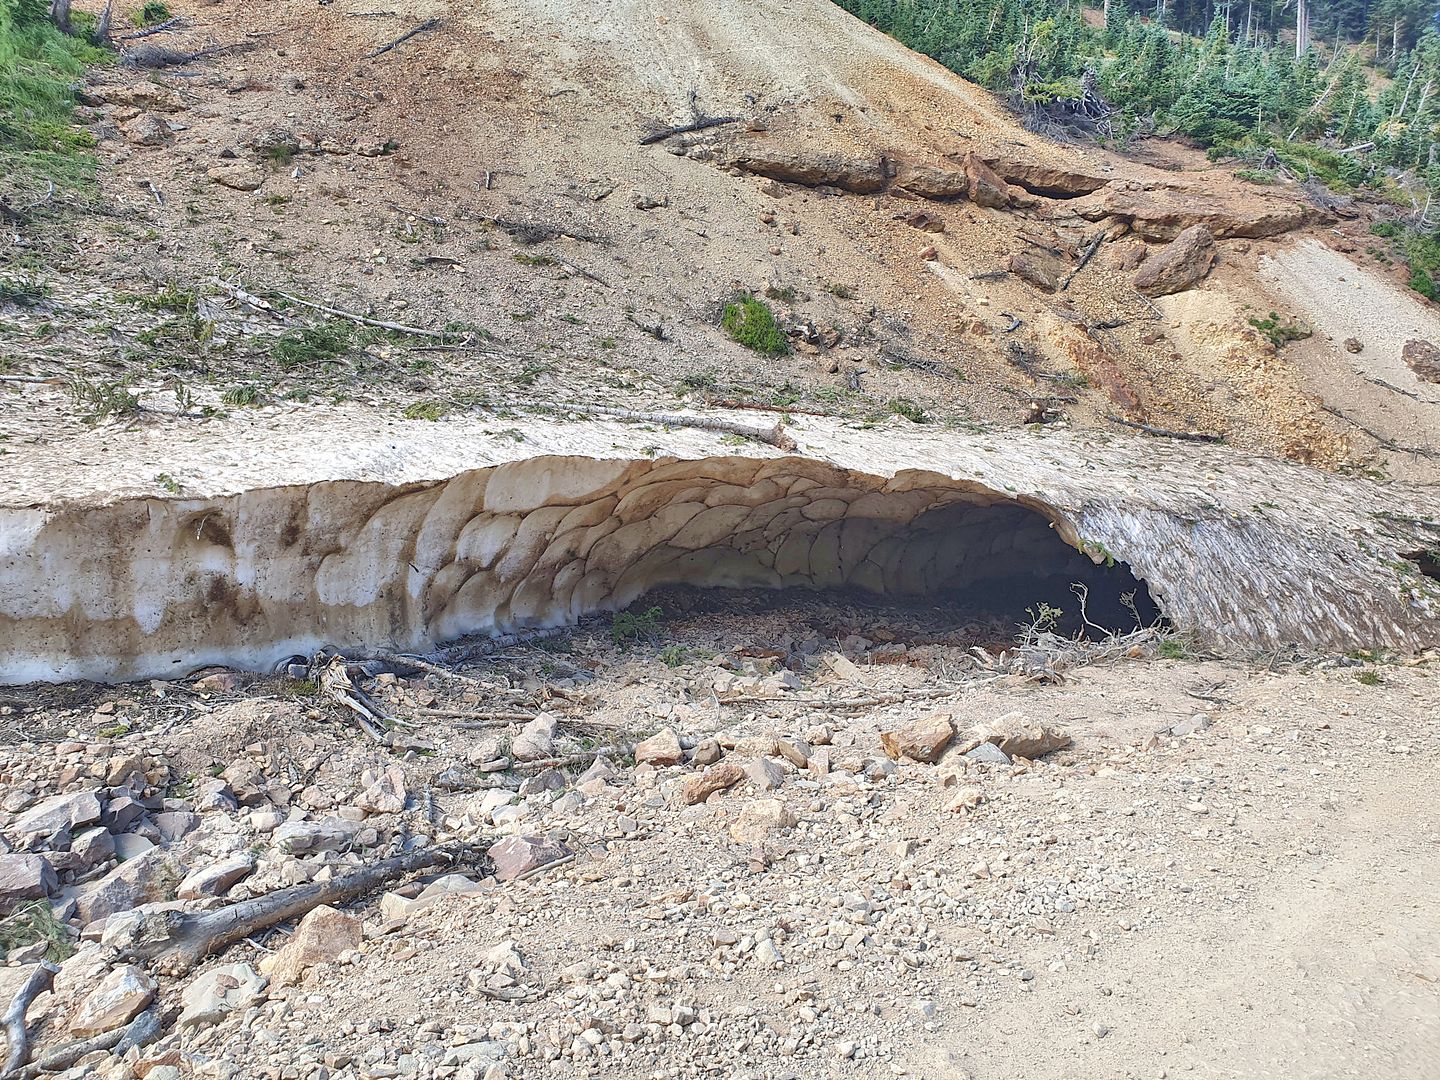
There was also some snow left at the lower elevations, this is a snow tunnel made by runoff meltwater. I didn't try, but I could probably just squeeze the Jeep inside.

CorkscrewSnowTunnel.jpg


Enjoyed the Ouray Hot Springs in the evening, and spent the night in Ouray.
 

jscherb

Expedition Leader
Day 4 started out from Ouray on the Yankee Boy Basin trail. I got to the intersection with the Imogene Pass trail and started up to the pass. I got about a half mile in and was enjoying the more difficult obstacles the east side of this trail offers but I decided to turn around. This was Sunday and there was a lot of traffic on the trail. Because of that and the fact that I needed to stop and study some of the obstacles to find the best line for my limited lift and tire size, I decided mostly because of the traffic it wasn't a good day to do that trail, so I turned around and continued along to the Yankee Boy mine. A few photos of the trip...

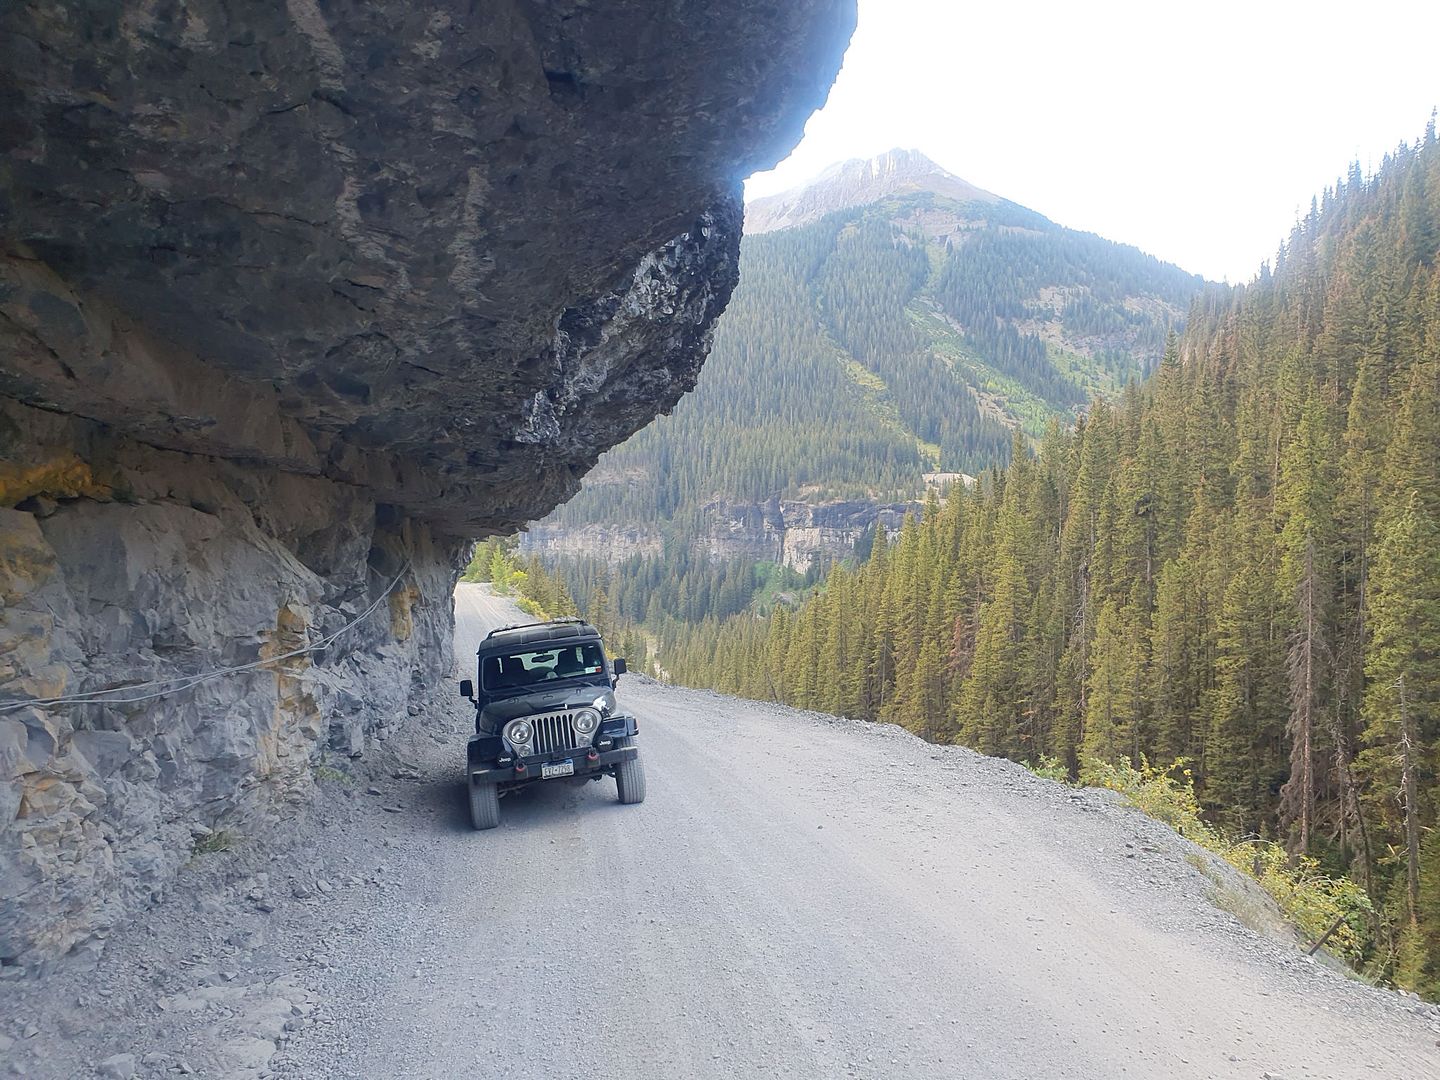
Before the unpaved surface turns into a real trail, there's the famous overhang:

YankeeBoyOverhang.jpg


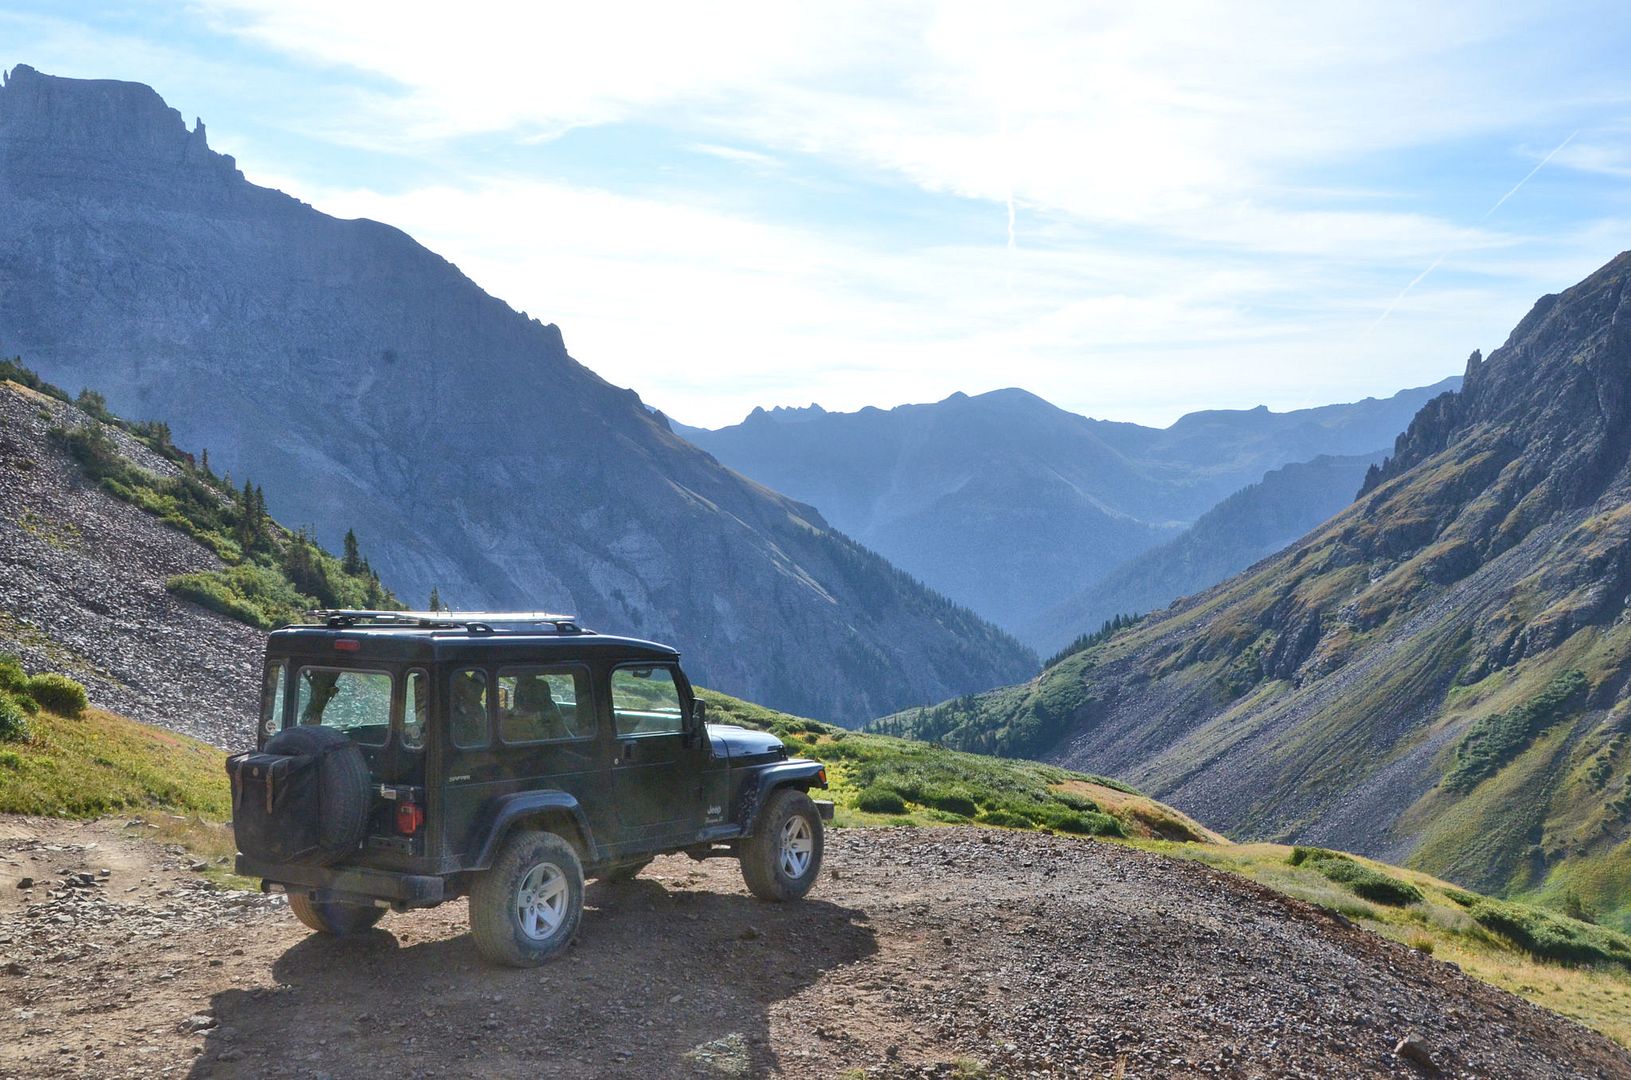
Parked at the mine at about 12,800 feet. The last couple of miles up to the mine have a lot of loose stones and getting a good grip on the trail can be difficult.

YankeeBoyMineView.jpg


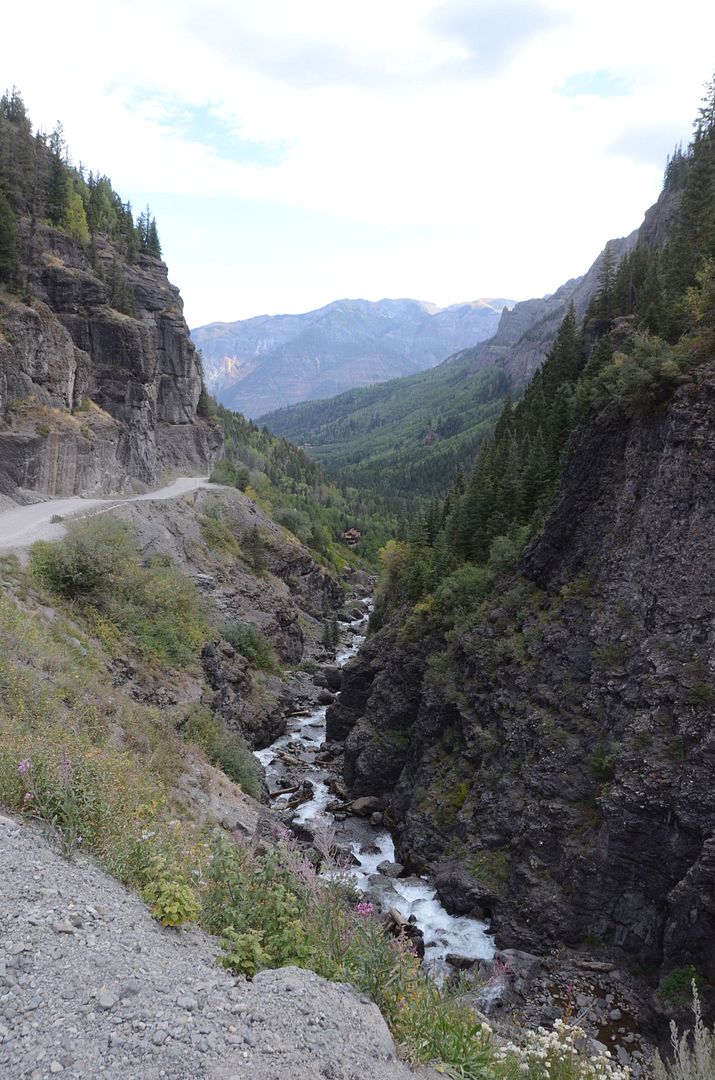
On the way back down, a view of the shelf road and the canyon.

YankeeBoyShelfRoad.jpg


After returning back to Ouray and this being the day before I start back to New York, I drove to Glenwood Springs to spend my last night in Colorado enjoying the hot springs there. Didn't take any more photos this day, mostly just enjoyed the trails.

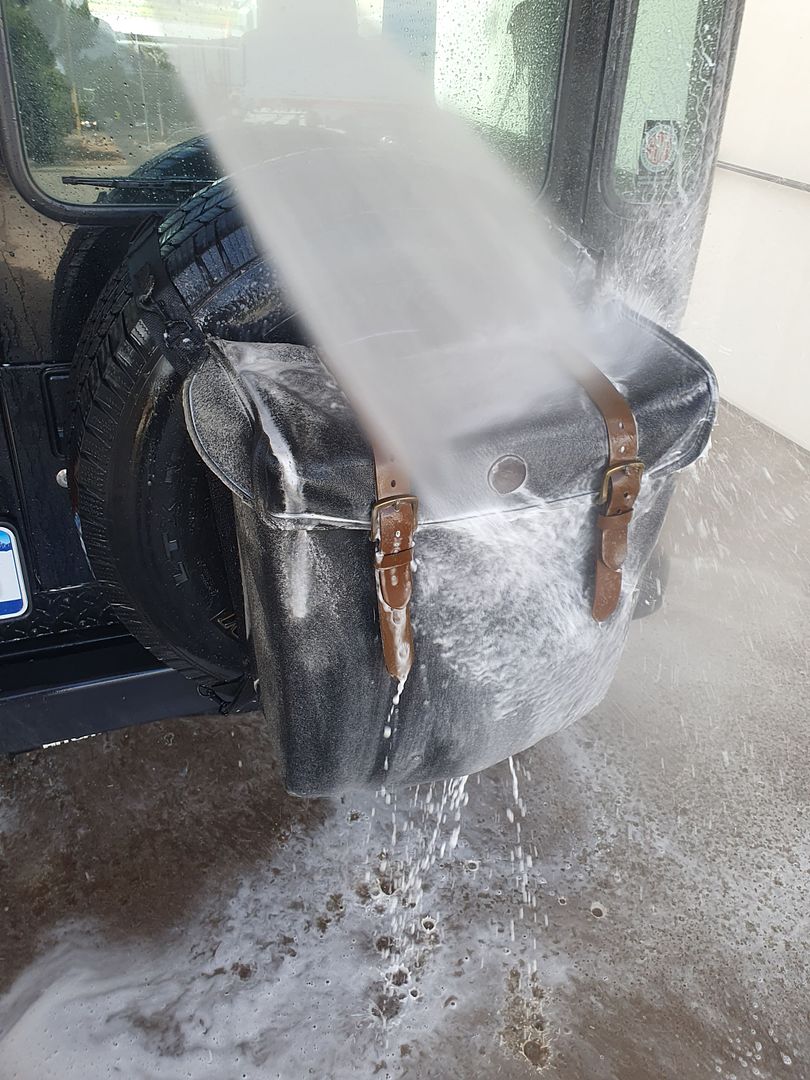
Stopped in Montrose to wash all the trail dust off the Jeep. I was told it hadn't rained in quite a while and I believe it - the trails were as dusty as Moab area trails. But all the dust washed off quickly, including dust on the fabric of my SpareHopper - the pressure wash cleaned up the fabric very quickly.

SpareHopperWash.jpg
 

jscherb

Expedition Leader
I enjoyed the Glenwood Hot springs one more time the morning of the day I began the drive back to NY I left Glenwood springs about 9:30 on I-70 heading for Denver and beyond and I'm writing this post from a hotel room in Lincoln, Nebraska at the end of the first day of driving back. The next day I ended up in Elkhart, Indiana; I had to stop at MORryde to pick up a prototype of something I designed for Tentrax. After MORryde I drove the rest of the way home.

Broncos: I ran across more Broncos than Jeeps on the trails this trip. On the first day there was some sort of Bronco event in Buena Vista, Colorado - that's why there were so many Broncos the first day, but Ouray is quite a distance from there and there were more Broncos around Ouray as well.

Also there were lots of rental Jeeps on the trails around Ouray. Most of them were being driven very timidly, why weren't they driving them like they didn't own them? Most of those newbie drivers were nice enough to pull aside on the trail so I could pass.

This was the type of off-pavement trip I like the best - overland travel from point A to point B, exploring historic railroad, mining and ghost town sites along the way. Out and back trails to see what size obstacles I could master doesn't really interest me much, and while there were obstacles I had to master, the travel, exploration and scenery were the main attractions for me.

And trips like this really make me appreciate the LJ - today I spent most of the day comfortably on the interstate with the cruise control set to 78 mph, and yesterday I was crawling over large obstacles on the Imogene Pass trail and fighting loose rocks at 12,000 feet on the Yankee Boy trail. The way the LJ is configured is perfect for my use - it's really competent handling obstacles up to and maybe slightly above the limit of its 2" lift and 32" tires, but it's equally good at getting from home in the east to the trails in the west very comfortably.

Sorry there aren't more photos; I was traveling solo so I didn't have a partner to take action photos and anyway I was trying to enjoy the trail and the scenery rather than stopping to take lots of photos.

Back home now, today I've got to put the roof top tent on top of the JKU and configure that Jeep for camping because tomorrow I'm off to Uwharrie National Forest to attend the Tentrax (trailers) Owners Weekend. I've been doing some design work for Tentrax - accessories for their trailers, and they've asked me to do a talk and demo to the attendees on the new and upcoming accessories for Tentrax trailers and present some other potential accessory ideas to get their input. Some of the accessories are hardware that I've arranged for MORryde to manufacture for them and some are fabric that I've arranged for Overland Outfitters to manufacture for them. Should be a fun weekend.
 

toddz69

Explorer
Love the trip report and pics! I love the CO mountains and don't get to visit those passes enough. You probably encountered the Bronco Super Celebration West in Buena Vista - it's been happening for 4 years now and is quite popular. I attended the first one in 2020 and did a bunch of those trails you mentioned - except the ground was covered with many inches of snow thanks to a freak early season snowstorm.

You didn't mention the SxS's on the trails - I've heard they're as thick as flies on most of those roads now. What was your experience?

Todd Z.
 

jscherb

Expedition Leader
Love the trip report and pics! I love the CO mountains and don't get to visit those passes enough. You probably encountered the Bronco Super Celebration West in Buena Vista - it's been happening for 4 years now and is quite popular. I attended the first one in 2020 and did a bunch of those trails you mentioned - except the ground was covered with many inches of snow thanks to a freak early season snowstorm.

You didn't mention the SxS's on the trails - I've heard they're as thick as flies on most of those roads now. What was your experience?

Todd Z.
There were more SxS's on the trails than Jeeps and Broncos combined. Especially around Ouray where there are several places that rent them.
 

jscherb

Expedition Leader
I've posted a bunch of photos of the Trail Kitchen in my LJ in this thread. MORryde just passed along a photo that a customer sent them of the Trail Kitchen installed in a CJ-7. Looks great to me.

CJKitchen.jpg

This is the version of the Kitchen that supports a two-burner stove.

It would fit the same in a TJ or YJ.
 

jscherb

Expedition Leader
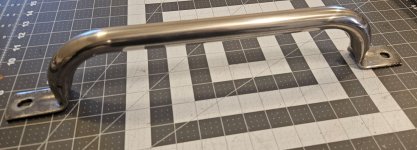
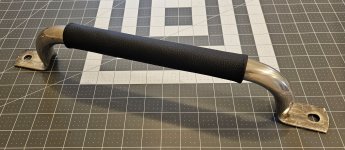
Something I've wanted to try for a long time is leather-wrapping, I've think I've wanted to try this since I had a leather-wrapped Laredo grab bar in my '83 Scrambler years ago. I finally tried it over the holiday weekend. I started with a plain CJ grab bar:

CJGrabBar.jpg

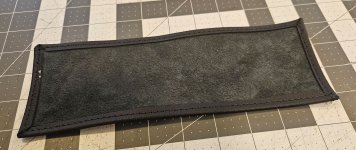
I made the wrap from a piece of leather, it's rectangular and I hemmed all four edges on the sewing machine, this is a view of the back side:

GrabWrapHemmed.jpg

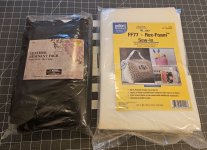
I added some 1/4"-thick foam to the back for padding. I attached it with 3M 77 Spray Adhesive.

GrabWrapPadded.jpg

While had the adhesive out, I sprayed a little on the top side of the foam to provide some grip on the bar to prevent it from slipping around the bar in use.

I sized it so the edges would not quite meet when wrapped around the bar so they could be pulled together tightly with hand stitching. I started at one end by stitching the ends together and pulling tight so they met, then I went along the bar putting a stitch under the thread of each stitch of the hems. Using the hem stitching as a guide provides for even and consistent hand stitching. Normally I'd use black thread to close the wrap, but for this first try I used tan so I could easily spot any imperfections and learn from them.

GrabWrapStitching.jpg

The finished grab bar:

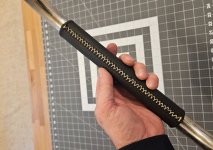
GrabWrapDone.jpg

I kept the leather wrap fairly short, avoiding the curves at the end of the bar, which made the wrap simple. Next I have to figure out how to pattern the leather so it wraps nicely around curves.

Materials used - a packet of leather remnants from Hobby Lobby ($5.99, I only used one small piece of the many in the pack), 1/4" foam which I've used in the past to line insulated bags, black and tan thread. I did the black hem stitching with v60 polyester thread because it was in my machine and the tan thread for the hand stitching was a little thicker v92. The v92 would also be better for the hems so when I do my next leather wrap I'll use v92 black thread, it'll provide for a stronger joint than the v60.

GrabWrapMaterials.jpg

Maybe I'll try leather-wrapping a steering wheel next, I've got an old one from my LJ that I swapped out because the leather wasn't looking good after so many miles. I found this video online that does a good job of explaining how to wrap a steering wheel:
 

jscherb

Expedition Leader
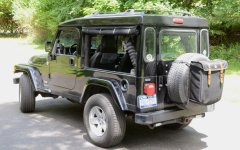
Back when I designed the TJ/LJ Safari Cab, one of the features I included was the ability to run without the hard sides installed:

TinCupPass1.jpg

I worked with a fabric products manufacturer to create roll-up soft sides for Gr8Tops and I designed suppports for the rear of the hardtop for MORryde to manufacture for Gr8Tops. Unfortunately Gr8Tops decided not to put the soft sides in production, so only my Jeep has those features.

From time to time I get requests for those supports, and a few years ago I arranged a group buy for about a half dozen Safari Cab owners and MORryde did a small production run of the parts. I still get requests for those parts, this email came in today:

HI Jeff, Happy New Year! I have a safari top on my TJ and am looking for rear supports to run the roof sans-sides. I was hoping you had leftovers from the group buy, or some dimensions to help me out. Been following your work for years and finally attained one, now I need to have it ready for summer.

And this photo was included:

BPSafariTJ.jpg

I don't plan to do another group buy production run, but if any Safari Cab owners want to build their supports I can provide the engineering drawings for the parts, people can send me a private message to request the drawings. Please include a photo of your Safari Cab, I won't send the drawings if you don't show me that you actually have a Safari Cab on your Jeep.

BTW the soft sides and the supports I designed back then were for the Gr8Tops version of the Safari Cab. I have a couple of preproduction samples of those sets of soft sides still but I never use them because the way I originally designed the Safari Cab (and the way my homemade Safari Cab is built) had separate sides and rear corners - when Gr8Tops put the top in production they combined the sides and rear corners into one piece, which required the supports and more complicated soft sides. As I designed them, the rear corners could stay in place and just the (much simpler) sides would roll up, which meant that the barn door upper could stay in place with the soft sides or it could be removed. The Gr8Tops version of the soft sides required the barn door upper to be removed.
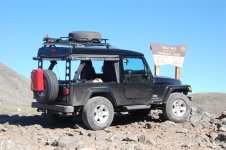
My original design and how I run my LJ Safari in the summer when I want and open air experience (usually with half doors too but those aren't in this photo):

PanelSides1.jpg
 

jscherb

Expedition Leader
In the post above I offered to send people the engineering drawings for the roof supports for running the Gr8Tops Safari Cab without the sides and the first person that contacted me didn't ask me about that, they asked me about adding a wiper to their Safari Cab. Unfortunately that's another feature Gr8Tops decided not to include in the product. So I'll provide the wiper info here...
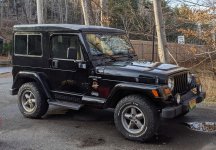
The motor I used is from AM Equipment, it's their 212-series motor: https://www.amequipment.com/shop/212-series-dc-gear-motor-assembly-and-208-replacement-3a2kl/, specs are 12v, 100-degree sweep, 25mm shaft. The wiper blade is 13", and the geometry looks like this:

WiperGeometry1.jpg

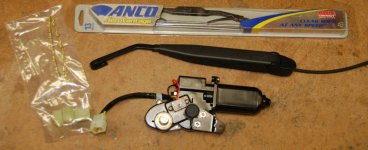
For my Jeep, I used some Trico parts to make a custom wiper arm. Before Gr8Tops decided not to offer the wiper as an option, I was working with the AM Equipment on a custom arm for this application, it's in the photo below. I didn't go any further with AM Equipment when Gr8Tops decided not to offer the wiper option so if someone wants to put a wiper in their Safari Cab rear door, they'll need to work up a custom wiper arm like I did. The dimensions and bend angle are shown in the drawing above, it's not really that hard to make.

WiperParts.jpg

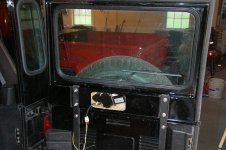
The wiper motor goes inside the bottom cavity of the barn door as shown in the diagram above and the photo below; the photo is a work-in-progress photo taken as I was installing the motor. One thing not shown in the photo below is the cavity cover, that was a separate piece molded in fiberglass so that's something that would need to be made if someone wants to do this project.

Wiper3.jpg
 
Last edited:

Forum statistics

Threads
188,028
Messages
2,901,409
Members
229,352
Latest member
Baartmanusa
Top