You are using an out of date browser. It may not display this or other websites correctly.
You should upgrade or use an alternative browser.
You should upgrade or use an alternative browser.
Photo Critiqing Thread
- Thread starter GaryMc
- Start date
Every Miles A Memory
Expedition Leader
100% better !!
HB 4X4
Adventurer
100% better !!
Thanks!
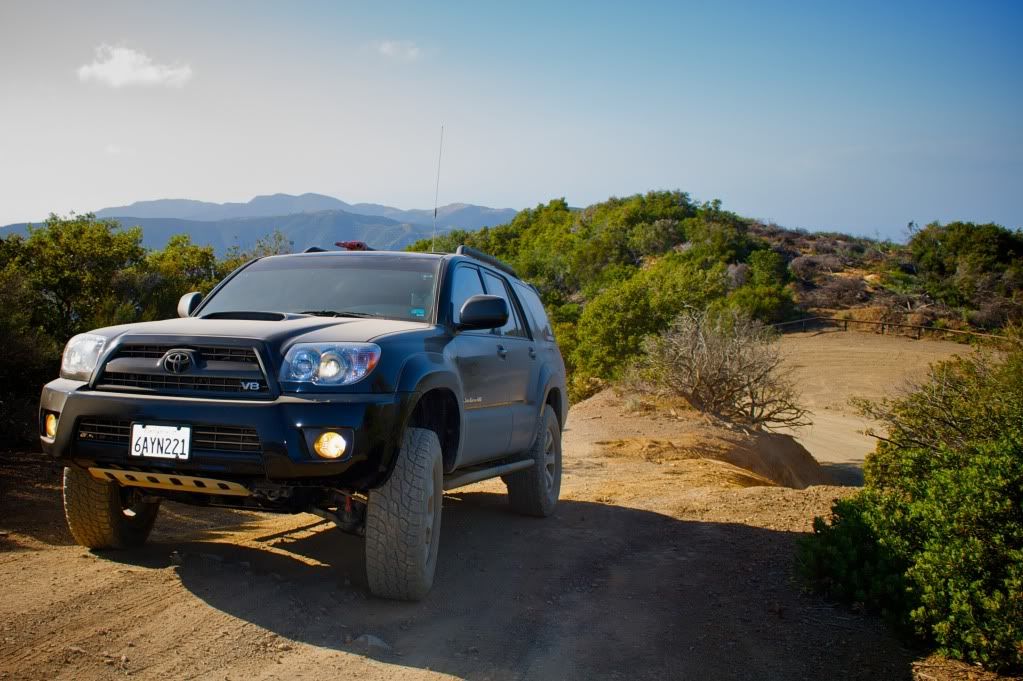
Now I just need to get out and take some shots of something other than my truck.
Hopefully this summer I get out for more than just day-trip offroading.
Photog
Explorer
100% better !!
X2 :victory:
Rev
Adventurer
Ok I'm late to this thread, but I'd liek to jump in (after reading teh entire thing). I'm really new to my Canon Rebel Xsi, and I have no real editing software, but I'm enjoying taking pictures.
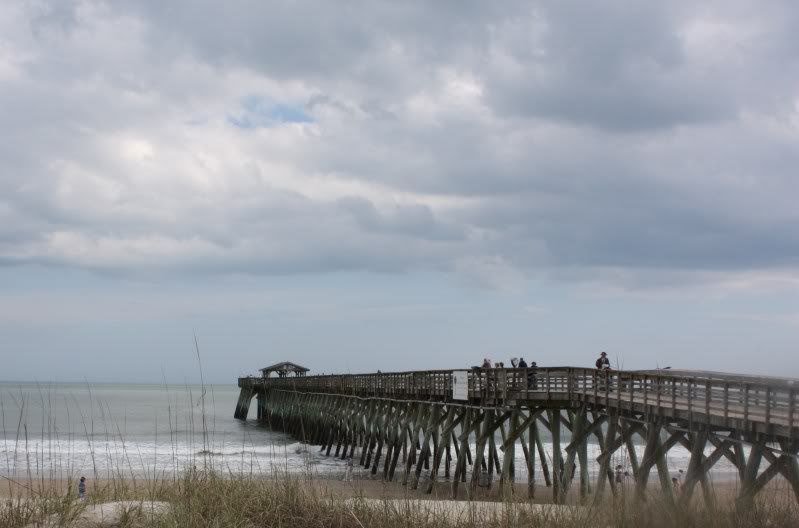
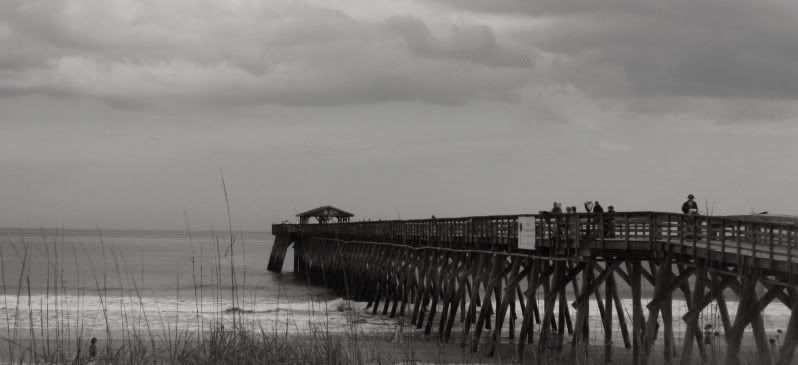
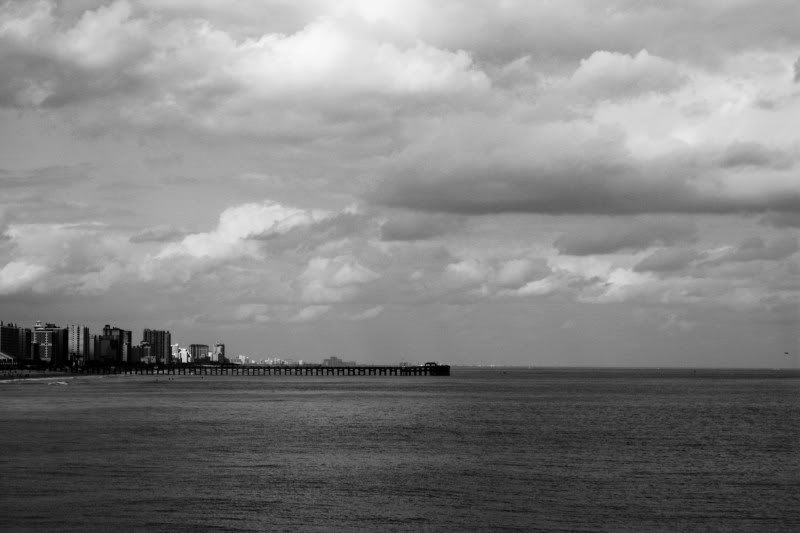
Here are two from a trip to Myrtle Beach
original

edited

original

edited

any help is appreciated.
Here are two from a trip to Myrtle Beach
original

edited

original

edited

any help is appreciated.
Photog
Explorer
Ok I'm late to this thread, but I'd liek to jump in (after reading teh entire thing). I'm really new to my Canon Rebel Xsi, and I have no real editing software, but I'm enjoying taking pictures.
Here are two from a trip to Myrtle Beach
edited

edited

any help is appreciated.
I like the edited versions, with the B&W and an adjusted crop. THe wide angle (2nd image) might have been less hazy, if a properly positioned polarizer had been used. I say "might" because the effectiveness of the polarizer would depend on the amound of directional light in the haze.
You have access to free software from Canon. Canon DPP (Digital Profesional Photo). It handels the RAW files, saves dust removal profiles, and the other, standard editing chores.
Photog
Explorer
Both color & B&W would work fine in these conditions. Exposure is low in this image. I suspect the exposure was adjusted to "-0-". Not under or over exposing, according to the meter in the camera. The meter in the camera is adjusted to balance the brightness to middle-tone (18% grey), when the exposure meter reads "-0-".
This scene is not middle tone. With all the snow, it is actually +1 or +1.5 for exposure. Overide your exposure in the camera to bring bright scenes up from zero, and dark scenes down from zero, and you will be much closer to having a properly exposed image.
If you shot this in RAW, you can open the RAW file, and increase the exposure to look more like the scene did in person.

Next we will work on composition. You have a great subject to work with, but there are some distractions in the background. The tree right behind your subject makes it difficult to see where one ends and the other starts. Then to the left, the green portion of the subject gets lost in some other bushes.

You were there at a good time, with dramatic light opportunities, and an interesting subject. Now work on not letting your subject "merge" with object in the background, and try working with and breaking some of the composition rules discussed in this thread.
When I say "breaking some rules", consider some of the work that Trevor (Lost Canadian) shows. The rules of composition are based on how comfortable the general population is with an image. There are other ways to make an image pleasing. So; try to follow the rules, then try to break them for creative purposes.
Excellent effort. Looking forward to more of your work.
Cheers :wavey:
This scene is not middle tone. With all the snow, it is actually +1 or +1.5 for exposure. Overide your exposure in the camera to bring bright scenes up from zero, and dark scenes down from zero, and you will be much closer to having a properly exposed image.
If you shot this in RAW, you can open the RAW file, and increase the exposure to look more like the scene did in person.

Next we will work on composition. You have a great subject to work with, but there are some distractions in the background. The tree right behind your subject makes it difficult to see where one ends and the other starts. Then to the left, the green portion of the subject gets lost in some other bushes.

You were there at a good time, with dramatic light opportunities, and an interesting subject. Now work on not letting your subject "merge" with object in the background, and try working with and breaking some of the composition rules discussed in this thread.
When I say "breaking some rules", consider some of the work that Trevor (Lost Canadian) shows. The rules of composition are based on how comfortable the general population is with an image. There are other ways to make an image pleasing. So; try to follow the rules, then try to break them for creative purposes.
Excellent effort. Looking forward to more of your work.
Cheers :wavey:
cnynrat
Expedition Leader
Brian -
Thanks for the advice.
I've known the photo was underexposed, but have never been able to sort out a way to correct it without loosing all the texture in the snow, and much of the detail in the clouds as well. There isn't a lot of texture in the snow even in the earlier version, but there's pretty much none in the version below (an attempt at correcting exposure). Maybe this is just a case of doing a better job on the original exposure.
I agree there's a too much going on behind the tree. May have been able to help that by shooting from a lower perspective - I don't recall if I looked at that angle when I was there. There was a continuous line of trees/bushes to the left, so I struggle a bit with exactly where to put the left edge.

Photog
Explorer
Dave,
Sometimes the separation can come from a difference in brightness, between the subject & background. This can be done in Photoshop, doing some creative work with Levels and masks.
Probably the biggest reason there is very little detail in the snow, is the soft and even lighting. Not enough direction in the light to create any contrast in the texture of the snow.
Did you capture this image in RAW format or only JPEG?
Edit: Your pic in Post #309 didn't come through.
cnynrat
Expedition Leader
Did you capture this image in RAW format or only JPEG?
Edit: Your pic in Post #309 didn't come through.
Sorry, fixed the link above. I do have a the image in RAW (NEF) format.
cnynrat
Expedition Leader
Brian -
Well, applied your suggested adjustments and this is the result. Definitely much better than before. It is slightly different than the version I posted yesterday - I think I like this one better.
Since you've mentioned the background it really bugs me. Never was consciously aware of that before, but clearly it's part of what bothered me all along. Being aware of that should make for a good lesson in the future.
Thanks again for the help and advice!

Tucson T4R
Expedition Leader
Night Shot of City Lights
I love taking shots like this but I still don't get the crisp results I am looking for. Any suggestions on how to improve a shot like this?
Camera Canon 50D
Exposure Time 10s
Aperture f/4.0
ISO 100
lens Canon 17-55 f/2.8
Focal length 24mm
Shot on tripod with remote shutter release
If you want look at or play with a full size image, you can download it from this gallery on Smugmug:
http://bgarland.smugmug.com/gallery/8327184_7kFQu/1/545639310_pYAYP

Similar threads
- Replies
- 0
- Views
- 642
- Replies
- 67
- Views
- 15K
- Replies
- 9
- Views
- 2K


