ujoint
Supporting Sponsor
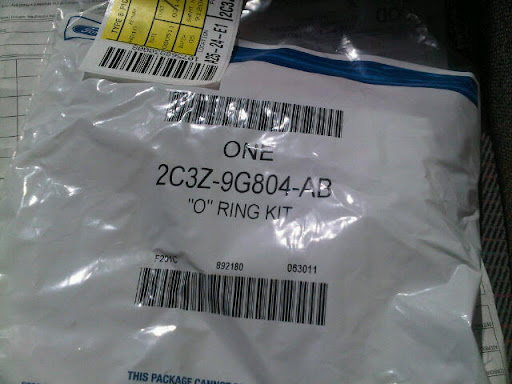
Check the engine valley from the back, if there's oil there your leak is most likely the HPOP. Simple O-ring kit to fix, it's just not easy to get to.
The hole in the intake is from the resonator box, which has conveniently been removed! You don't need it, so plug that hole with a PVC cap ASAP. Can't believe someone did that........ If you need a box, I have one.
That cable looks like the fuel filter drain. If you wind up doing the HPOP o-ring job, the fuel filter housing will most likely need to come out too. This would be a good time to replace the cable.
 That means Chris will be getting a call soon! Ohhhh Chris...