p1michaud
Expedition Leader
Nice work!
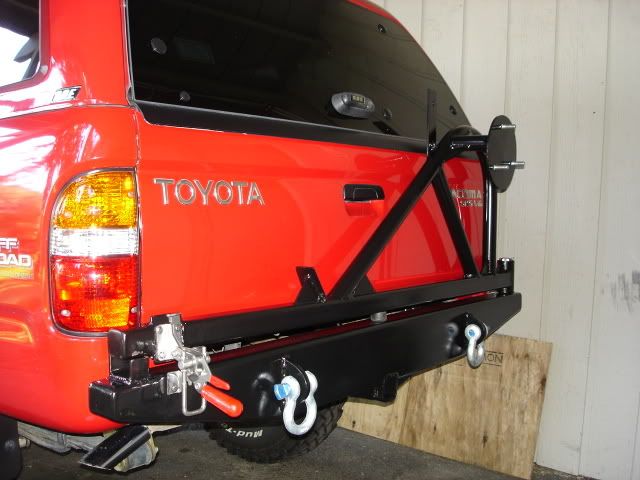
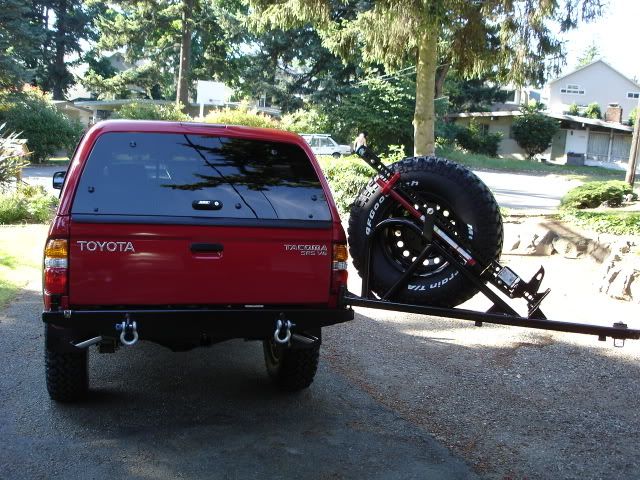
Very very nice. I'd like some better quality pictures of the finished product once you have the time. A custom bumper in on my list of things to do.
Good job.
Cheers:beer: ,
P
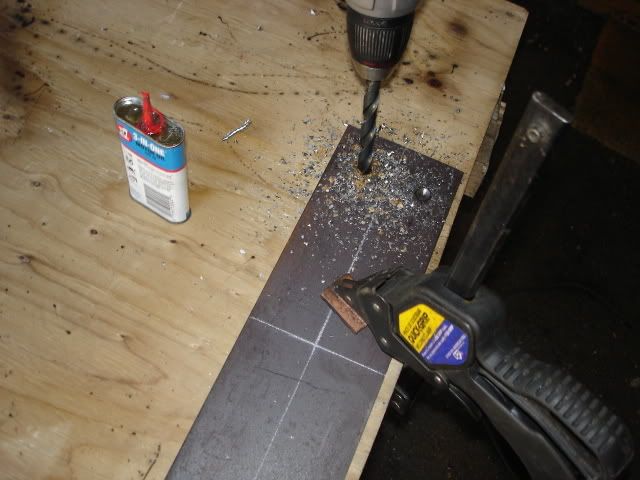
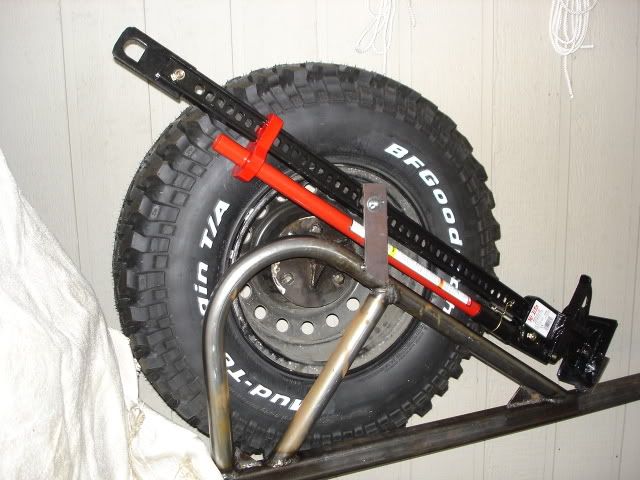
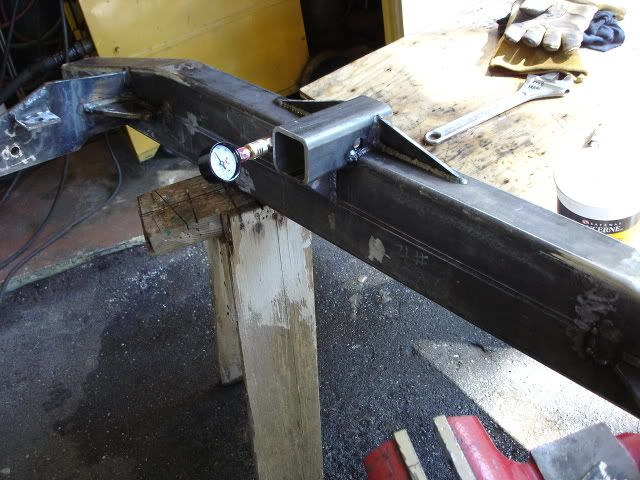
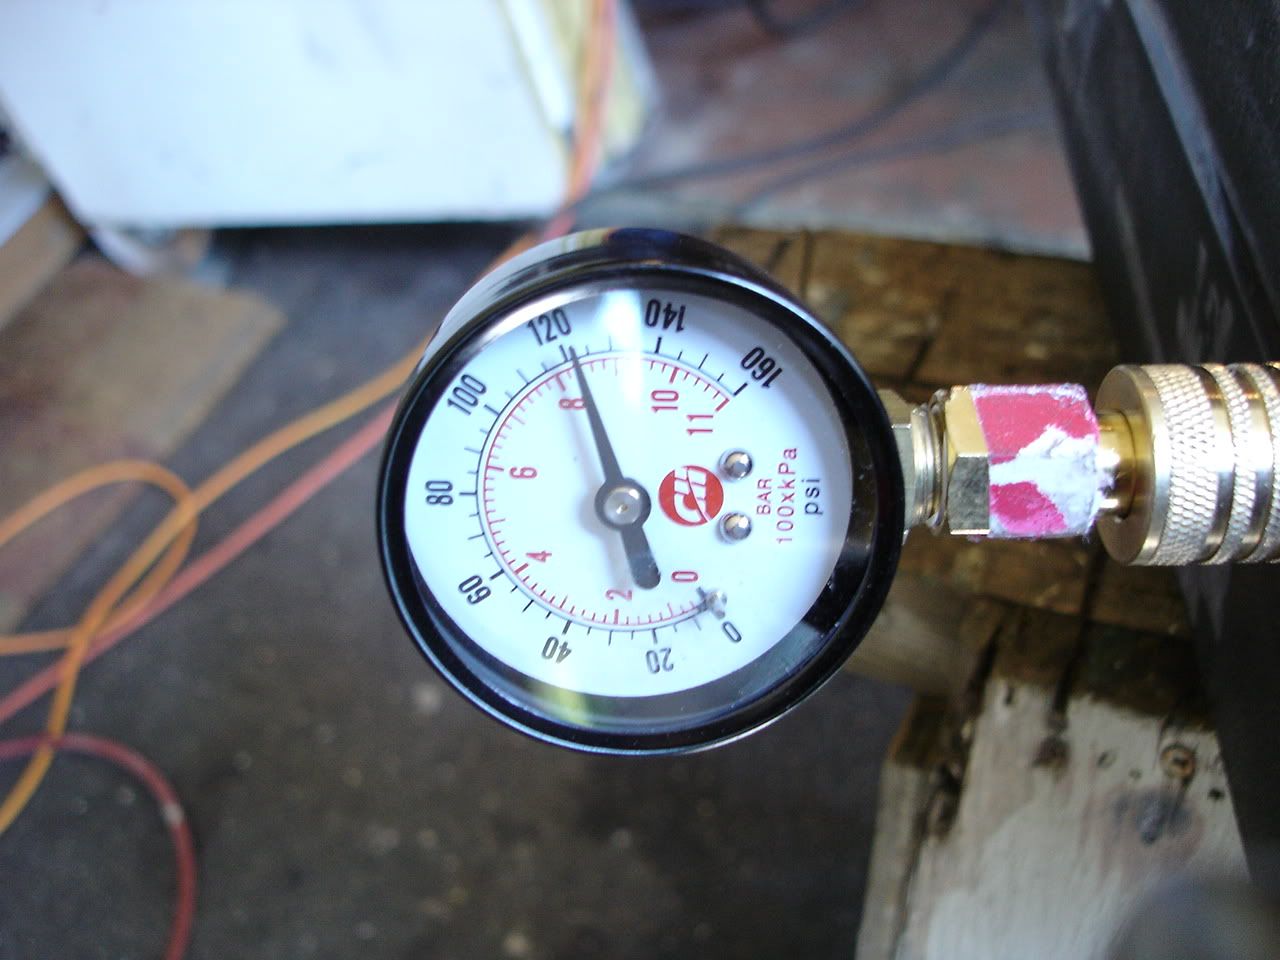
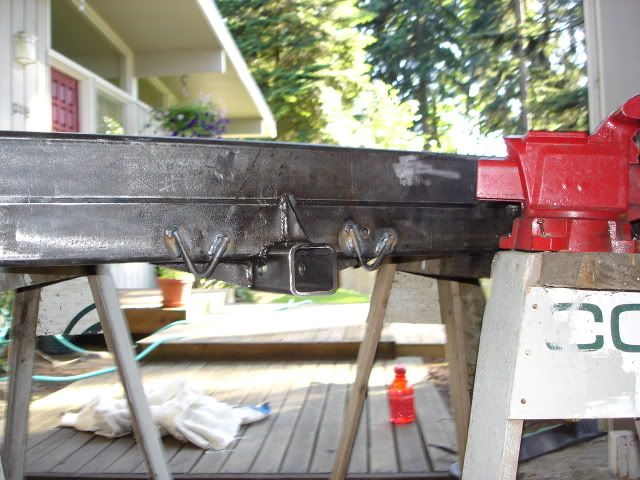
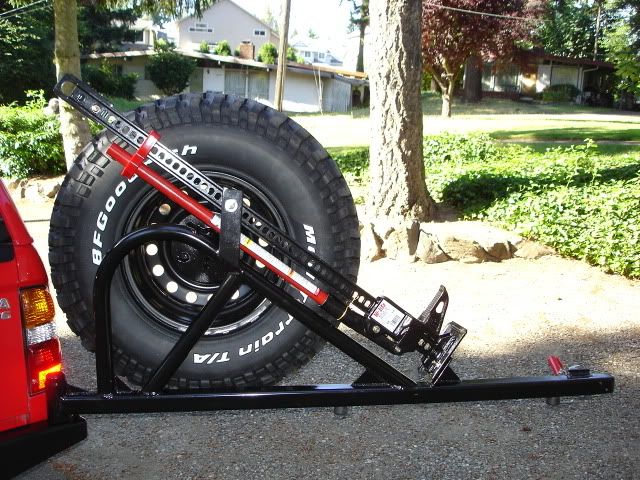
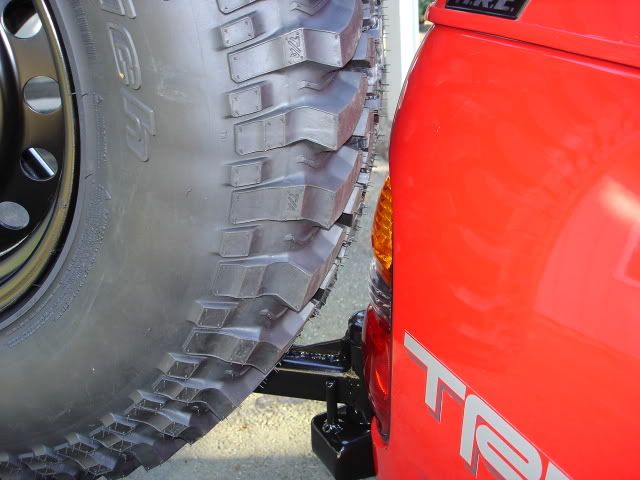
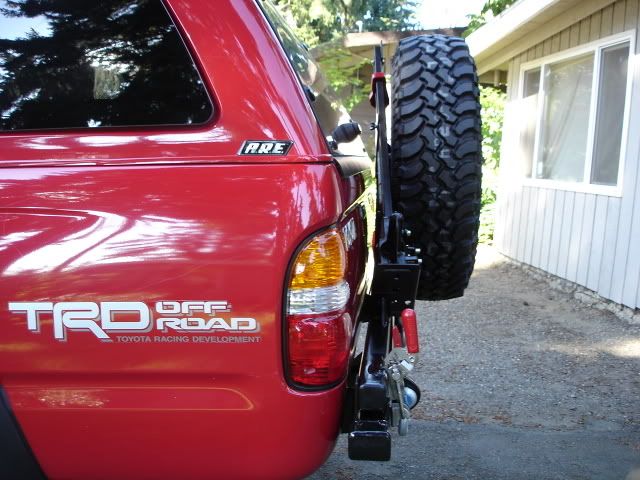
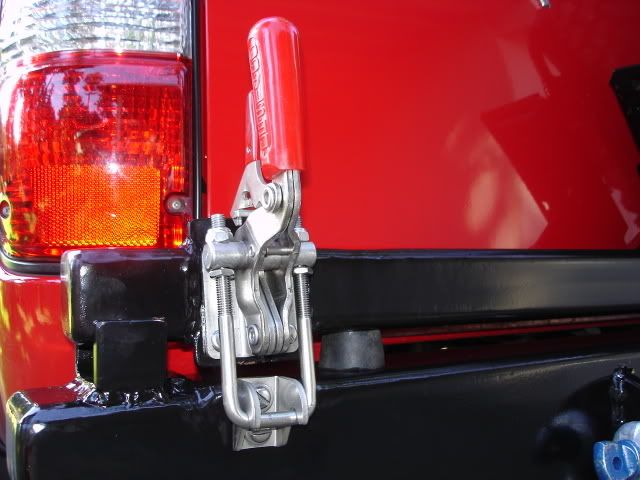
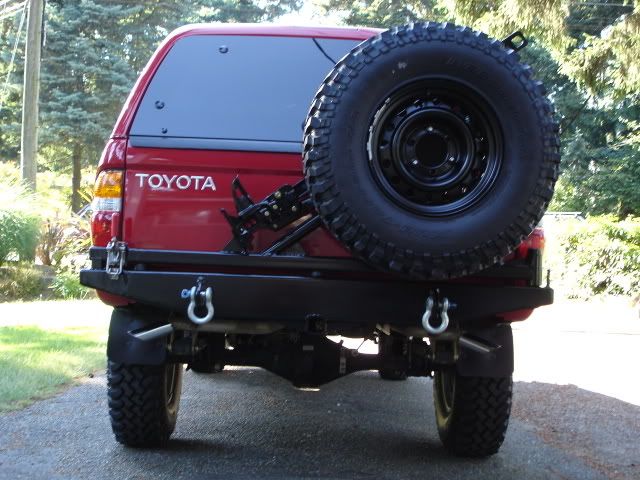
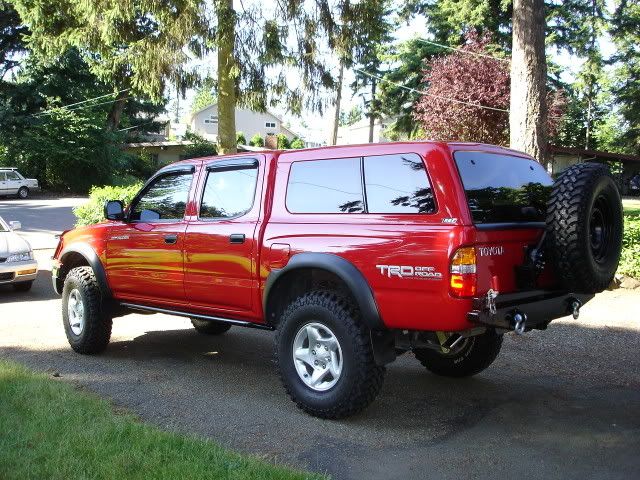
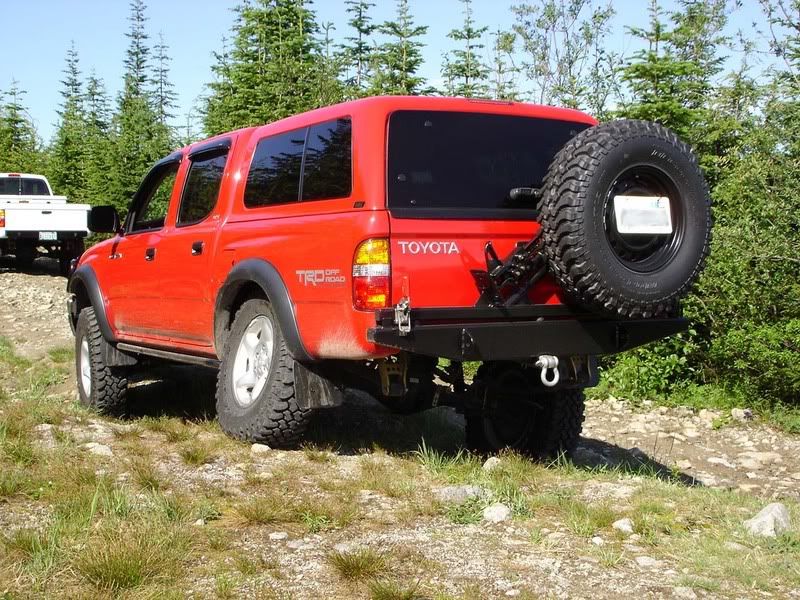
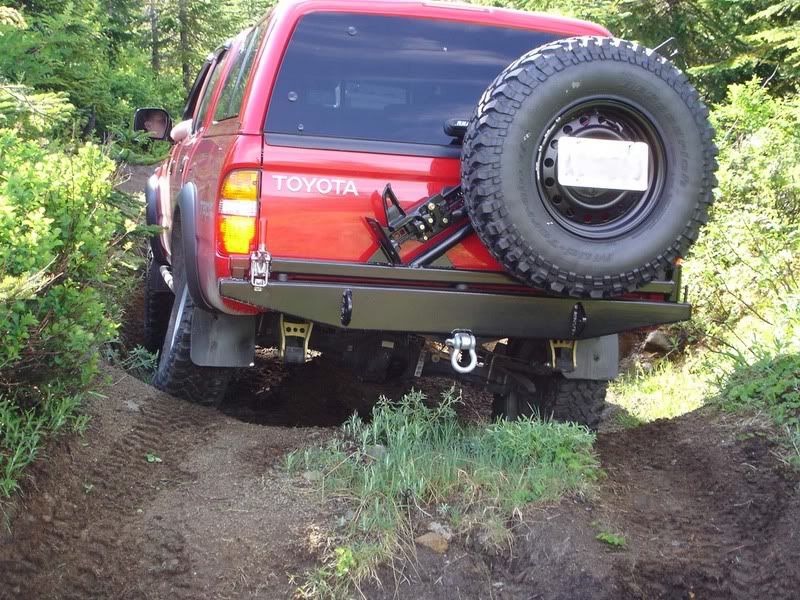
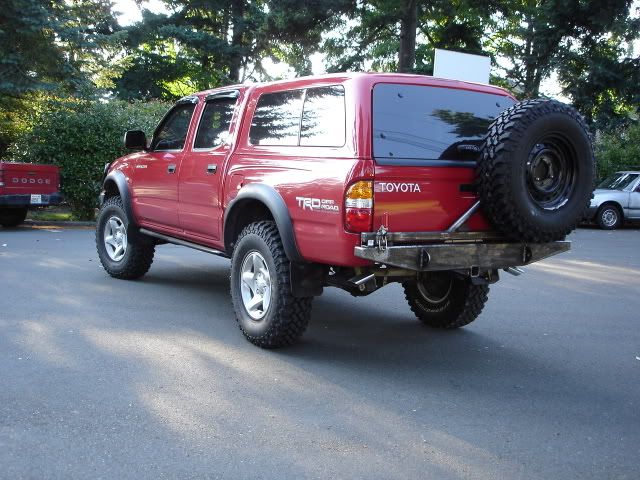
Willman said:Here it is!!!!.....How i need to add my Hi lift jack mounts and paint it up!!!!
Very very nice. I'd like some better quality pictures of the finished product once you have the time. A custom bumper in on my list of things to do.
Good job.
Cheers:beer: ,
P