Tacoma rear bumper fabrication.

p1michaud

Expedition Leader
Look what I found while searching on ExPo....

Ursidae69 said:
I like it. Have you seen how VikingVince has his cans mounted on his stock bumper?

Mr. VikingVince himself posted a written explanation on how he built his gas can holders here.

While Dave posted this.

Some spy photos can be found here:

http://www.bajataco.com/vikingvince/Vince_FlipPac/enlfr.htm?32

http://www.bajataco.com/vikingvince/Vince_FlipPac/enlfr.htm?33

Finally kcowyo pointed here...

I also discovered that the search function does get results if you get a bit creative in your searches. :shakin:
Cheers :beer:,
P
 

p1michaud

Expedition Leader
The build starts now...

Well, last night after lugging some fire wood in for the winter with some help from friends who also returned my tools I had some time to start work on the bumper.

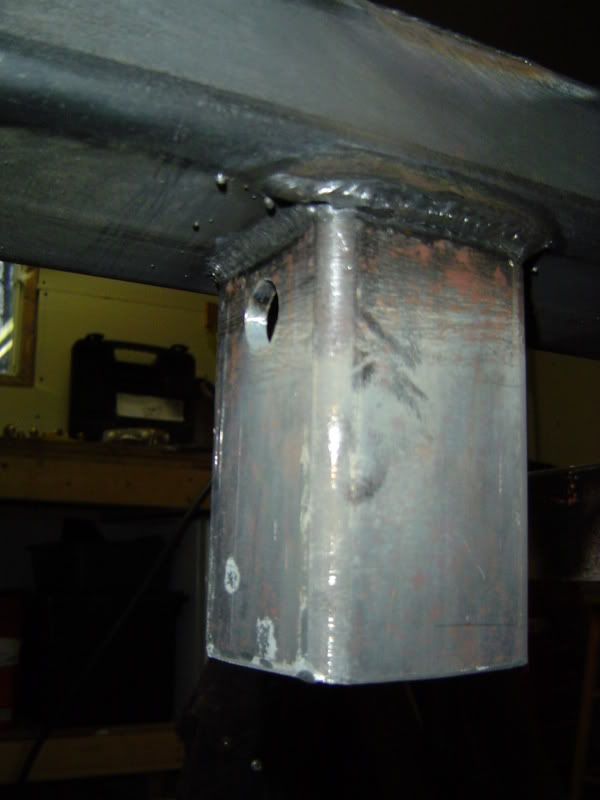
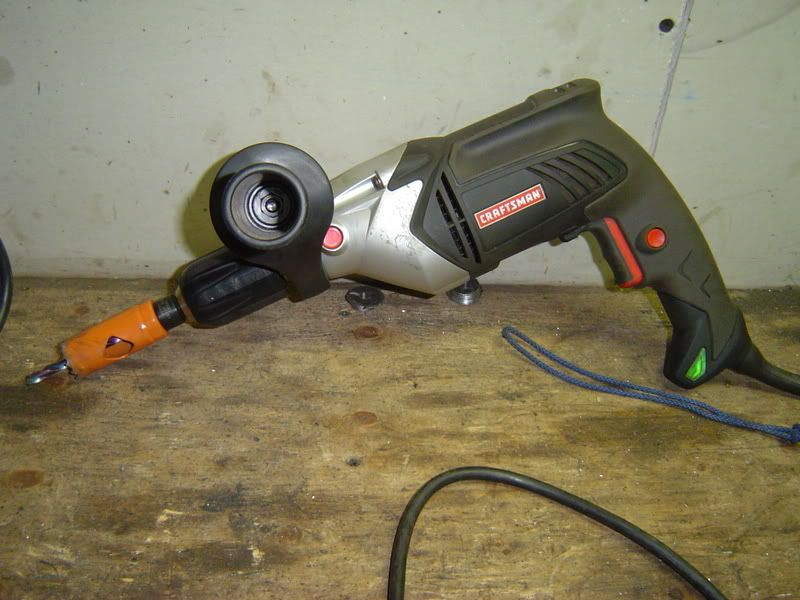
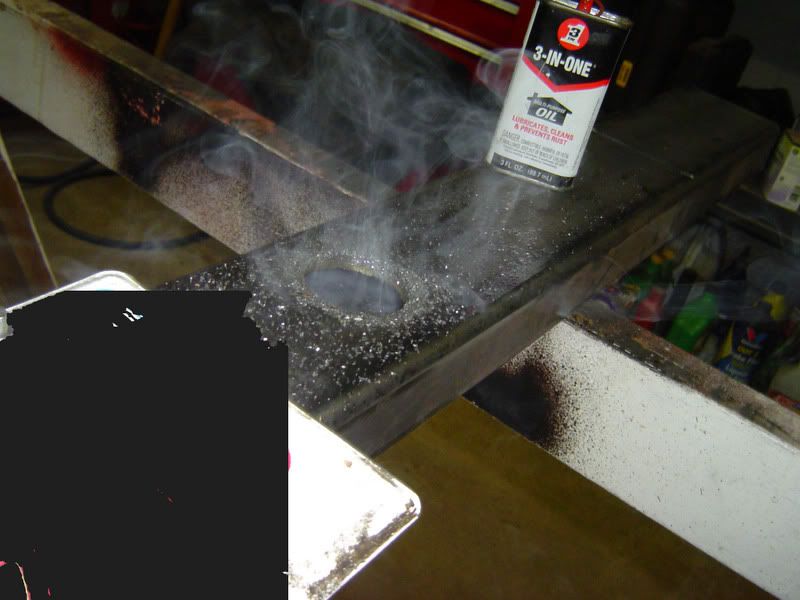
I got the 5/8" hole drilled in the receiver. I ended up using a 1/2" drill bit the with some time and patience I gradually opened up the hole to 5/8" with the air driven die grinder.

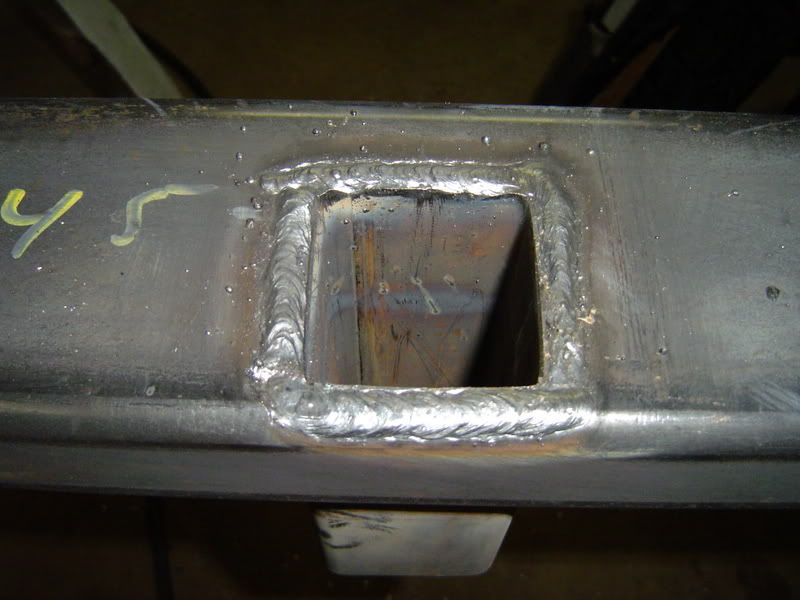
Next I laid out the centre line on the main piece and figured out where to locate the receiver tube. With my trusty 1/2" drill, four holes were made (one at each corner) then with a 4 1/2" angle grinder and a Walter Zip Cut wheels, I was able to make the opening. The Walter Zip Cut wheels are a must for the garage fabricator, I use them all the time.

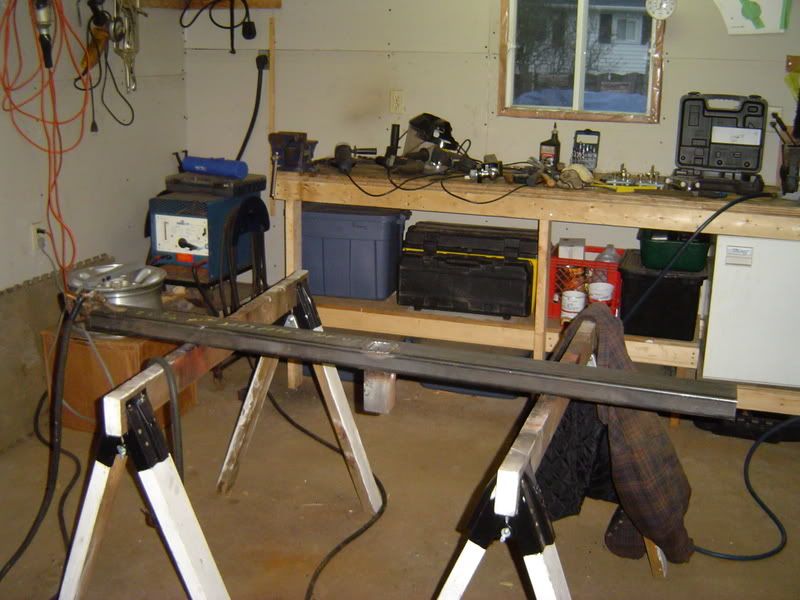
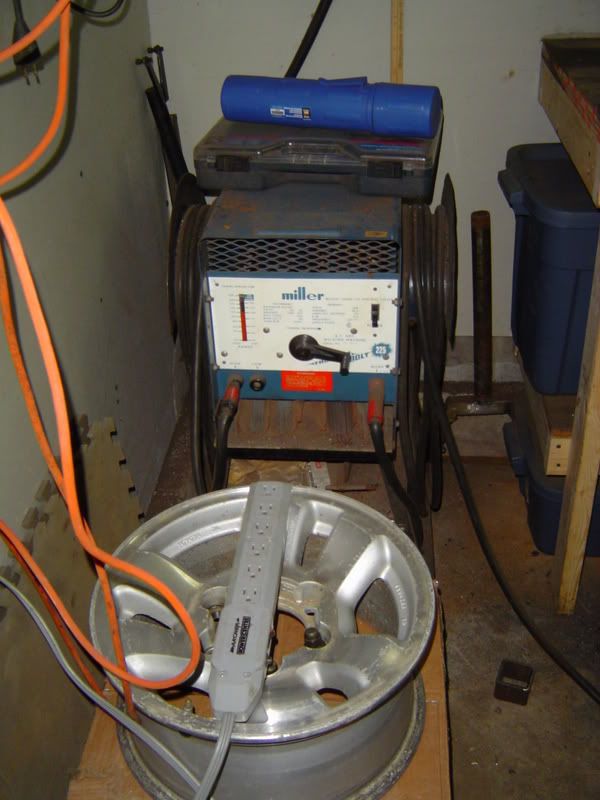
My friend's old welder, this thing is older than I am but works great.
DSC04572.jpg


The beginning.
DSC04569.jpg


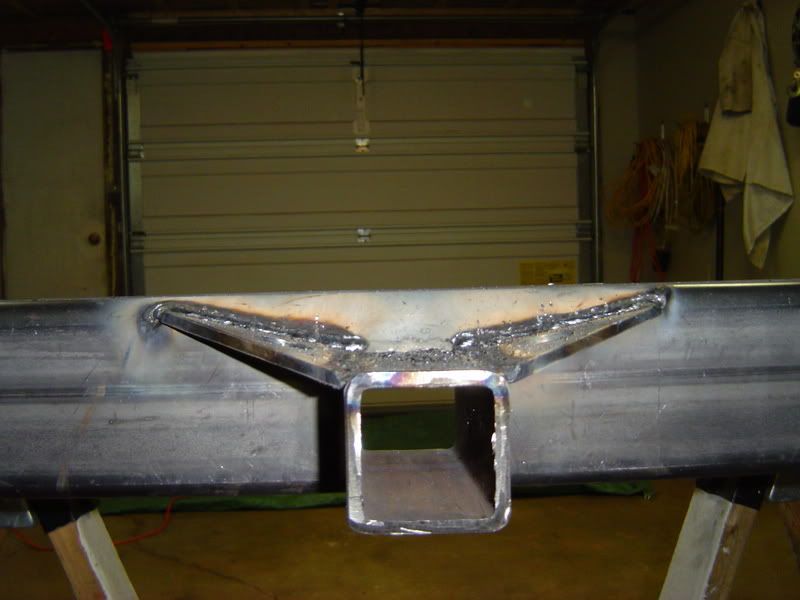
The receiver welded in. I had to shake the rust of my welding skills it had been a long time but came out ok.
DSC04570.jpg


More receiver welds.
DSC04571.jpg


I'm not sure when I will get the time to work on it again, so this build up will be driven by time availability. With working OT two nights a week and one day a weekend, progress may be slow. Oh well, that's life!

Cheers :beer:,
P
 

p1michaud

Expedition Leader
Question

Does anyone have the dimensions for the hinge shown below?

spindle.jpg


I'm looking specifically for the OD and length of both the upper and lower parts of the hinge. Mine are in the mail, but won't be here for a week. I'd like to start laying things out.

Cheers,
P
 

BigAl

Expedition Leader
p1michaud said:
Does anyone have the dimensions for the hinge shown below?

spindle.jpg


I'm looking specifically for the OD and length of both the upper and lower parts of the hinge. Mine are in the mail, but won't be here for a week. I'd like to start laying things out.

Cheers,
P

If it's a typical trailor spindle, the bottom is ~4.125 to 4.250. Mine stuck thru the bottom side of the bumper just enough to get a nice bead on it. HTH edit: never mind, you asked for OD, I think I used a 1" holesaw for the bumper
 
Last edited:

p1michaud

Expedition Leader
Progress is being made - Part1

I was fortunate enough to have some spare time this evening and managed to make some progress. :wings:

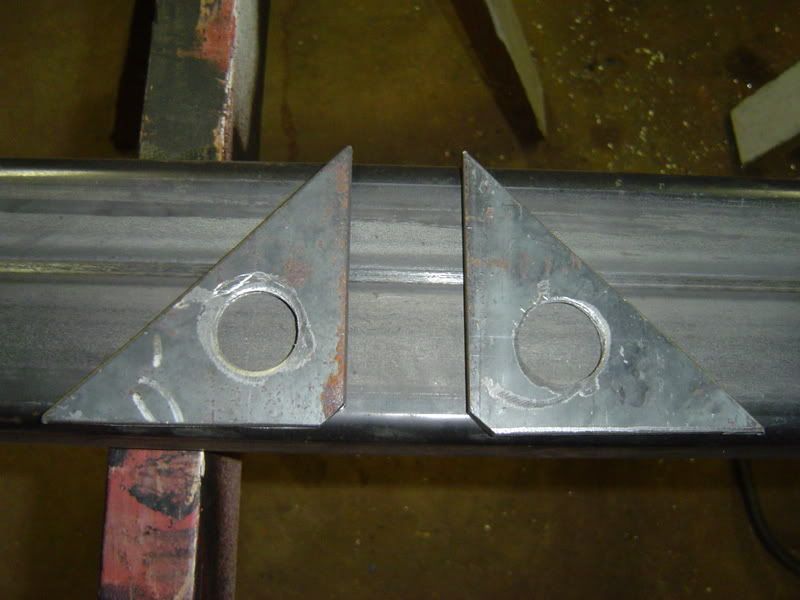
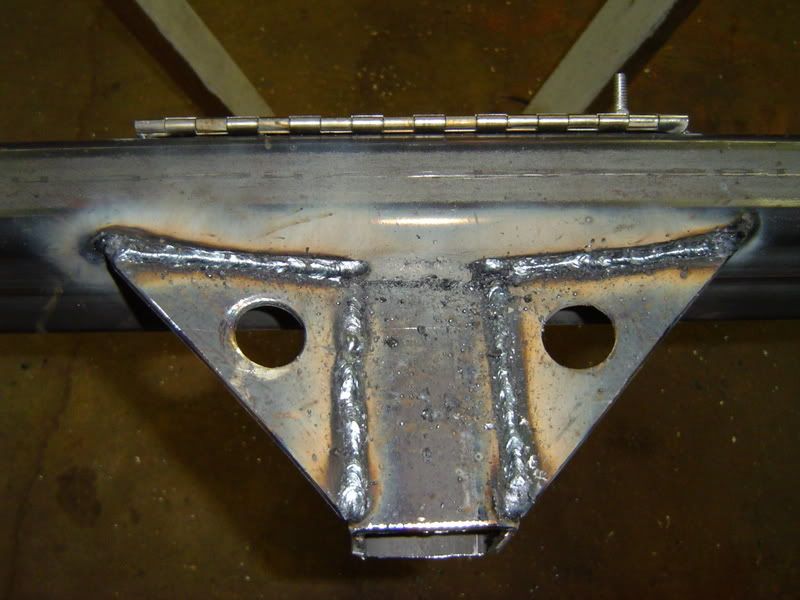
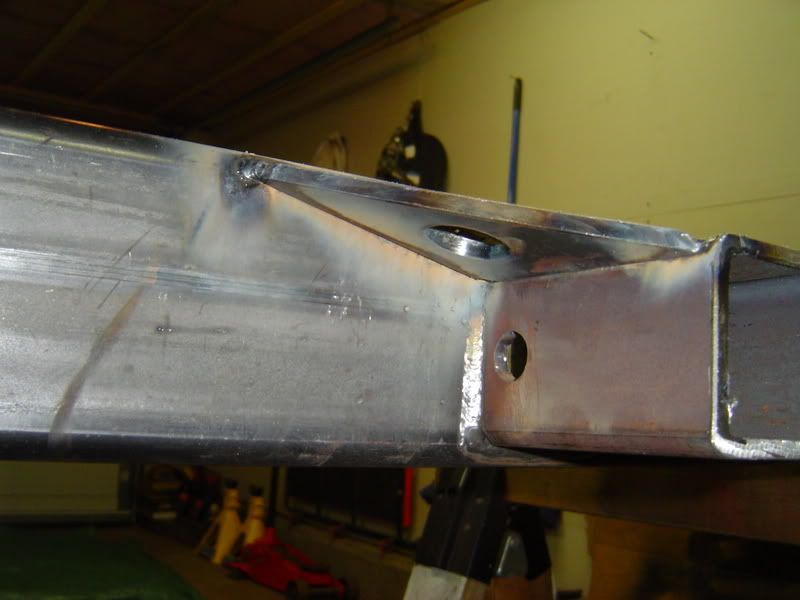
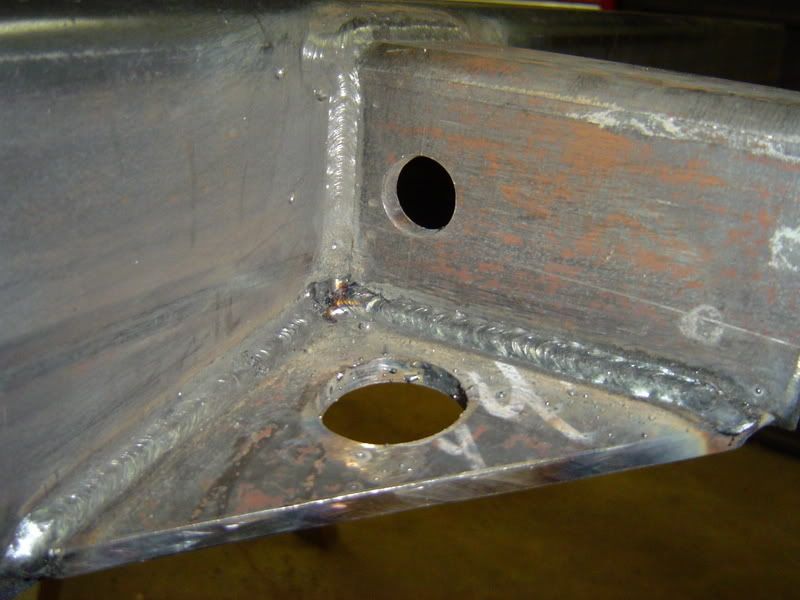
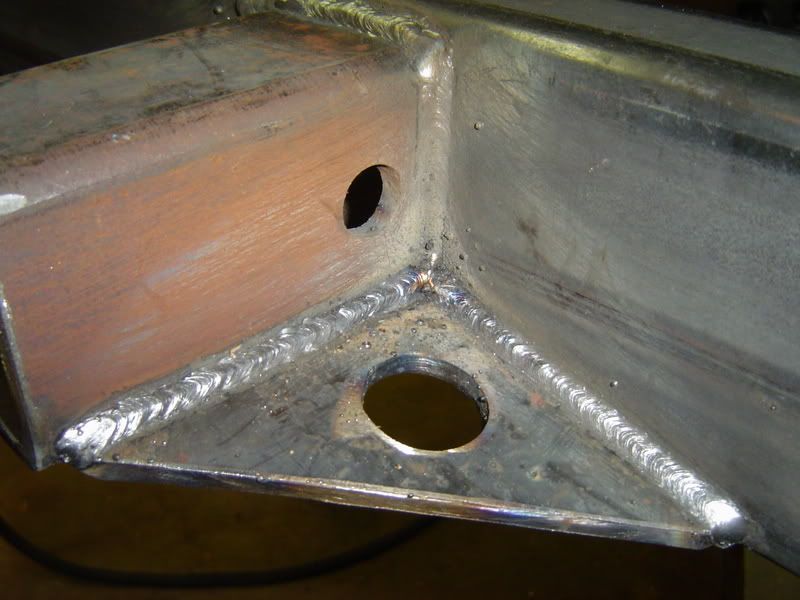
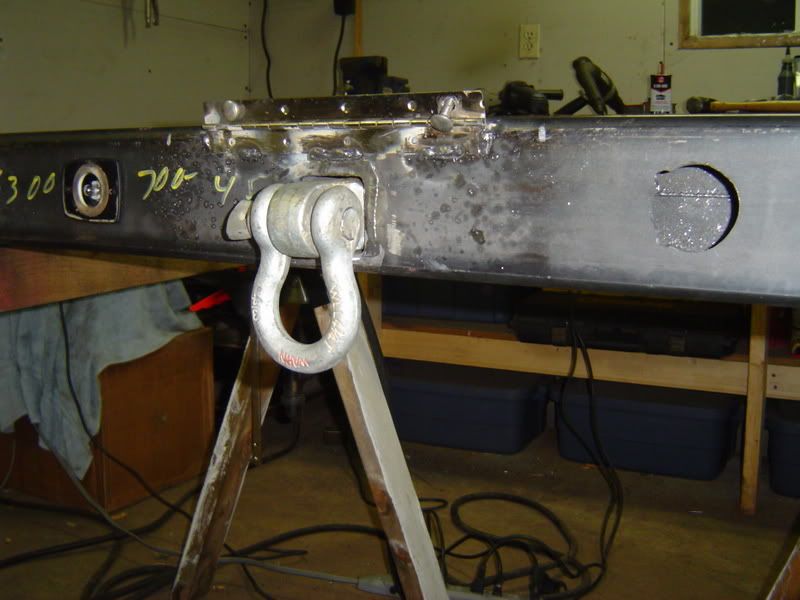
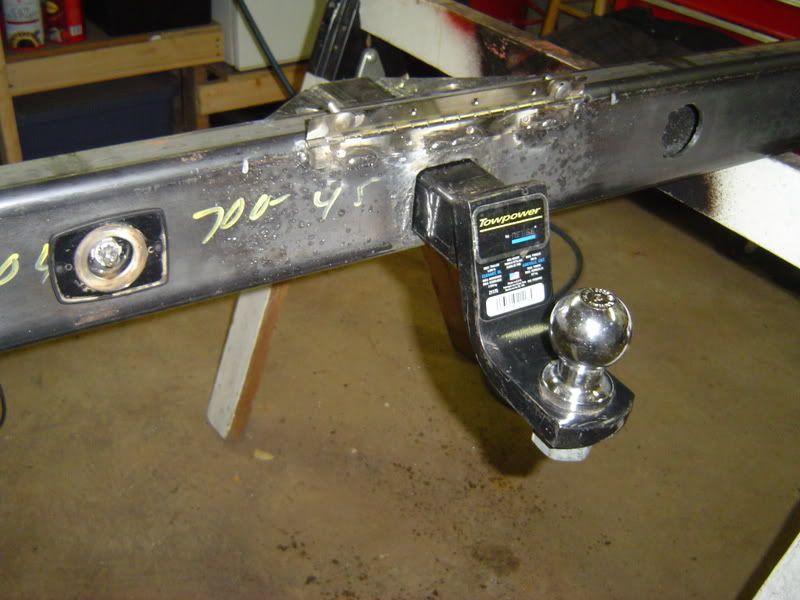
First I spend some time making some receiver tube reinforcements using gussets. I made a 1 1/4" hole in them as well so that I coult attach the safety chains.

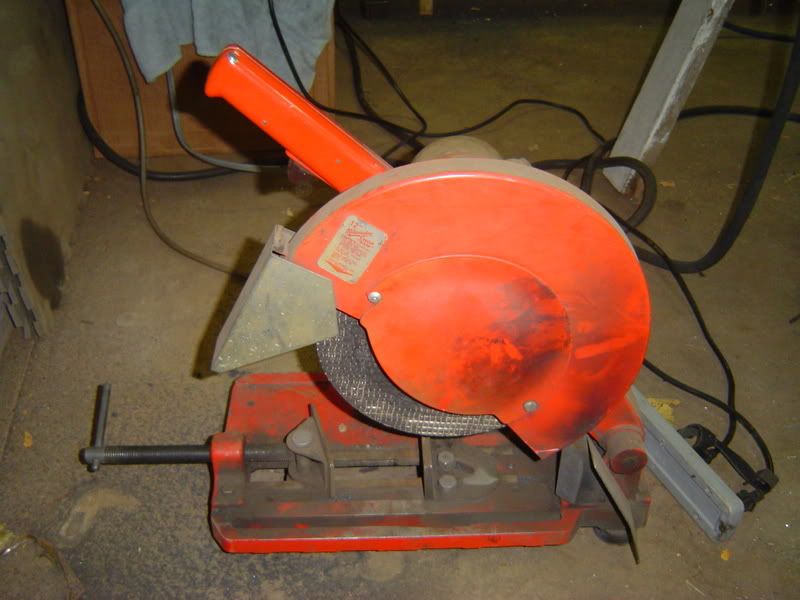
I started with some 1/4" by 4" plate and cut them down to gussets that were 4" by 4" by 5 5/8". I used the follwowing tools:

DSC04574.jpg


DSC04575.jpg


The gussets before being welded in.
DSC04576.jpg


The welding begins.
DSC04578.jpg


I put the gussets towards the top of the bumper for a few reasons. I don't tow more than a few times a year so I typically don't need to hook up safety chains. Also, by making them angled up I made slightly more room to insert the hitch pin.
DSC04579.jpg


DSC04580.jpg


The other side welded in.
DSC04589.jpg


DSC04588.jpg


On to the next post, reached the image limit.
Cheers :beer:,
p
 

p1michaud

Expedition Leader
Progress is being made - Part 2

You know the darn thing is you get back into the swing of welding just by the time you finish you project! I'm not close to being finished, but was just getting the hang of it before calling it a night.

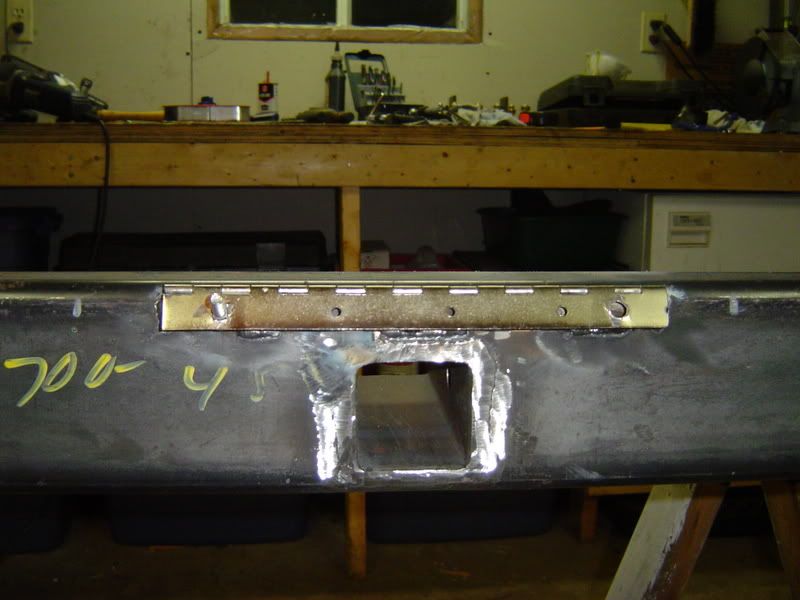
Made a hinge for the license plate.
DSC04577.jpg


Finally I cut holes into the bumper to install the factory lights. I used a 1 3/4" hole saw, but had to do some work with the die grinder.

license_plate_light.jpg


DSC04586.jpg


DSC04585.jpg


That's a wrap for tonight!
Cheers :beer:,
P
 

Willman

Active member
P....

You need to start your own build in another thread.......

"P.....the master welder takes on his rear bumper"......:shakin:

J/K.....

I like it!

Your welds are getting cleaner as i look down the page! I can see the rust coming off!!!! Great job!

Keep up the fine work!

What are you going to do for side protection? (tube or sheet metal?)

P.S.

When you do fine work like this.....Its gotta have a thread just for your build!

:)
 

p1michaud

Expedition Leader
Side protection

Willman said:
Your welds are getting cleaner as i look down the page! I can see the rust coming off!!!! Great job!

Old welding rods = bad welds. On my fist welds for the receiver tube gussets, there was quite a bit of spattering due to old welding rods. I picked up a new box of rods and I put the few old rods I had left on the wood stove to "dry" them out a bit this helped out with the weld quality.

Willman said:
What are you going to do for side protection? (tube or sheet metal?)

At this point, I'm still torn with respect to side protection. The way I see it I've got four options listed in order of preference:

1-Tube wrap around style similar to the Demello Off-Road wrap arround or what you did here:

DSC02197.jpg

Photo credit: Willman

This is my favourite option by the way, but no one locally can bend tubing. Everyone I spoke to has pipe benders as opposed to tube benders. I'd like to go with 1 3/4" by 0.120" wall for this option. The closest thing to this in pipe would be 1 1/4" SCH 40 but that's got a nominal OD of 1.66” and a 0.140" wall that "costs" me 2.27 lb/ft. Too heavy IMO.

2-I really feel like removing some sheet metal similar to what Wil has done below but my wife thinks that looks ugly plus it may become an issue for resale down the road.

IMG_2235.JPG

Photo credit: flyingwil

3-Do nothing, that is no side protection. This one is really tempting me for the following reasons:
  • Weight savings
  • I have not needed yet
  • Easier to build the bumper although I would make the bumper build such that it could be incorporated later.
  • If I damage a quarter panel, I can always resort to option 2 from this list!
My wife actually suggested this option, when she said: “You know, sometimes less is more…”.

4--Some version of side protection similar to what Steve from Sonoran Steel fabrication has done for his 1995-2004 Toyota Tacoma Rear Bumper with Side Wings (near bottom of the page).

Not sure at this point, I have to think about it more. Now I have to wait to pick up my hinges and toggle clamps before progressing.

Cheers,
P
 

BigAl

Expedition Leader
p1michaud said:
My wife actually suggested this option, when she said: “You know, sometimes less is more…”.

Why would you listen to your wife when you can get all the advice you need right here on this forum???:)

I'm a fan of sch40 for skids, I don't have any proof but it seems to dent less than dom in my experience. I would incorporate a step into the wrap around too.
 

ntsqd

Heretic Car Camper
1020 DOM's yield point is roughly twice that of A106 steel pipe, but Schd 40 in 2" is ~0.154 wall vs. the common 0.125" wall most folks use in tube (not that you can't get thicker).
I don't doubt your observation, but no idea what the cause is either.
:)
 

Forum statistics

Threads
188,043
Messages
2,901,556
Members
229,411
Latest member
IvaBru
Top