Tacoma rear bumper fabrication.

Willman

Active member
p1michaud said:
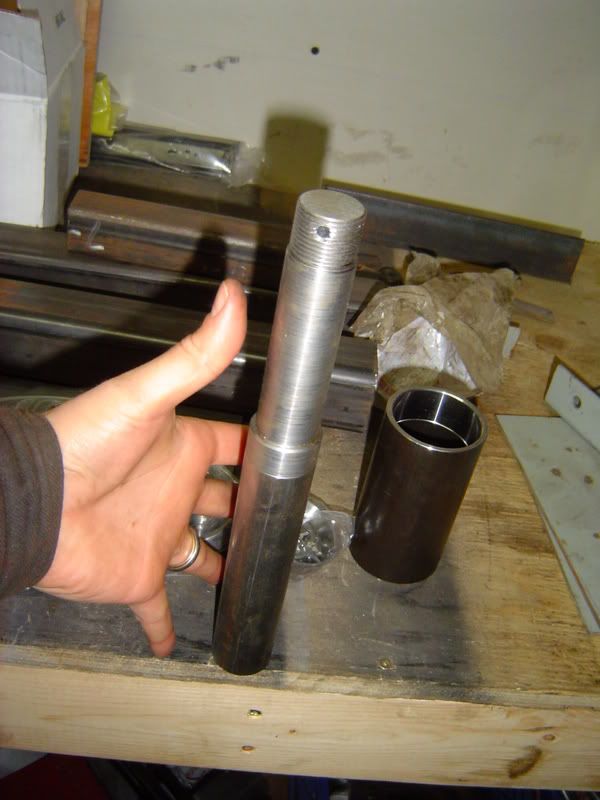
Does anyone have the dimensions for the hinge shown below?

spindle.jpg


I'm looking specifically for the OD and length of both the upper and lower parts of the hinge. Mine are in the mail, but won't be here for a week. I'd like to start laying things out.

Cheers,
P


Here you go P:

Sorry for the quick notes....

Hinge.jpg


Let me know if if i can help at all!

:)
 

p1michaud

Expedition Leader
Hinge dimensions

Willman said:
Here you go P:

That's exactly what I was looking for. I was holding off making any additional cuts or holes untill I had these in my hand but now I should be able to progress a bit. Big thanks!

Cheers :beer:,
P

P.S. I just realized that we need a few more smilies such as the saw and the welder...
 

p1michaud

Expedition Leader
The build up continues.

Willman said:
Hows it coming P????

:peepwall:

I'm a bit slow at updating the thread here but here goes. I have the following parts in hand:

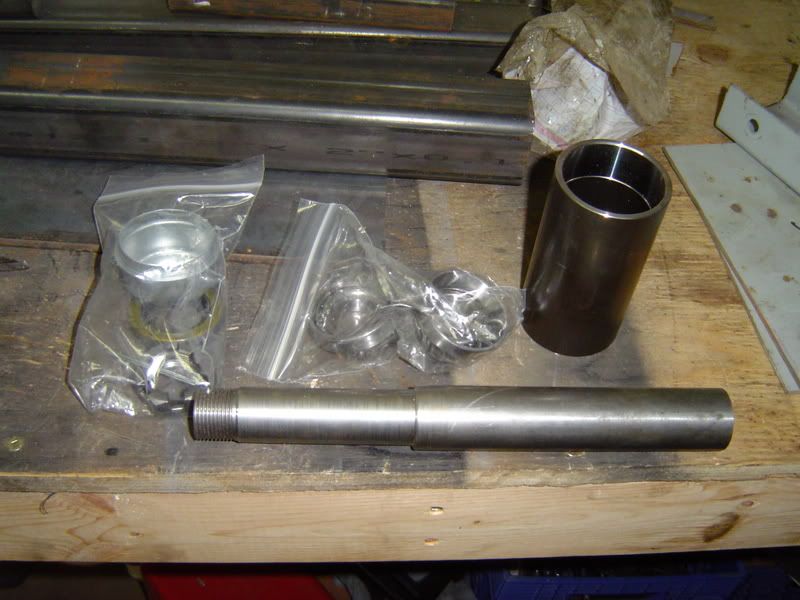
  • Two spindles from www.rocklogic4x4.com
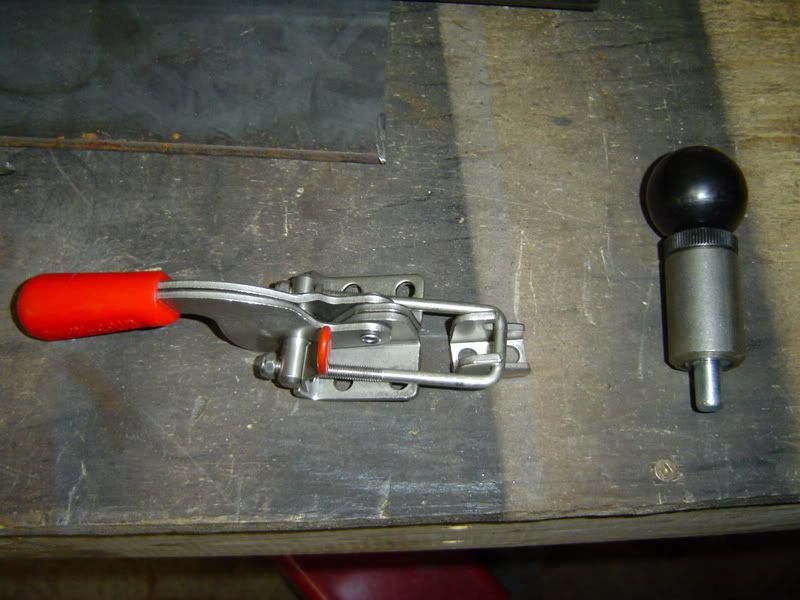
  • Two Stainless Steel Toggle Clamps
  • Two Weld-in Pull Pin Ball Handle

I still need two Adventure Trailers Can Holders.

Last night I finished welding the main bumper. I cleaned it up with the flap disk wheel, sprayed a quick coat of rattle can black for now. I'll be mounting it up tonight. I won't be installing the swing out arms untill I have all the parts in hand.

Pictures will be posted later tonight.

Cheers,
P
 

p1michaud

Expedition Leader
Main bumper complete

I've managed to sneak a few hours here and there to progress the rear bumper.

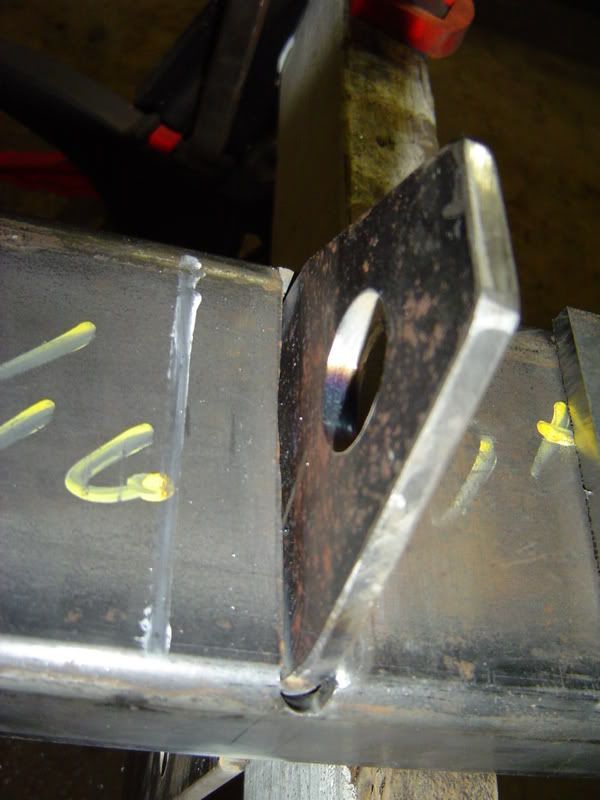
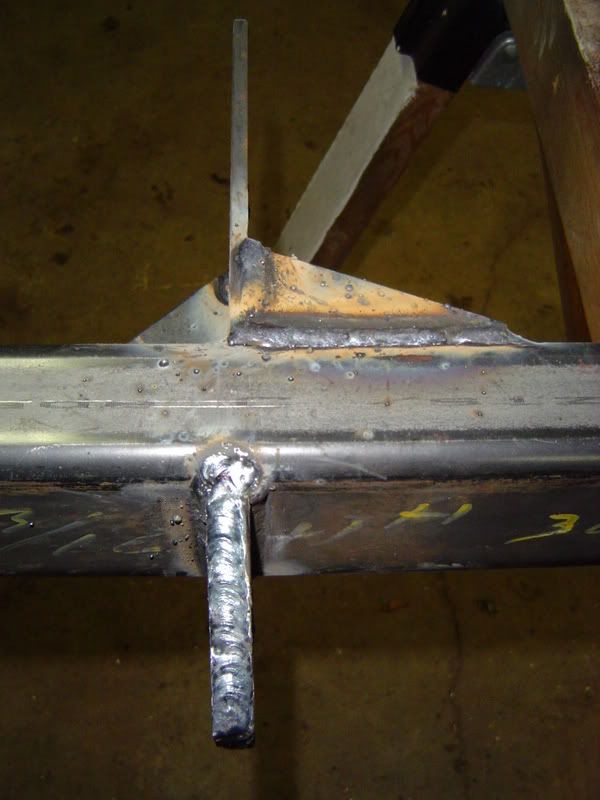
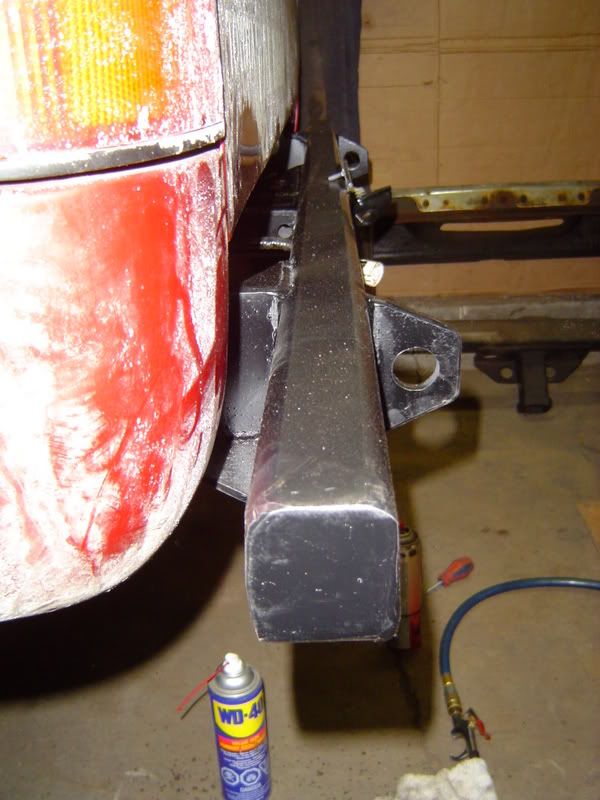
First I started by laying out where my mouting brackets would be on the bumper. Then using a 4 1/2" angle grinder with the Walter Zip Cut wheels, I notched the main tube (2" x 4" by 3/16"thick) on both sides so that the mounting bracket could slide through the bumper then be welded in on both sides. I don't have any pictures of the notch. Then I fabricated the mounting brackets out of 4" by 1/4" thick material. These brackets bolt to the Demello Off Road mounting brackets via 3 1/2" Grade 8 bolts. I cut the brackets down to size once I figured out the correct lenght and spacing. I also drilled a 1" hole using a hole saw for the shackle mounting locations.

Bracket installed through main bumper:
DSC04602.jpg


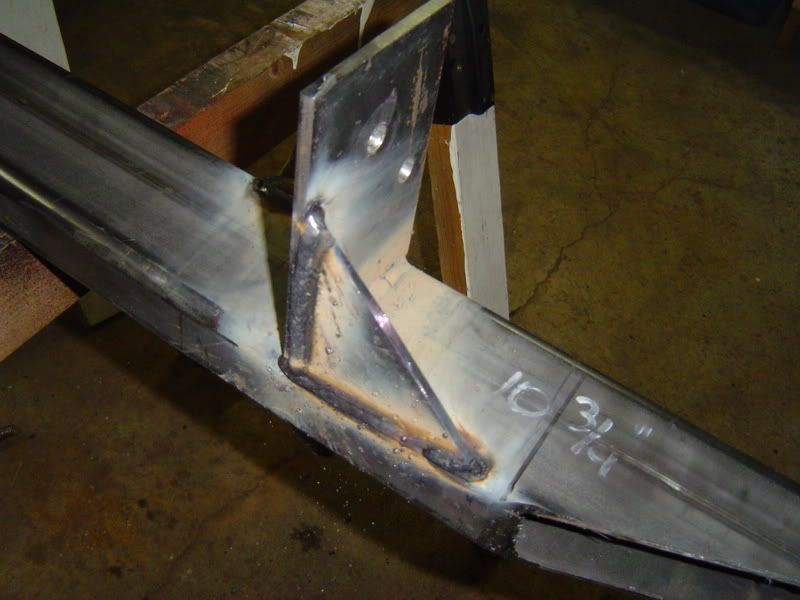
Bracket welded in on one side:
DSC04604.jpg


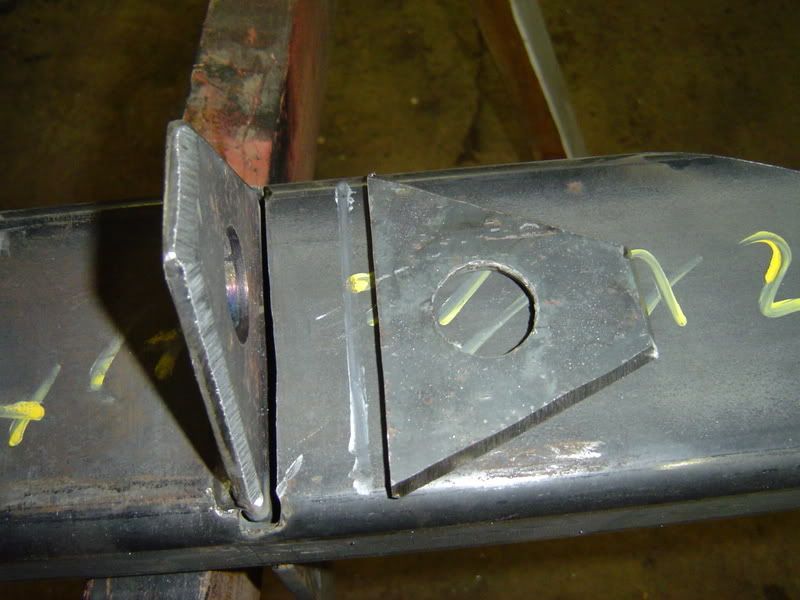
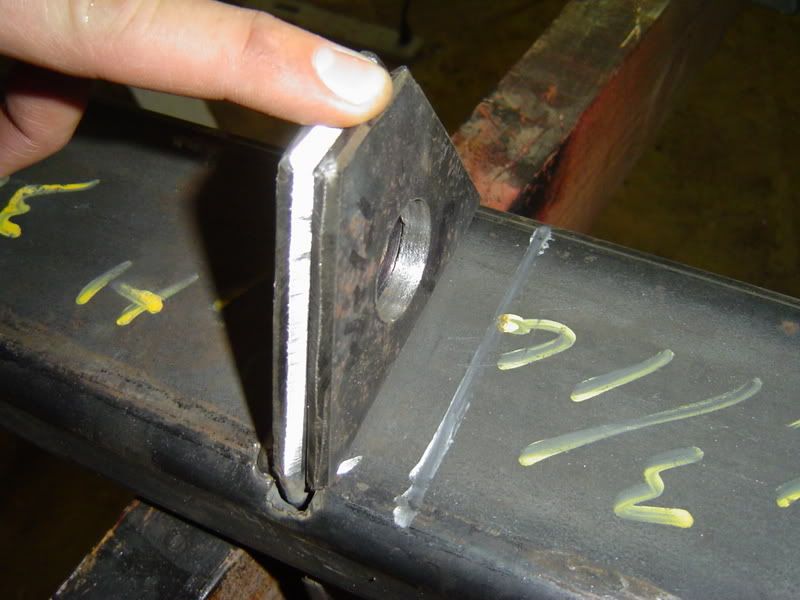
Next I fabricated a matching piece out of 1/4" thick flat bar to increase the the shackle mounting bracket thickness but also to lock the bracket in place once welded in (i.e. by welding the additional piece on, it prevents the mounting brackets from pulling out).
DSC04605.jpg


Holding it in place:
DSC04607.jpg


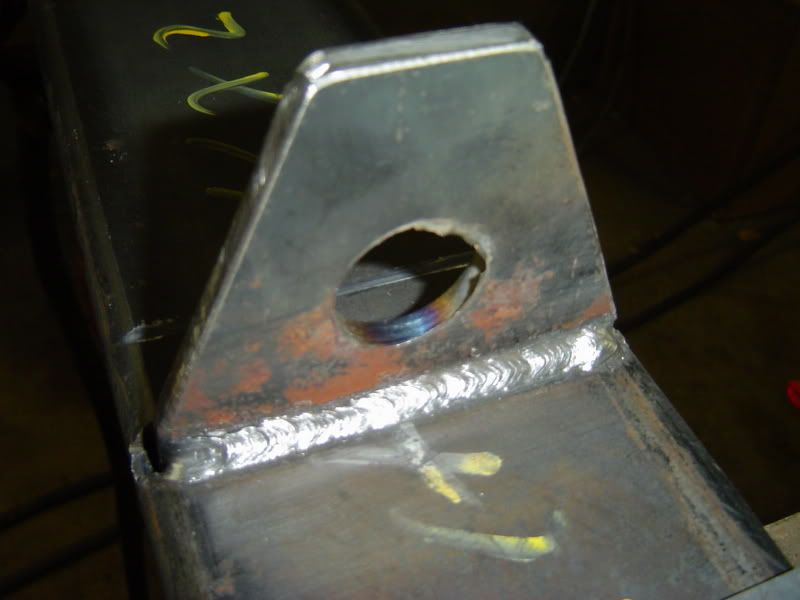
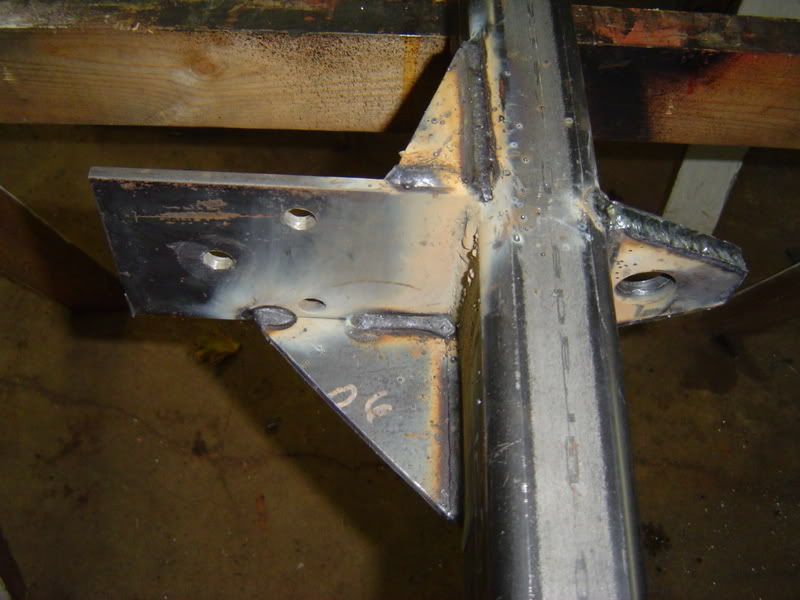
This picture shows the shackle mounting bracket welded up as well as some gussets to re-inforce the mounting brackets:
DSC04610.jpg


More gussets, note that I had not removed the slag for the pics thus the funny looking welds:
DSC04609.jpg


The gussets are a mirror image of each other on each bracket.
DSC04612.jpg


To be continued...
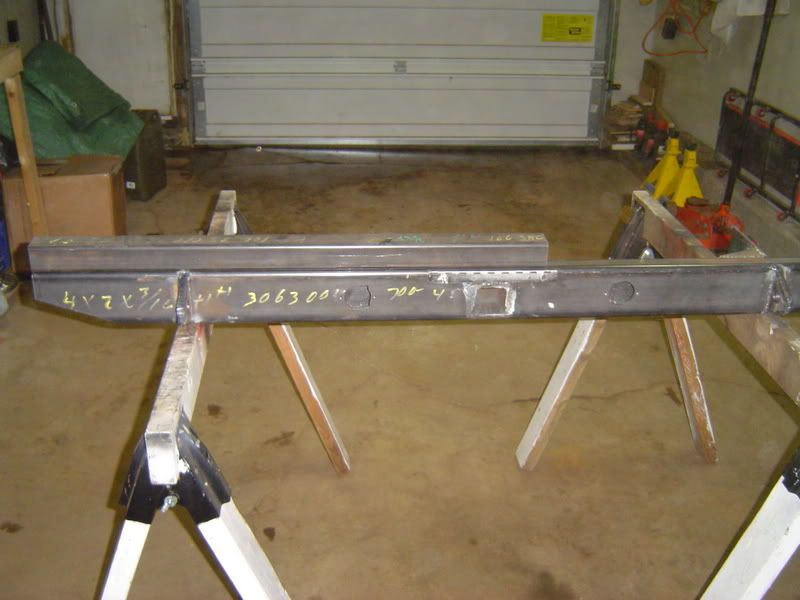
 

Desertdude

Expedition Leader
Damn nice :drool: = I'll be right over just to have you weld me something up :bigbossHL:

I'll bring the propane heater :REOutCampFire03:
 

p1michaud

Expedition Leader
More progress.

The next thing I did was to cut the ends so that they taper off. I made pieces to cap them and welded them in place. No pictures, but pretty straight forward.

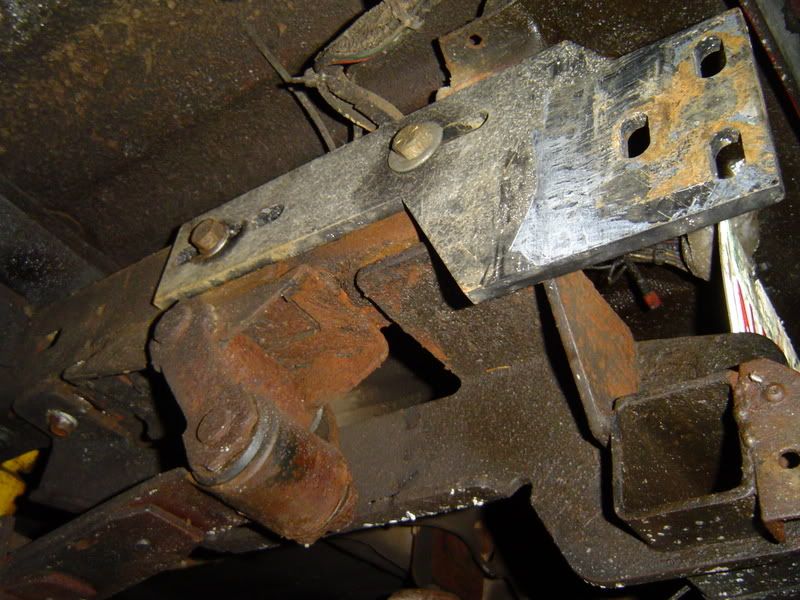
The Demello Off Road brackets were bolted into place. Very well made and stout pieces.
DSC04616.jpg


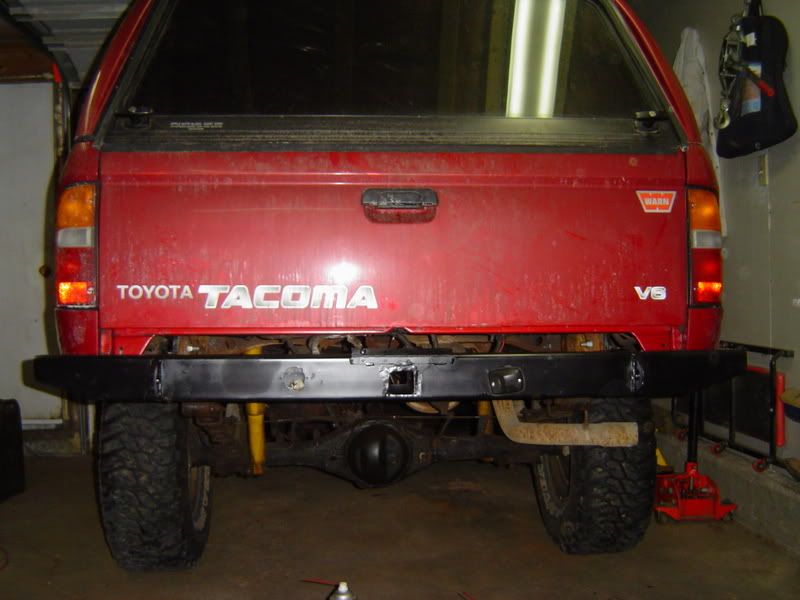
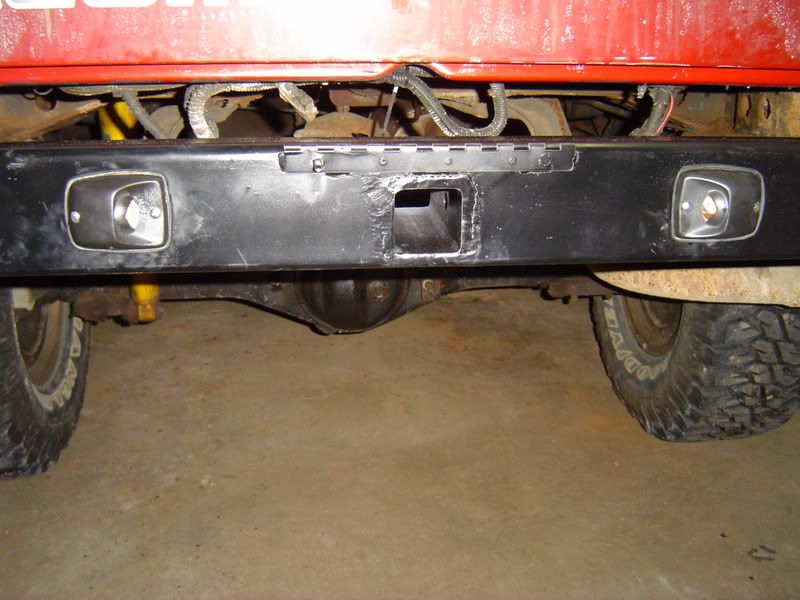
After this, I cleaned up all the welds and hit the bumper with a rattle can primer and black paint as a temporary measure. I wanted to mount the bumper for now untill I gather all the final parts for the build.

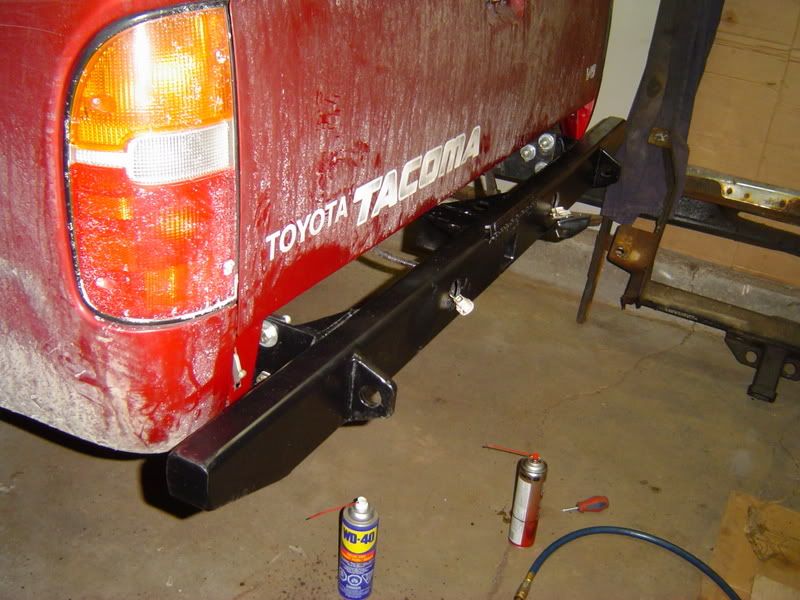
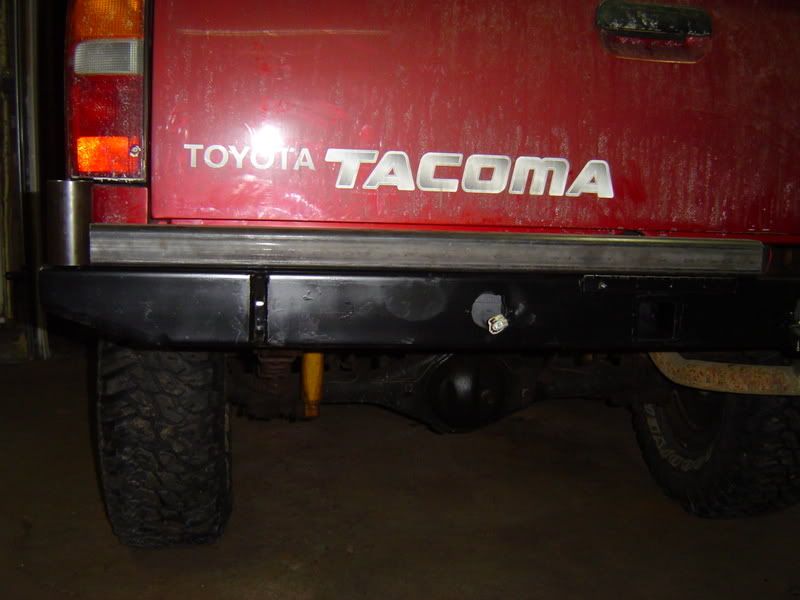
The buper installed:
DSC04618.jpg


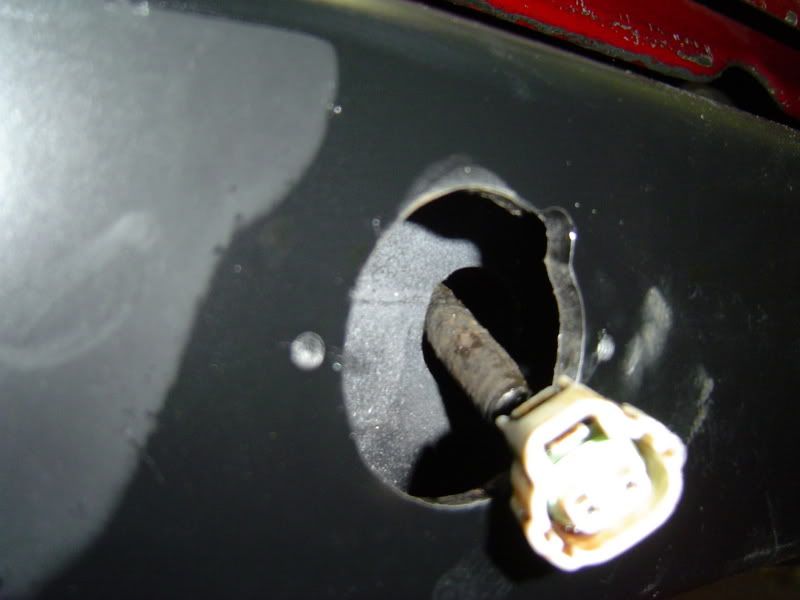
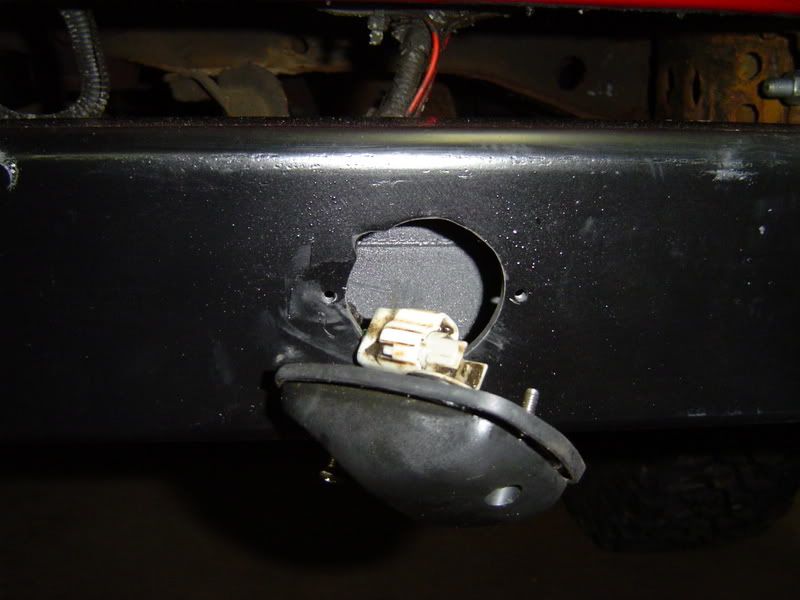
License plate light detail:
DSC04620.jpg


DSC04619.jpg


A few more:
DSC04622.jpg


DSC04621.jpg


To be continued.
 

p1michaud

Expedition Leader
Cold welding

Desertdude said:
Damn nice :drool: = I'll be right over just to have you weld me something up :bigbossHL:

I'll bring the propane heater :REOutCampFire03:


Ha, funny you should mention that. This time of year, I do all the prep work and fit up with the garage heater on. It's relatively cozy. Then when the welding starts I put the winter duds on and open the garage door and window to make sure the fumes don't get to me! It's cold work.
:REOutCampFire03:
 

Desertdude

Expedition Leader
Living on the east coast many moons ago - in upper state NY near lake Ontario I remember it all too well...

really well thought out, Fab0Lishious work.
 

p1michaud

Expedition Leader
Final progress update

Here is a picture showing the OEM license plate lights mounted:
DSC04628.jpg


Some of the hardware showed up with a picture of my hand for perspective:
DSC04623.jpg


DSC04624.jpg


DSC04625.jpg


Finally some test fitting for the swing outs:

DSC04613.jpg


You may have noticed that some of the previous pictures showing the rear bumper mounted in place left a relatively large gap between the top of the bumper and the bottom of the tail gate. As you can see in the next page once the 2" x 2" swing out arms get installed this gap will be closed up relatively well leaving approximately 1/4" of clearance.

DSC04627.jpg


This is too fun! :victory:
 

Willman

Active member
Love it P!

Can't wait to see the trouble swing-outs!!!!!!


One note:......Try to mount the bumper highest as poss. It will increase you rear departure angle on the trail...Seems it could come up a little bit or the picture is weird and my eye is off......Just my 2 cents. I think i have Small 3/8" 's when the trailgate is down......What do you have?

Can't wait to see the final product!

:victory:
 
Last edited:

p1michaud

Expedition Leader
Rear bumper build up.

Desertdude said:
Living on the east coast many moons ago - in upper state NY near lake Ontario I remember it all too well...

really well thought out, Fab0Lishious work.

Thanks for the good words. It's amazing what happens when you have time to build something vs. when you are rushed to get it done by a certain date...

Willman said:
Love it P!

Can't wait to see the trouble swing-outs!!!!!!


One note:......Try to mount the bumper highest as poss. It will increase you rear departure angle on the trail...Seems it could come up a little bit or the picture is weird and my eye is off......Just my 2 cents. I think i have Small 3/8" 's when the trailgate is down......What do you have?

Can't wait to see the final product!

:victory:

The double swing outs won't come untill after the holidays due to time constraints, but the bumper is on the rig and functional for the time being.

As for the bumper mounting, the Demello brackets are slotted and allow for approximately 1/2" of adjutment up and down so there is a bit of room to move things there. Right now when the 2" x 2" swing out is in place I've got approximately 1/4" to 3/8" of clearance between the swing out and the bottom of the tailgate with the top of the swing out when it's not open.
Another design feature I'm aiming for is that I want to be able to open my tailgate without opening the swing out if I don't have the Adventure Trailers Can Holders bolted on...:peepwall:
Keep in mind my original design criteria #2: Versatile.

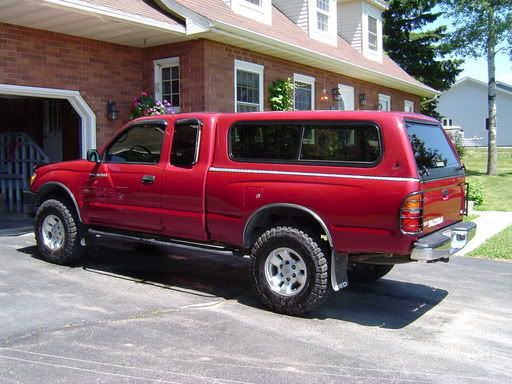
At the moment I've gained 4" to 5" of clearance by removing the towing receiver and OEM bumper so I've already improved. Let me try and find a picture of my previous set up.

Edit: This picture gives you an idea of the towing receiver and OEM bumper thus resulting departure angle before.
DSC02363.jpg


Cheers :beer:,
P
 
Last edited:

p1michaud

Expedition Leader
Rubber isolators.

Willman said:
One note:......Try to mount the bumper highest as poss. It will increase you rear departure angle on the trail...Seems it could come up a little bit or the picture is weird and my eye is off......Just my 2 cents. I think i have Small 3/8" 's when the trailgate is down......What do you have?

I re-examined your build up thread and from what I can tell both our bumpers are approximately at the same location. From you pictures it looks like the top of your bumper is about 3/8" to 1/2" from the bottom of your tailgate when the tailgate is closed. From there your rear bumper extends down 6" (you main piece was 6" x 3" if I recall correctly). Now if you look at my bumper location (i.e. the one where the swing arm is resting on it, it's about 1/4" to 3/8" from the bottom of the tailgate with the tailgate closed. From there it goes down 2" for the swing arm, then another 4" for the main bumper (i.e. my main piece is 4" x 2"). I'll have to leave a gap for the rubber isolators. Wich brings me to a question. In your tread you said that you pikced up some rupper isolators from Granger. What parts were they with (shock absorpers, bushings, hardware, etc...)? I have not gone looking for them yet, but it would help if I knew where to start!
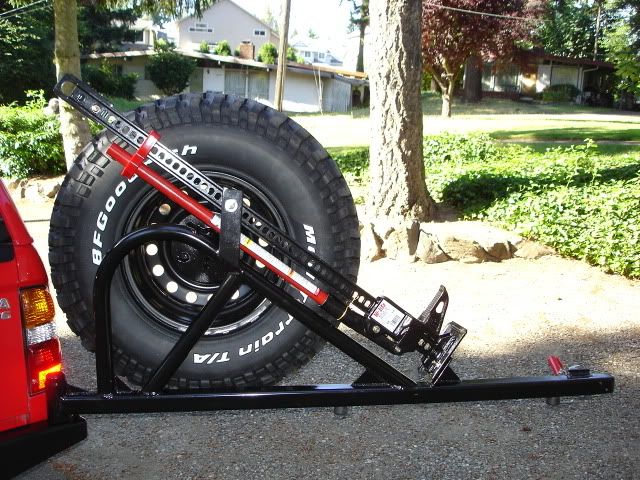
You can see them bolted to the bottom of your swing arm in this pictures:

DSC01422.jpg


Cheers,
P
 

Forum statistics

Threads
188,044
Messages
2,901,560
Members
229,411
Latest member
IvaBru
Top