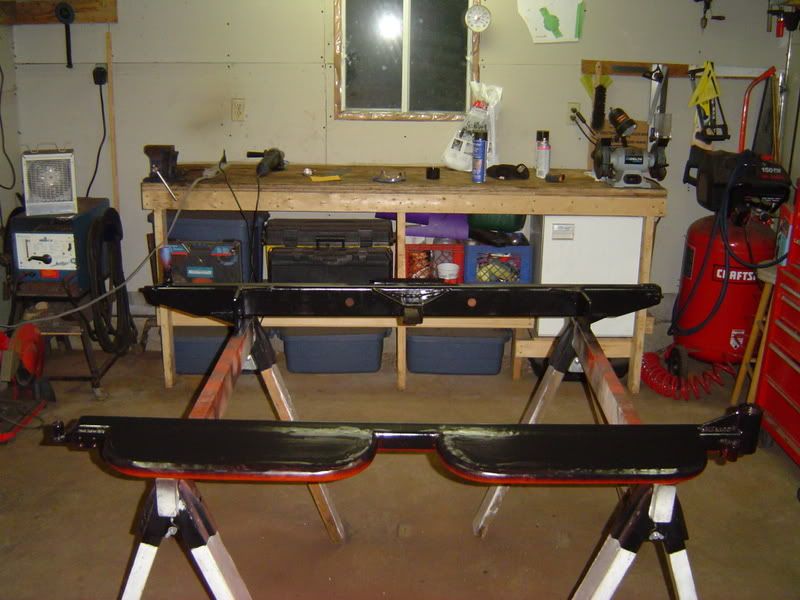
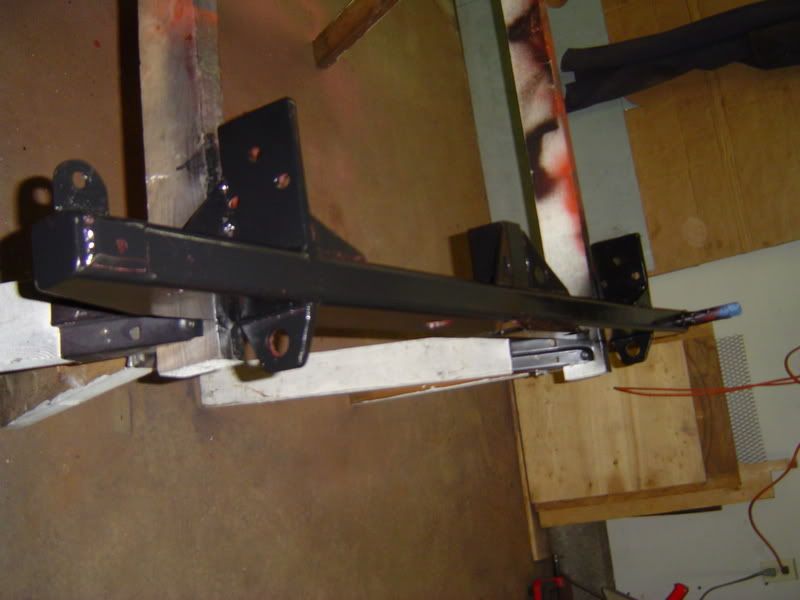
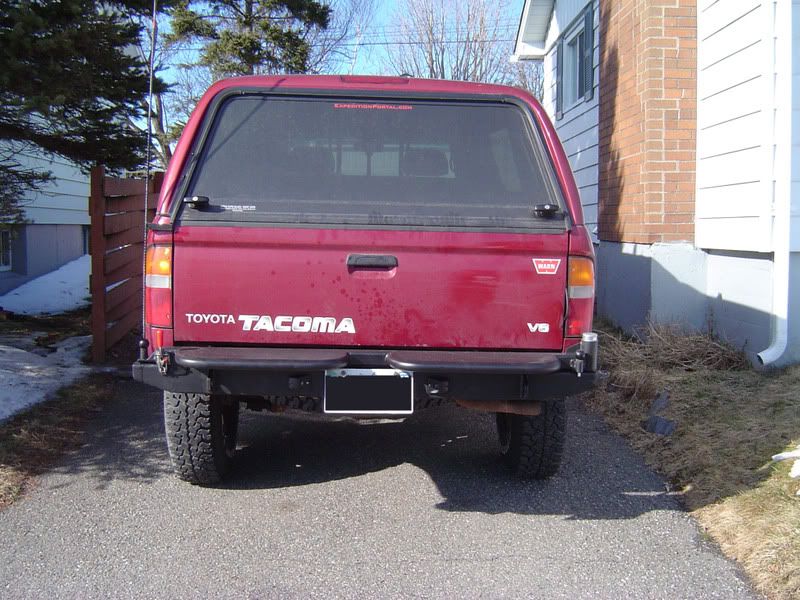
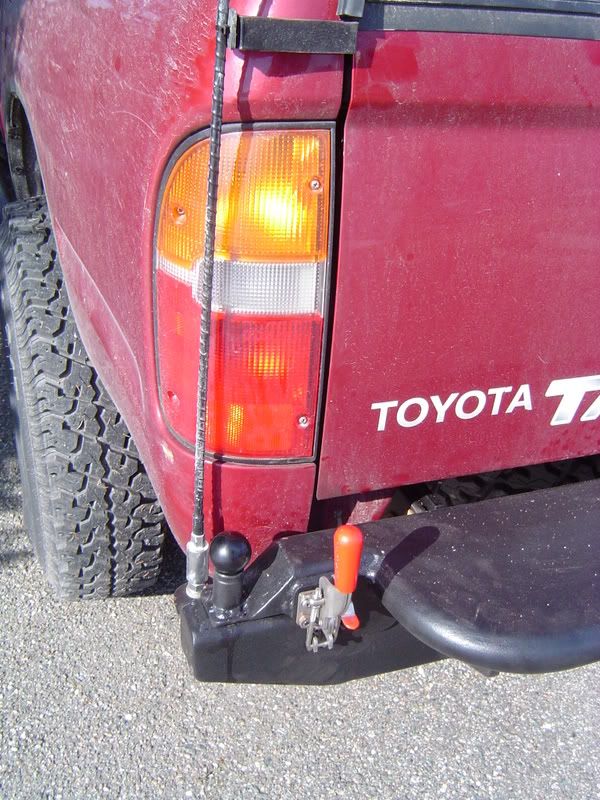
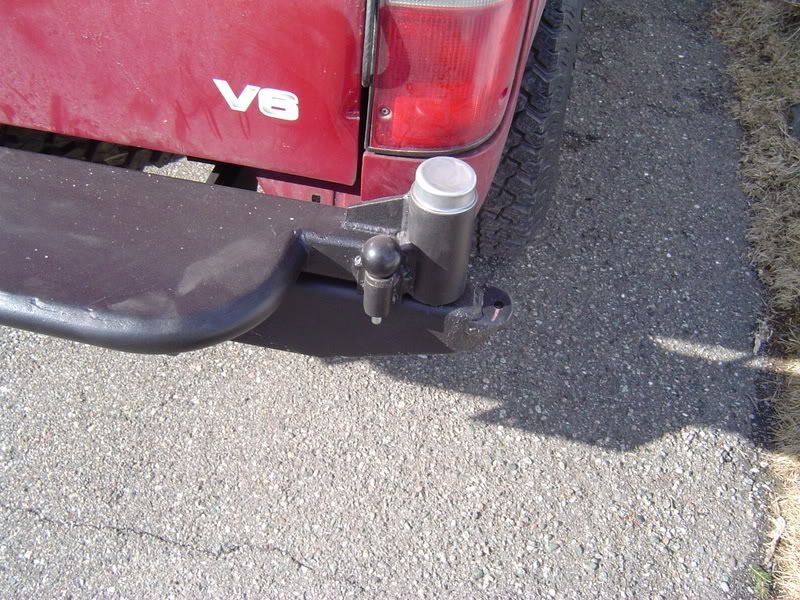
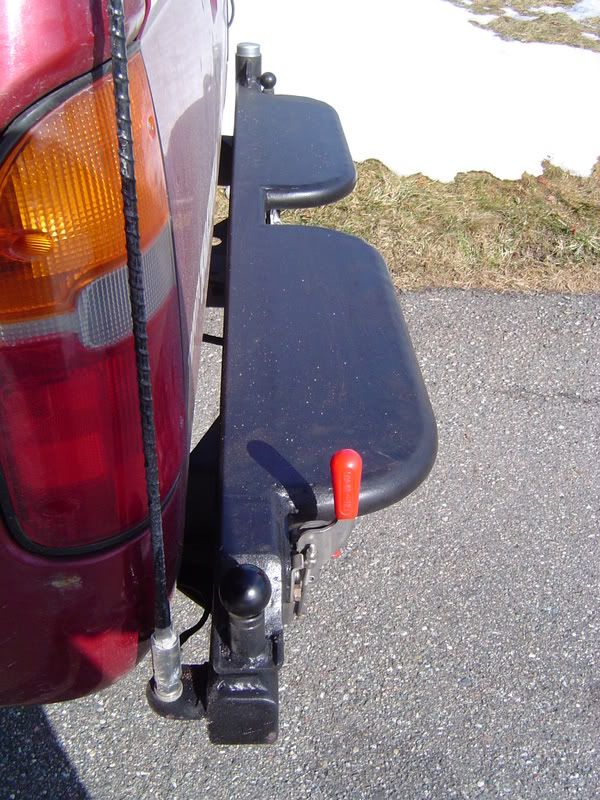
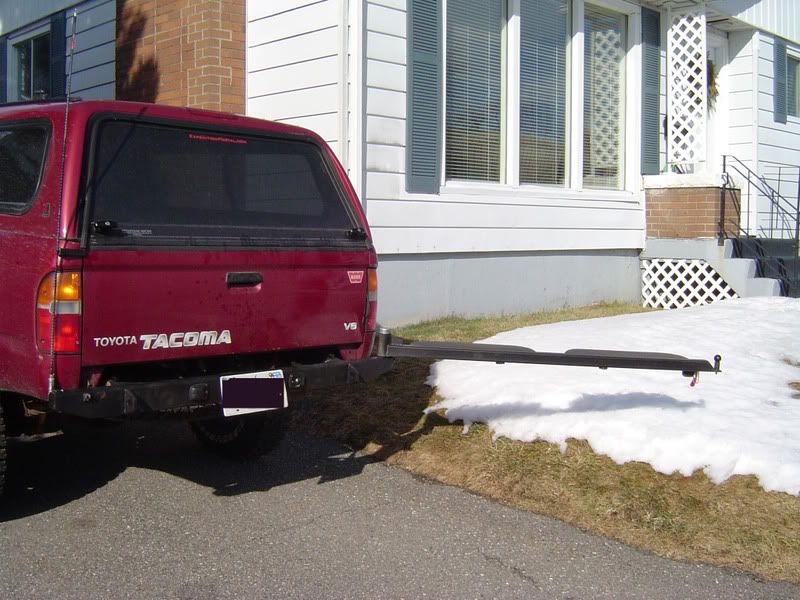
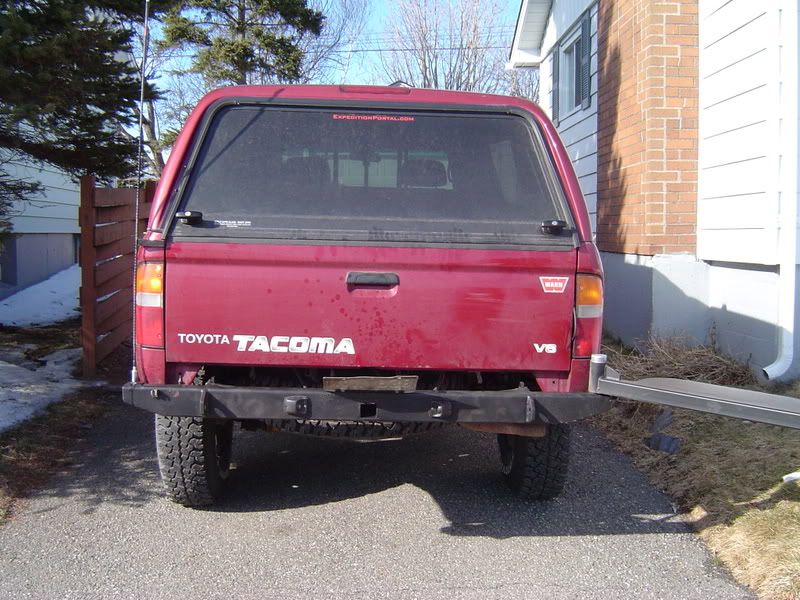
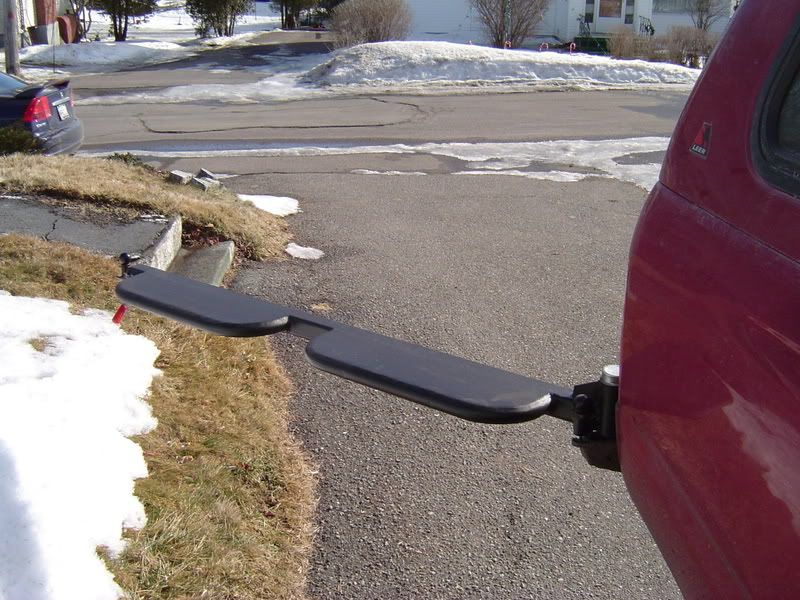
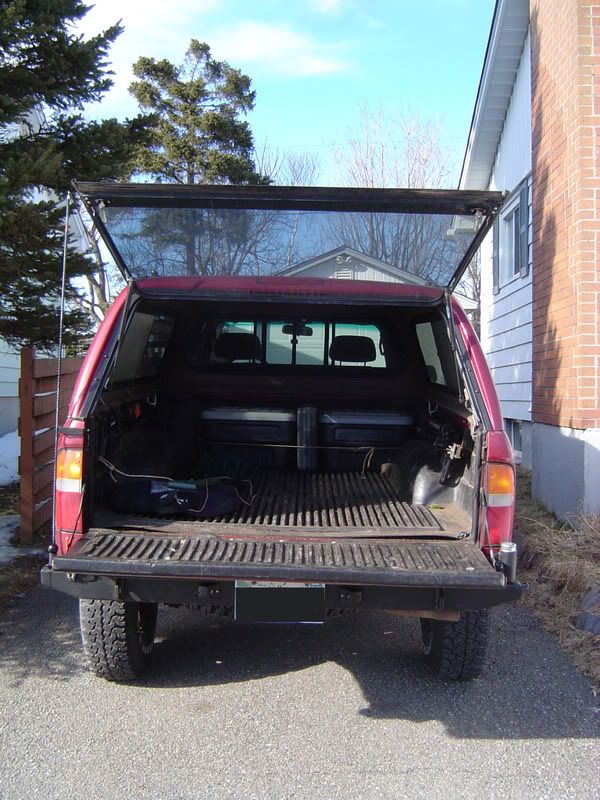
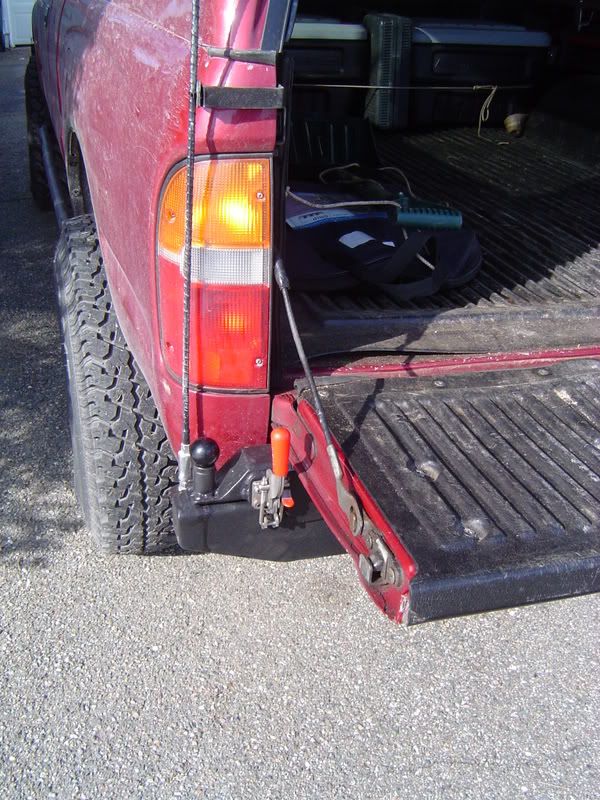
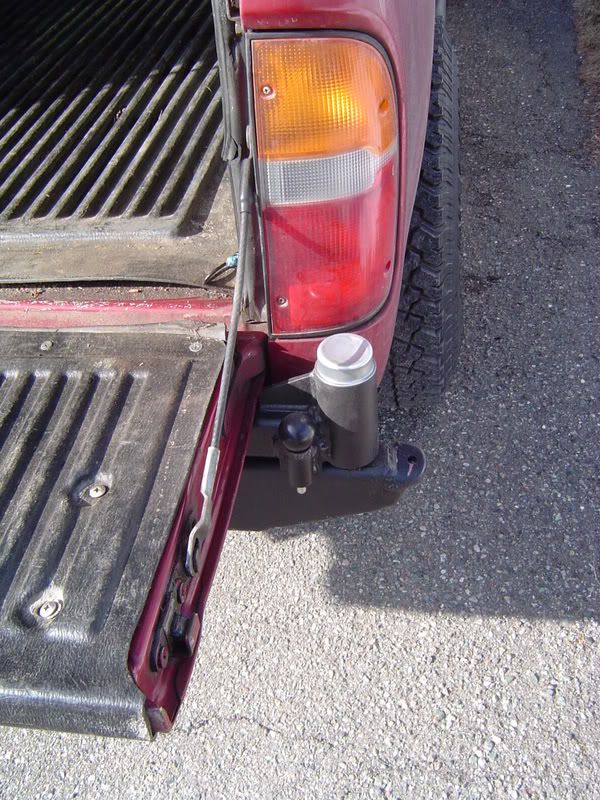
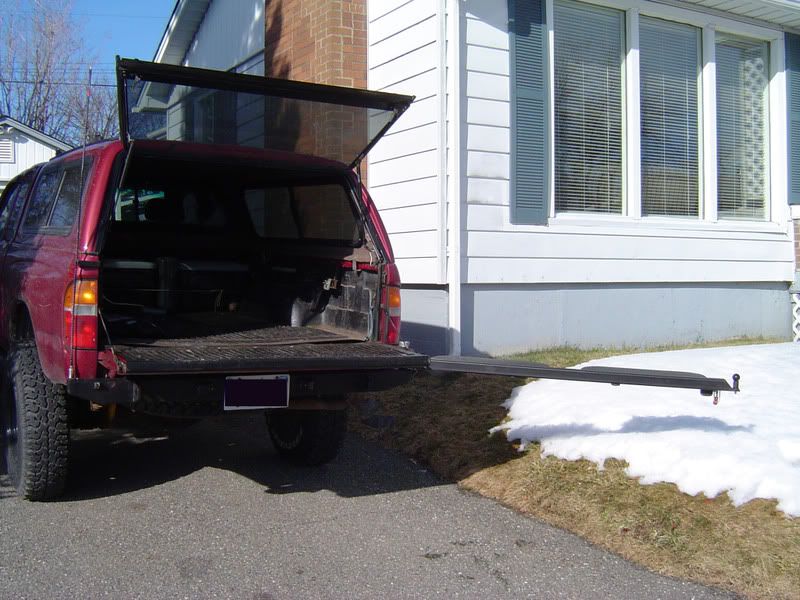
Tacoma rear bumper fabrication.

Dave Bennett

Adventurist
That's looking great, very well thought out! I can tell you know what you are doing there :26_7_2:

I need a bigger garage and a welder since I love tinkering so much... the best things are the ones you make yourself!
 

SAR_Squid79

Explorer
p1michaud said:
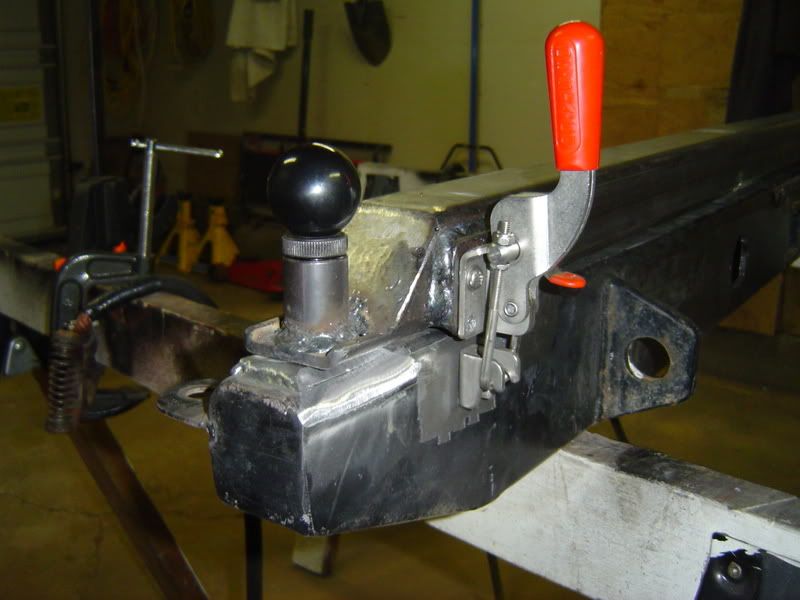
DSC04759.jpg

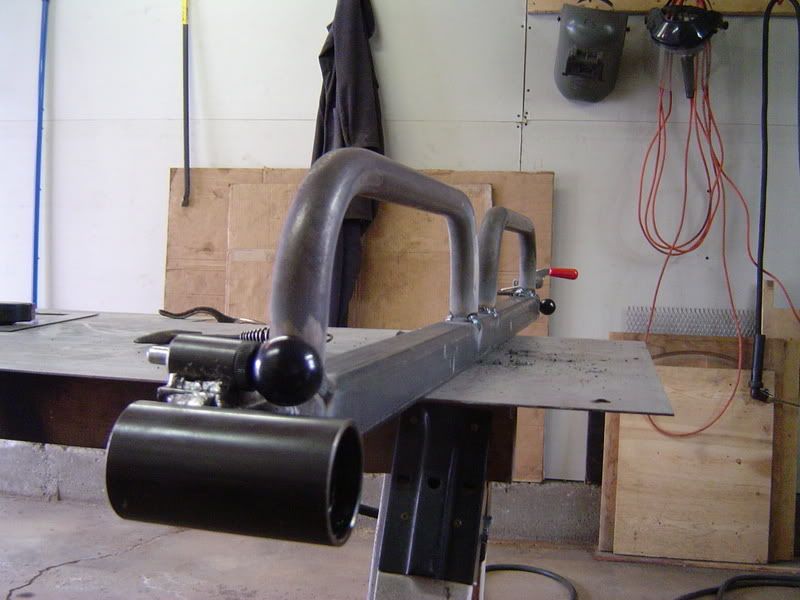
Where did you get that latch? I need two of them and the only place I've found them wants to charge me $77 each.
 

DaveInDenver

Middle Income Semi-Redneck
SAR_Squid79 said:
Where did you get that latch? I need two of them and the only place I've found them wants to charge me $77 each.
McMaster has a bunch of different draw latches. Ones like these (draw-pull) are on page 2542 in the current catalog. Keep in mind stainless ones will be sorta expensive, although $77/each is pretty steep unless you get 3 ton latches... I'd imagine 700 lbs latches would work and they get about $30 for a stainless one like this.

http://www.mcmaster.com
 

p1michaud

Expedition Leader
Bumper progress

Thanks for all the kind words. I've been pushing to get this thing finished before the end of January. I may get it done by then but not painted and mounted.

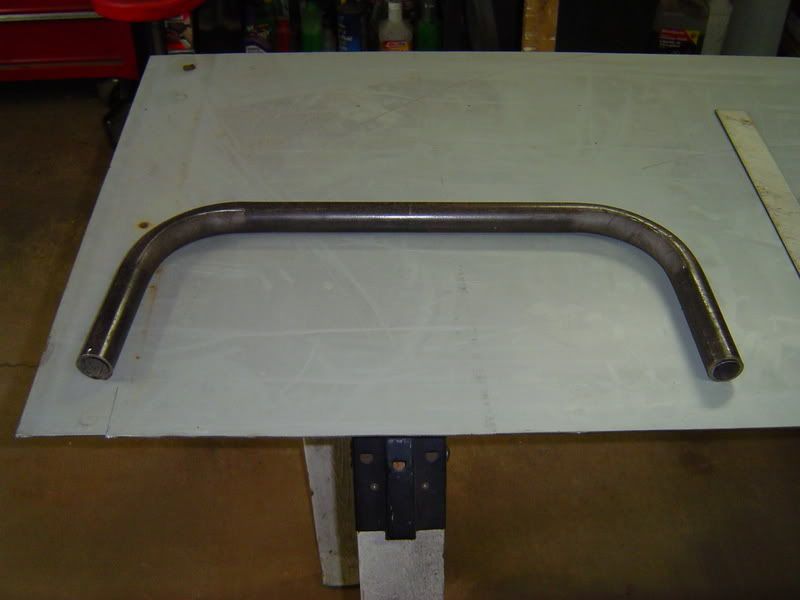
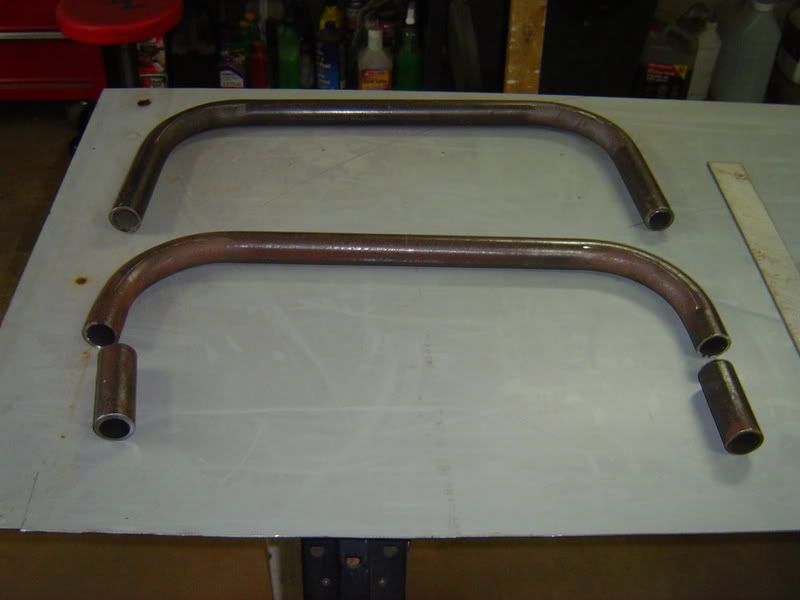
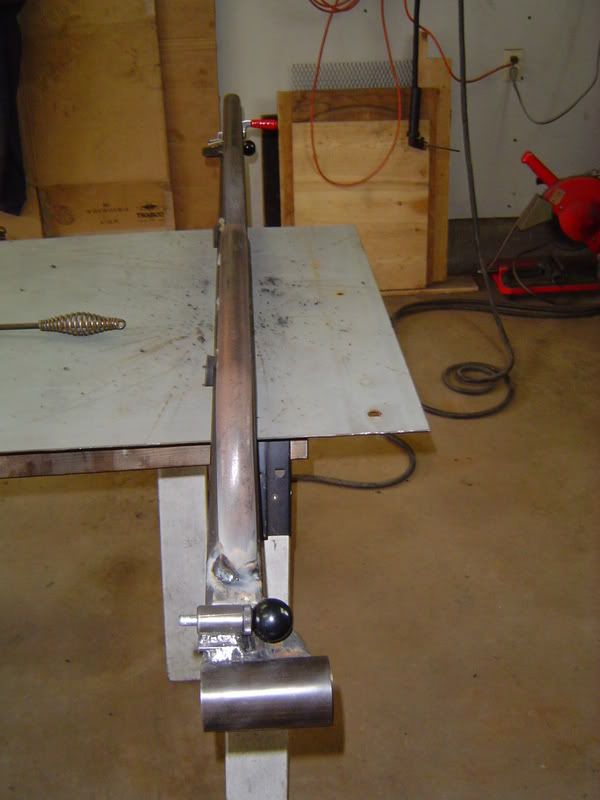
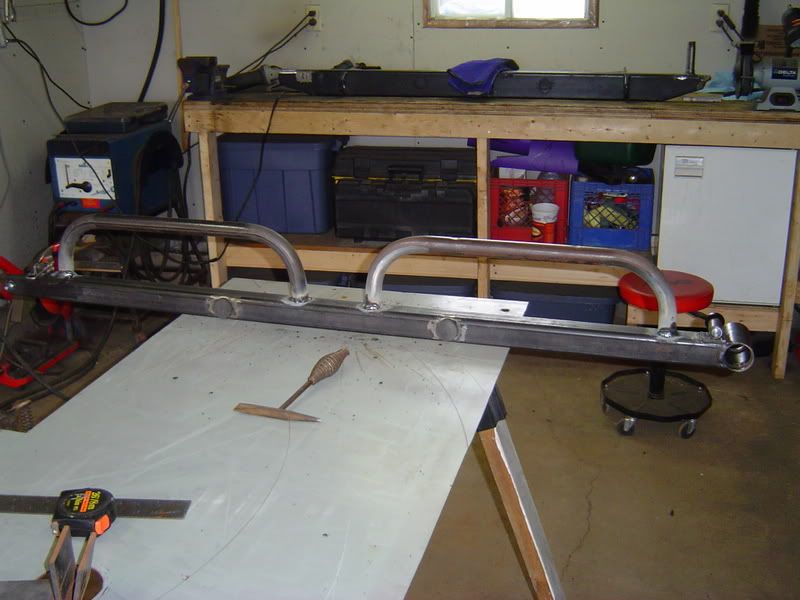
Last night I spent some time over at a friends place playing with the pipe bender and some 1 1/4" SCH 40 pipe (approx. 0.125" wall). I made up two hoops that will be used to support the AT Can Holders when they are required or access to the roof when I don't carry the Can Holders (think a step).

Willman said:
Did i miss something????....What happened to the twin swing-outs???

I decided a few weeks ago to change my design slightly, see here.

adrenaline503 said:
Wow, very well thought out design. Seems a shame that manufacturers cant seem to put as much thought into their designs.

Thanks, the big difference is that manufacturers have to try and satisfy everyone. In this case it's me puting time and effort into my work. A labor of love so to speak!

SAR_Squid79 said:
Where did you get that latch? I need two of them and the only place I've found them wants to charge me $77 each.

I picked mine up via McMaster-Carr for $30.13. Pull-Action Toggle Clamp: 5071A58. I feel that the 700 lb version is adequate especially since I have the spring loaded pin as a back up.
If you were to use a single toggle clamp, I'd consider this one: 51335A67 for $48.66.

Cheers,
P
 

tdesanto

Expedition Leader
Right on target Pierre. :REOutArchery02: I'm in awe of your talent and creativity. Once day I may be able to use the force like you and Willman.

Looking sweet.

Now get back to work.

I'm anxious to see the final product. :jumping:
 

p1michaud

Expedition Leader
The progress continues....

tdesanto said:
Right on target Pierre. :REOutArchery02: I'm in awe of your talent and creativity. Once day I may be able to use the force like you and Willman.

Thanks tdesanto. You can do it. It just takes time, patience and curriosity!

tdesanto said:
Now get back to work.

:yikes:

Ok ok, I listen well!

I started with two of these:
DSC04772.jpg


Cut them down to size (i.e. 6" by 20" to suit dimensions of the AT Can Holders. Once welded on they will provide a nice 8" by 20" mounting surface or stepping surface depending on the configuration.)
DSC04773.jpg


Spent a bit of time with the grinders to make them fit up nicely then tacked everything in place for some fine tuning to make sure they will be level once on the rig.
DSC04775.jpg


The hoops welded on:

DSC04774.jpg


DSC04776.jpg


I'm very pleased with the progress this weekend. :wings:
The last fabrication step is to cover the hoops over with some 1/8" steel and weld them in. Should be done by end of week. After that it's off to paint/coat the whole thing.

Time to go cook supper now! :chef:

Cheers :beer:,
P
 

DaveInDenver

Middle Income Semi-Redneck
Bumper is looking good!
You can do it. It just takes time, patience and curriosity!
Don't forget you first need a big enough shop with electrical service, a welder and tools... ;-) I think for my 40th birthday in a couple of years I'm going to start renting a shop with a welder, drill press and all that stuff. I can't find the right rear bumper and hate always trading and bartering to have work done.
 

p1michaud

Expedition Leader
Plating things in

Well I had some time to nearly finish the build up.

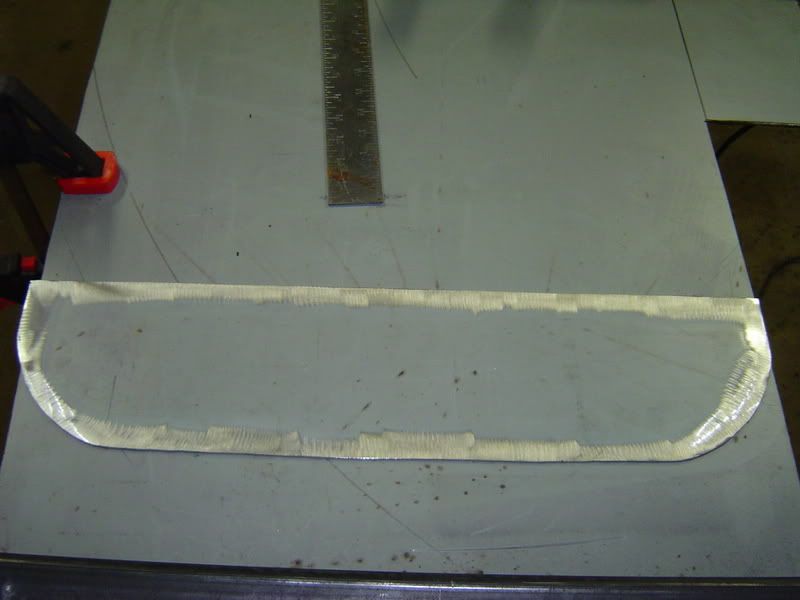
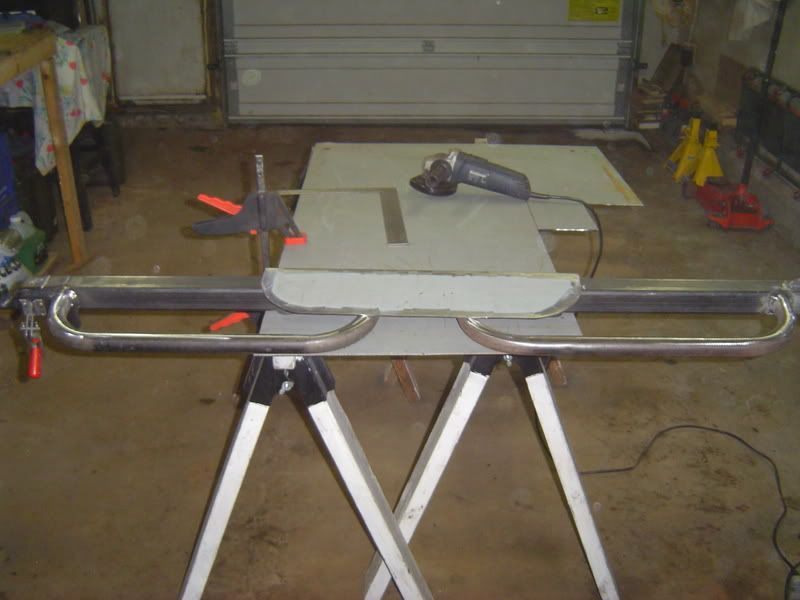
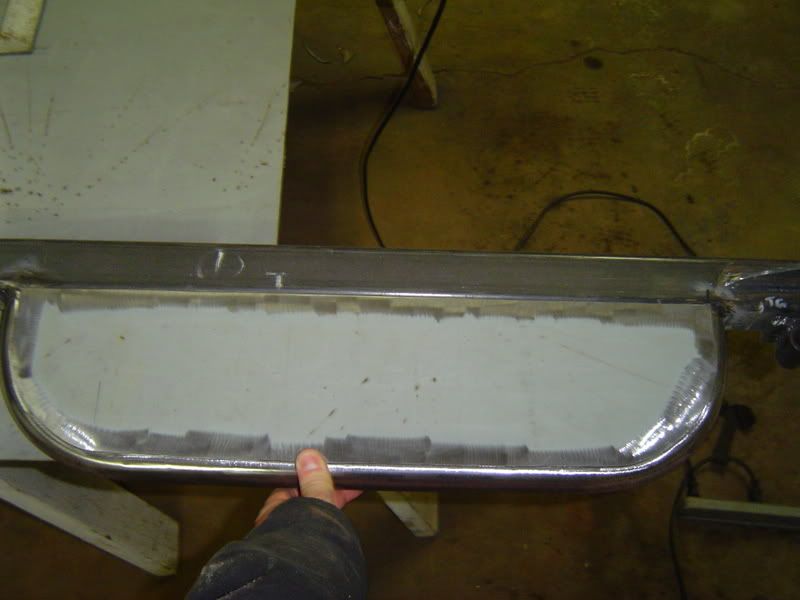
I started with some 1/8" plate, a 4 1/2" angle grinder and some Walter Zip Cuts to come up with this.

DSC04778.jpg


DSC04777.jpg


Test fit:
DSC04779.jpg


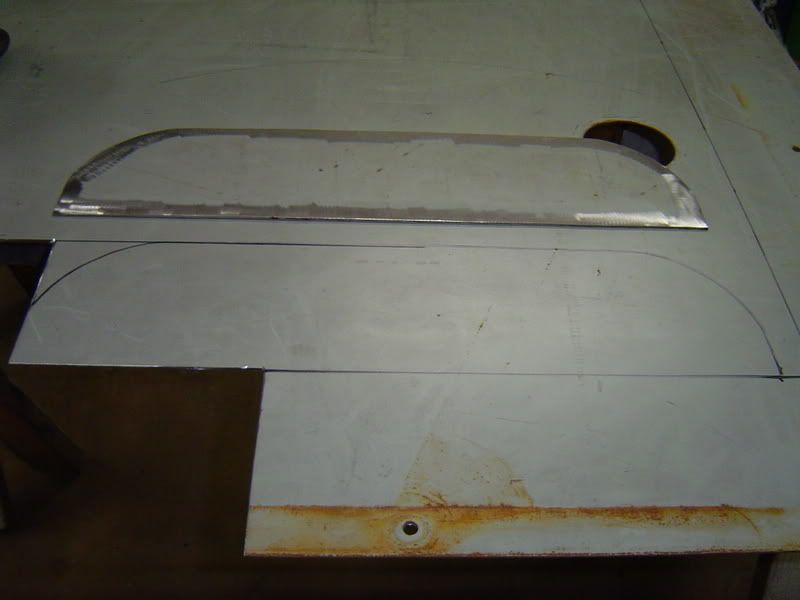
I test fit the piece on both sides and they were identical so I traced out the piece on the bigger sheet of 1/8" to minimize my cutting time.

DSC04780.jpg


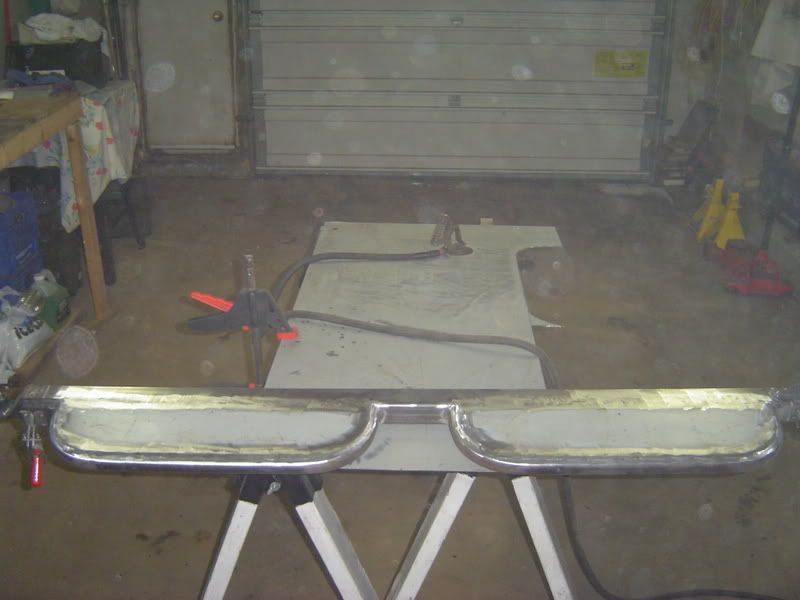
I was originally going to stich weld these in place, but after trying I noticed that the plates made a horrible vibrating/can like sound where they were loose on the hoop so I welded them in solid all the way arround. Lots of time with a grinder to smooth things out afterwards.

DSC04781.jpg


Continued...
 

p1michaud

Expedition Leader
Time for paint!

Well I was going to get the whole rear bumper sand blasted and zinc chromate primer applied immediately after sandblasting but had two major concerns with this:

1-Unline a set of sliders, this part had some precision surfaces (i.e. bearings and races, pin, threaded holes, etc...) that I did not want to get ruined in the process.

2-Mill scale on the metal. After speaking with the coating experts, they suggested I let is season for minimum one year to help remove the mill scale (hard dark surface on some of these metals from the manufacturing process). I was not about to have a rusty hunk of steel hanging off the back fo the truck for 6 months to one year.

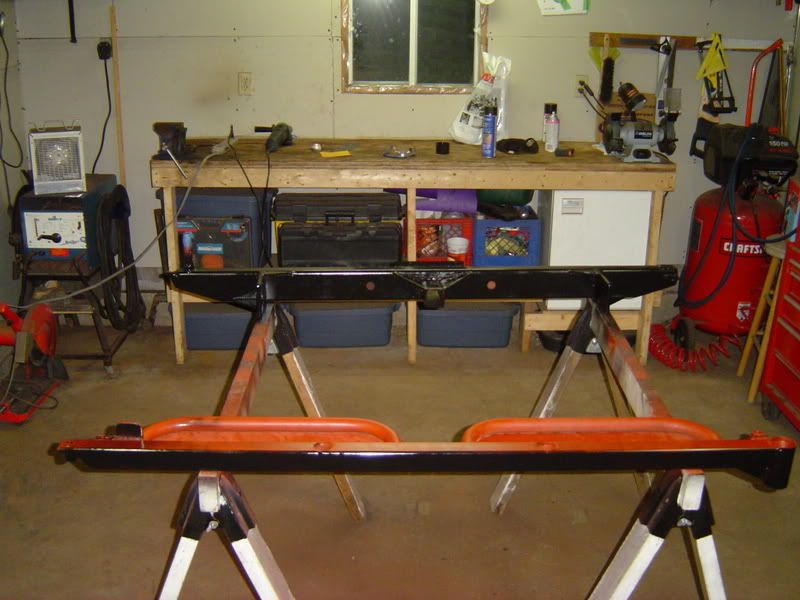
I decided to do a rattle can finish via primer, rut inhibiting paint then DIY spray on bed liner in a can. I'm very pleased plus at $10/can for the bed liner stuff it's easy to tuch up. I may pull it off in a year to have it sand blasted and re-finished but for now this will do.

Primer:
DSC04783.jpg


Paint:
DSC04782.jpg


DSC04784.jpg


I don't have any pictures of the final product with the bedliner on but you will see in the install pictures coming next...
 

p1michaud

Expedition Leader
It's finally on the rig!

Well after many days of work it's on! :wings:

On the truck:
DSC04786-fixed.jpg


Some details:
DSC04790.jpg


DSC04789.jpg


DSC04791.jpg


Swing gate open:

DSC04793-fixed.jpg


DSC04795.jpg


DSC04797.jpg


To be continued...
 

p1michaud

Expedition Leader
Final pictures.

Tailgate open:

DSC04799-fixed.jpg


DSC04800.jpg


DSC04801.jpg


Swing gate and tail gate both open:
DSC04803-fixed.jpg


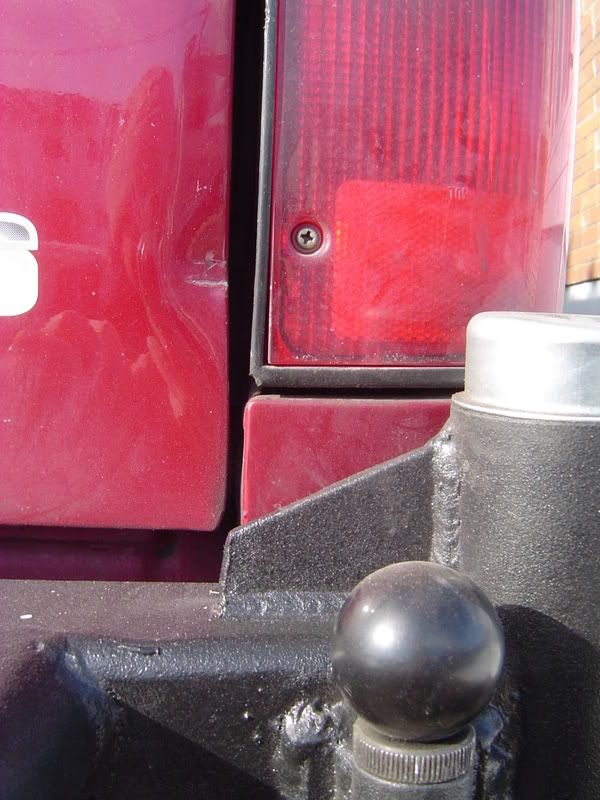
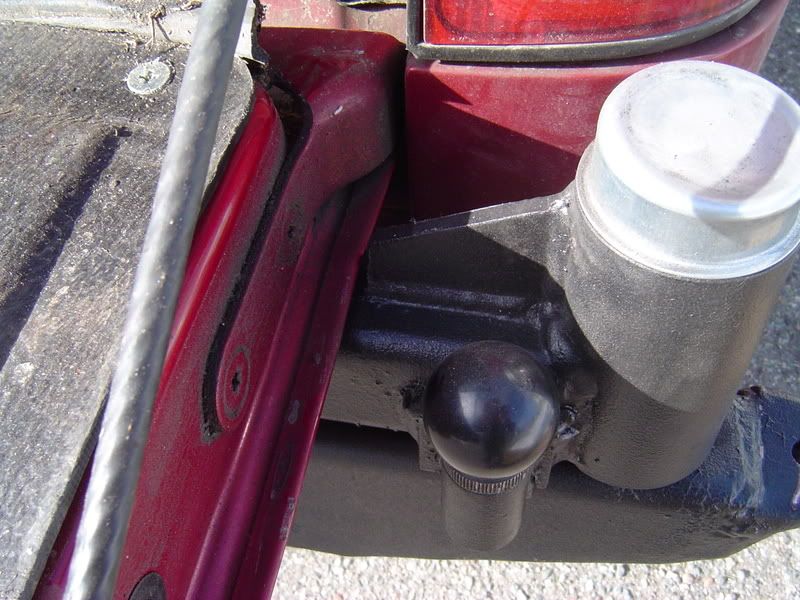
Well I did have a minor misshap when I first opened the tailgate. :oops:

My swing arm gusset was a bit too long and cause some damage to the tailgate when I first tried to open it. You can see in this picture. It's not the first time that side of the tailgate has been bent so it was not the end of the world.

DSC04798.jpg


A bit of time with the grinder and some touch up paint made some room for everything to clear but not by much.

DSC04802.jpg


Overall I'm very pleased with the outcome of this project. It did take quite a bit longer than anticipated but with other demands on my time, I had to be patient with the build up. I still have to make some minor tweaks such as making the bumper level with the rig. It's about 1/8" off right now but that's easily corrected.

Now, I need to get my hands on some AT Can Holder to call the project done! :safari-rig:

Cheers :beer:,
P
 

Forum statistics

Threads
188,026
Messages
2,901,330
Members
229,411
Latest member
IvaBru
Top