Unimogadventures - Our build and travel thread

Iain_U1250

Explorer
LOL, good points.


The block is back, and pretty clean, inside and out. Going to clean the rest of the stubborn paint off with a wire brush before I start assembly, but I am waiting for a gun cleaning kit to arrive so I can clean out the main oil gallery where the oil squirter were bored into. Don't want any little bits of metal blocking a squirter.

_DSC6406.JPG

The crank, pistons, rods etc are back from the balancing shops. The conrods were pretty "terrible" according to the balancing man. he said modern diesels come from the factory all be within a gram of each other. The tolerences being so much tigher nowadays.

Here is the list:


Conrod Weight Before:

1974.4g
1968.0g
1977.1g
1952.7g
1970.3g
1949.3g

Which means the difference is 25g roughly, not sure if that is good are bad, but it is only 1.1% roughly.

Balanced Weight - 1948.4g for all of them.


Big ends

1371.6g
1368.7g
1379.1g
1358.9g
1373.9g
1354.6g

Balanced Weight 1354.6g

Small ends

602.8g
600.2g
598.0g
593.8g
596.4g
594.7g

Balanced Weight - 593.8g

_DSC6392.JPG


The brand new pistons

1094.1g
1093.7g
1093.7g
1090.7g
1094.2g
1098.4g

Balanced weight - 1090.7g So pistons were about 8grams out at worst, still around 1%. He said it was pretty normal for aftermarket pistons, even good ones like the Mahle ones. He has seen some more than 25g out.

_DSC6394.JPG

Pin weights
508.3g
509.1g
508.6g
509.1g
508.8g
508.9g

He said they were close enough

The crank was also balanced, he took off 12.8g off one couterweight, 1,8g of then next, and in the end the reading on the machine said it was within 0.3g of true balance, which he said was pretty good, even for him.

I am not 100% sure it it was worth the $320 it cost me, but I suppose ti cannot be a bad thing, it if maks the engine smoother and last longer, then it has to be good.


I took a few photos of my camshaft. It is an OM352.81

DSC06387.JPG

The lobes on the exhaust are pretty flat. It is the same camshaft in the workshop manual that says is now replaced by OM362.04, and this is a new engine from 2012 or so.

Just cleaining up all the othe parts of the engine, making sure it is all spotlessly clean before I start the re-assembly. I am going to try and take a time-lapse video with my Go-pro of the process, will post a link if anyone is interested. I am getting the hang of making videos now, its a lot fo fun :)
 

Iain_U1250

Explorer
Whilst I am waiting for the paint to dry on the axle housing, I thought I would post a few screen shots from the engine re-build. I recorded the whole process on GoPro cameras. When I get time I will try and put a bit of video together of the whole process.


Installing the last valve on the cylinder head, pretty easy process, except valve springs are quite strong, and I needed an extension on the handle of the spring compressor to be able to make it work.
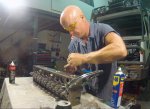
Screenshot-2015-05-22-15.51.jpg


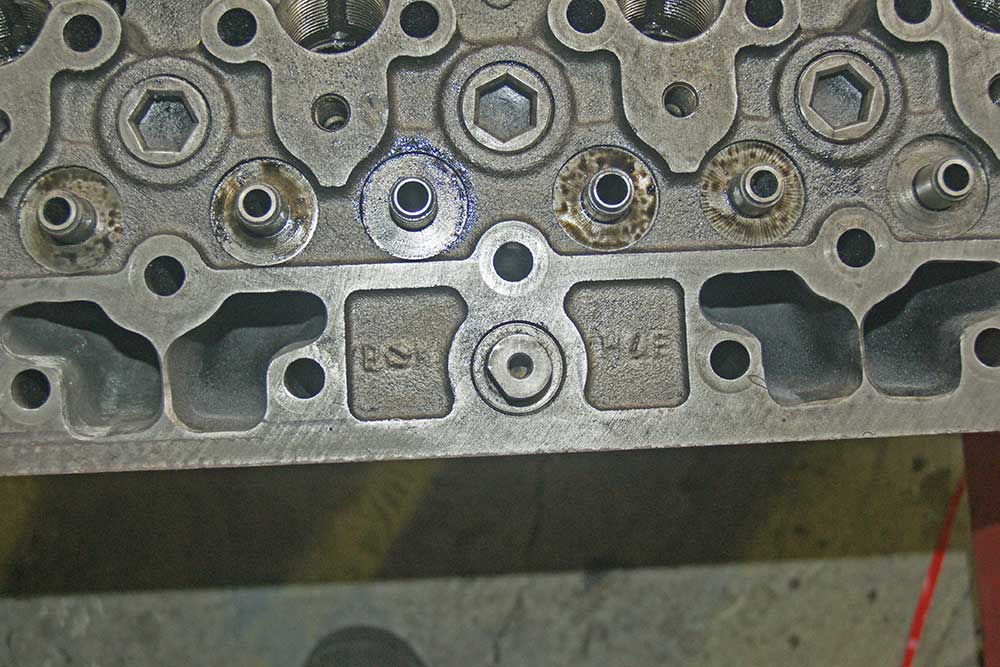
Completed cylinder head, it has the valves re-ground, and I have ground out all the casting marks, matched the exhaust ports to the exhaust manifold and generally radiused all of the sharp edges, I would not call it "polished and ported" but I think it will be a bit better than before I did it.

Screenshot-2015-05-22-15.44.jpg

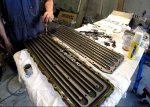
Plate type oil cooler insides, this is the primary oil cooling system on the truck, it must work from the water jacket around the block, not much air cooling going to happen on that side of the block.
Screenshot-2015-05-22-15.26.jpg

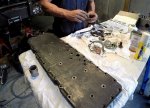
This what it looks like ready to be attached, quite a big block of cast iron.
Screenshot-2015-05-22-15.23.jpg

Installing the crank - that thing is damn heavy, and there is not much place to grab onto it.

Screenshot-2015-05-22-15.29.jpg

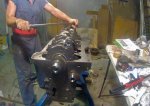
Torquing down the main bearing caps, three stage torquing required. The manual makes it all quite clear how to do it.
Screenshot-2015-05-22-15.36.jpg

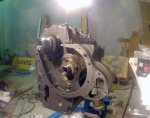
Camshaft installed, this was a bit trick, maybe I should have installed the camshaft before I put the crank in, still it went in OK, just had to take a bit longer and be really gentle so as not to damage the bearings. When the installed the new bearing in the block, they asked for the cam to ensure it was a proper fit as they sometime are really tight, and need some "bearing scraping", but mine was OK.
Screenshot-2015-05-22-15.40.jpg

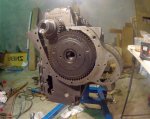
Timing gear installed - there are marks on both the camshaft timing gear and the crankshaft gear, makes it very easy to get it right. Ther are two marks on the timing gear, and one on the crank. The crank one goes in between the two marks on the cam timing gear.

Screenshot-2015-05-22-15.41.jpg

Block ready to install the pistons, I had to get a new piston ring compressor, the fancy "Made In Germany" set I got off e-bay broke the very first time I tried to use it.

Screenshot-2015-05-22-15.20.jpg

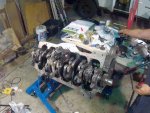
Crank with all big ends and mains installed. Having an decent engine stand is so much better, I could rotated the block very easily, made life so much easier. All my previous engine builds have be done on the workshop floor, manhandling the block around each time I needed to turn it over. This one is way too heavy to even thing about doing that.
Screenshot-2015-05-22-15.19.jpg
 

Vegard_S

Adventurer
Wow Ian, this is great! Your truck gonna be one amazing machine when it's finnished! Looking forward to the movie of the engine rebuild! May I also ask what kind of budget we are talking about for a complete engine reebuild ike you are doing now? (I only ask since I may be tempted to do a simmilar overhaul myself.
 

Iain_U1250

Explorer
The basic re-build kit ( pistons & rings, all seals and gaskets, bearings, etc) cost $1100. The balancing etc cost $360, and the valve grinding, head re-facing costs $350. The engine I'm re-building only had 2000 or so hours on it, so I didn't have to worry about the crank or the bores, as the hone marks were all still one the bores, and hardly any wear on the bearings at all. If your engine is a bit old and tired, I would budget about $3000 to do it yourself. I have heard prices of $20K from the workshops for just the engine, and I know one mog owner who paid $35K drive in-drive out for his engine re-build. Provided I have not messed up anything serious, then I have certainly saved quite a bit of money. I have also sent the 170hp injection pump I have off for re-calibration for some more power, and I'm getting the injector nozzles upgraded to the 170hp specification. I am hoping with my new turbo, intercooler and with all the work I have done balancing and on the head, I should be around 190-200hp. Being a camper truck, it will be close to GVM all the time, so I think the extra power will be useful, but mainly I am doing all these things for the fuel consumption, hopefully a properly tuned motor will give me lower consumption and a longer range.
 

Vegard_S

Adventurer
Thank you Iain for the thoroughly answer, on my trip back from Germany earlier this week my newly acquired U1700L with OM352A and 168 Bhp had an average fuelconsumption at 19L/100km, the weight of the truck was then 8600kg including the crane and quite massive support-frame. Oil consumption was aprox 5L /1650km. So it might be a little higher than what I was hoping for and expecting. Thus the possible engine rebuild-plans...
 

Iain_U1250

Explorer
do you have an engine hoist to lift it in the truck when you are ready

Yes, I hope it is big enough to lift it over the frame I think it is, and it can handle the weight.

DSC06006.jpg


Thank you Iain for the thoroughly answer, on my trip back from Germany earlier this week my newly acquired U1700L with OM352A and 168 Bhp had an average fuelconsumption at 19L/100km, the weight of the truck was then 8600kg including the crane and quite massive support-frame. Oil consumption was aprox 5L /1650km. So it might be a little higher than what I was hoping for and expecting. Thus the possible engine rebuild-plans...


One source of oil consumption is the manifold intake gasket, I would check that first. Some people re-use the intake gasket a few times when setting the valve clearances, but the gasket is pretty narrow between the oily parts and the intake.

DSC06369-w.jpg


Check the rocker cover is flat, and only tighten it down to the specified torque, over tightening would make it distort and could cause a leak. It would be more apparent when engine braking down a hill, if you can get someone to drive the truck and you follow it, look for any blue smoke when engine braking and then when getting back on the accelerator. It is worth a try, and might save you re-building the engine.
 

pairospam

Observer
Nice work with the engine, Iain! (as with all the rest of your project, of course).

It makes me remind the one I did with my truck, long, long time ago. It took me eons to finish it; seems you were pretty fast in comparison. It was my first engine rebuild, though.

Keep up the good work and let us know.

Kind regards from the other side of the hemisphere.


Pairoa
 

Vegard_S

Adventurer
Thanks again Iain, I will check the gasket, it would be great if this was the reason for the oil consumption!
 
Last edited:

Iain_U1250

Explorer
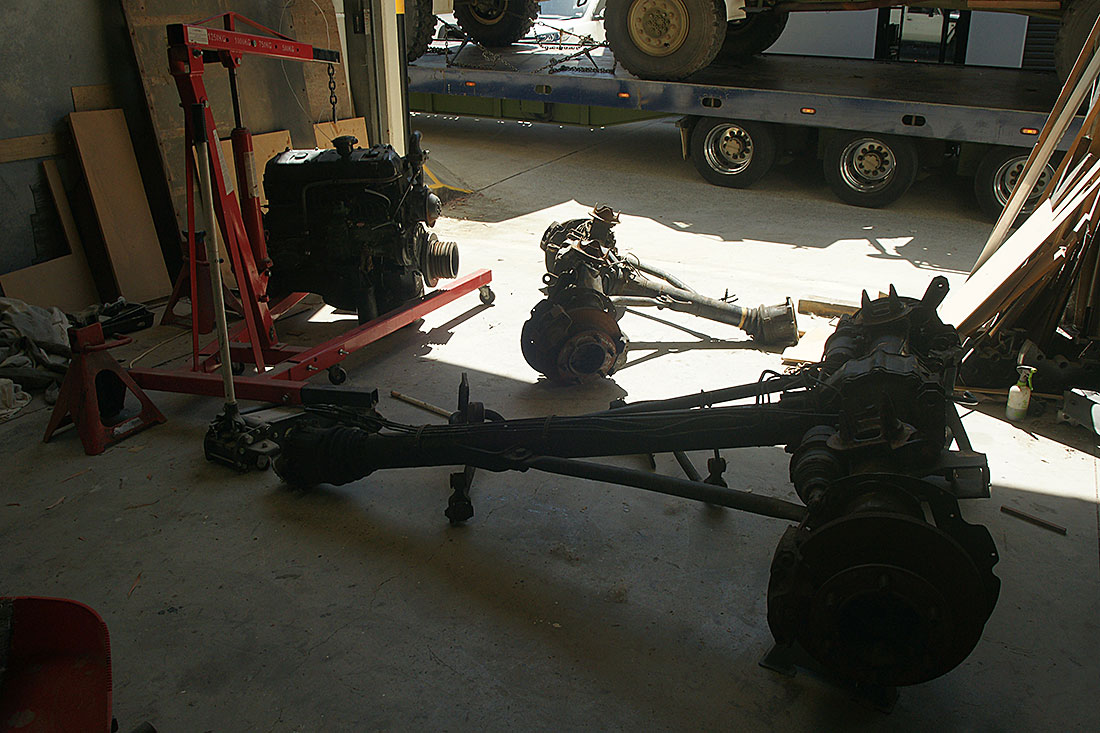
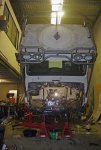
Another milestone reached today. The old engine is out, and within a few days I will be putting in the new one.

It was quite a process, but it went fairly smoothly.

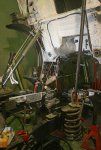
First was to remove the bull bar and all the things in the engine bay that might be in the way.

_DSC6594.jpg

Then detach the crawl through, clear out the rest of the things that may get damaged,

DSC06623.jpg

Then tilt the cab - the scary part :)

DSC06628.jpg

Finally, remove the engine,


DSC06653.jpg

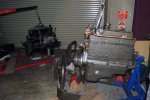
Here is the new engine waiting for a few more parts to arrive before it can be installed.

DSC06661.jpg
 
Last edited:

pairospam

Observer
You couldn't really expect better than that! Just what you needed and nothing...nothing more.

Keep the news and the pictures coming.

Best of lucks.
 

Forum statistics

Threads
188,181
Messages
2,903,465
Members
229,665
Latest member
SANelson
Top