Twenty-Nine...
Twenty-Nine...
(above) Yesterday was a good day...Today should be another of significant progress...First off, I removed the props that clamped the front cabin headliner in place...Love that color...
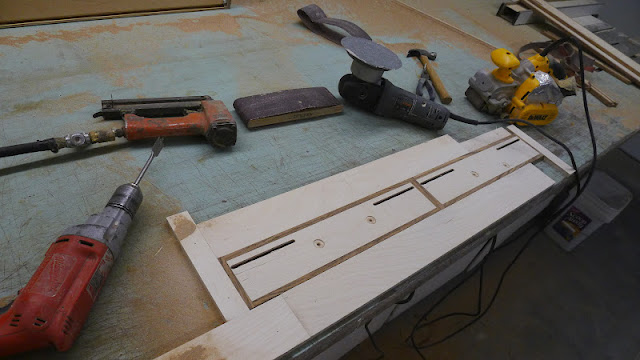
(above) Today I'll get serious with the drawer faces, but first the shop needs some sorting out...
(above) Mo' bettah ...
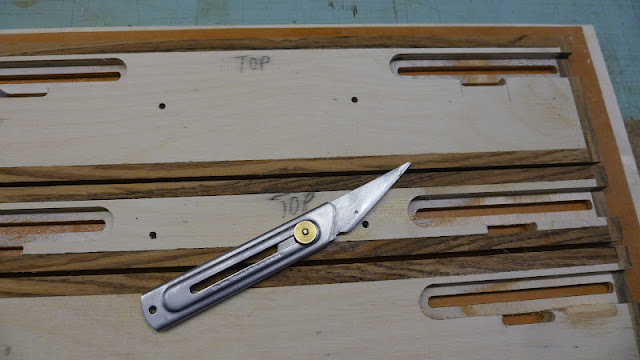
(above) I pulled the zebrawood veneers out of my heated trailer and cut out oversize pieces for the drawer faces...To cut it, I put a wide strip of untempered hardboard on the table, put the veneer over it, then with a fresh utility knife blade along a steel straightedge, cut the veneer...
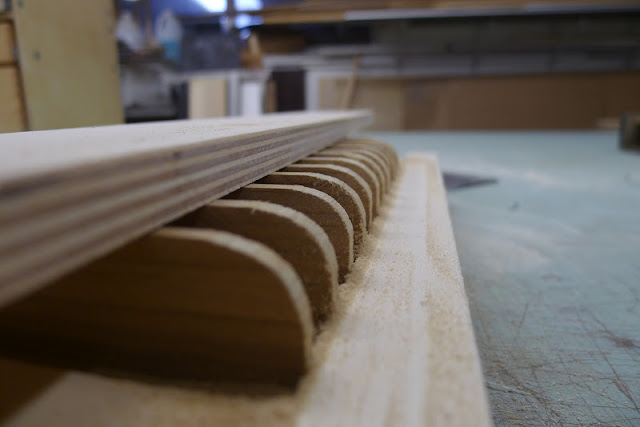
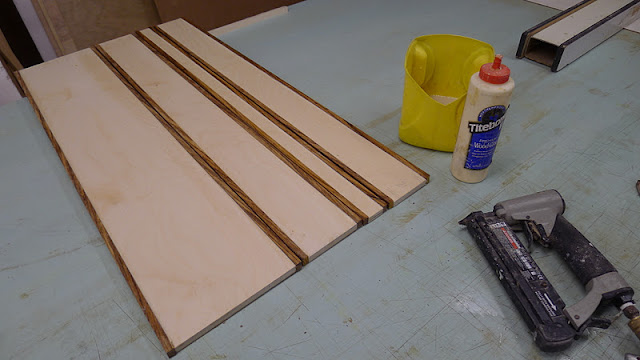
Next I cut similar size pieces of 1/2" birch ply that will be the core of the drawer faces...
(above) Next I ripped some solid zebrawood for plywood edging...3/8" x 9/16"...Oversize so it can be sanded flush after gluing it to the ply...
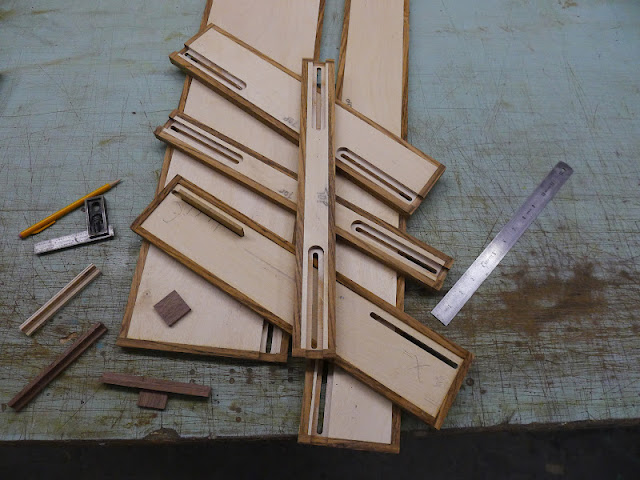
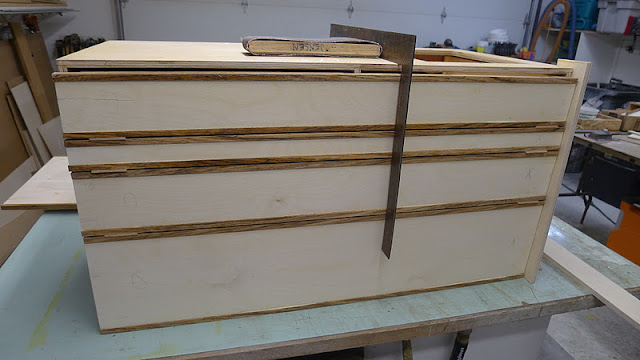
(above) On a cabinet with multiple drawers, I make a 'story board' that shows the drawer sizes and the margins (gaps at the edges) between each drawer...
(above) I measure the height that will be the finished drawer face, set the rip-fence to that number, then put the two edge pieces against the fence and run the ply through the saw...
(above) Exact sizing is easy without resorting to 'math'...
(above) Next the solid wood edging is glued and pin-nailed to the top and bottom edges...
(above) Faces, placed and spaced...Looking as it should...
(above) Next the faces are cut to width, compensating as above, for the solid wood edging and margins...Finally the edge wood is cut to height and glued and pin-nail to the drawer face...
This whole process goes by pretty fast and easy...
(above) On to the slide bolts...I revised the design...Instead of walnut 'captures', I'm going with the drawer face ply as the bolt captive...So I made two jigs to cut the slots and grooves that will the create what I need...One is for the right sides, the other for the lefts...
The reason for making two jigs is because my plunge router has an offset base and due to that offset, it just wasn't as easy to make a single fixture as it was to make a matched pair...
Making the jigs, or more accurately, figuring out what the jigs need to do, and the sequencing of cuts, took about an hour...Since I really like this slide latch design and will use it in the future, taking the time now to make these jigs was time well invested...
(above) Sample drawer face with slide bolt retracted...
(above) ....and extended...
(above) It took about a half hour to do the first series of cuts...
First thing tomorrow, I'll change the router bit and cut the second set of cuts for the bolts...
More tomorrow...

")


")