EarthRoamer XV-JP "Northwest Edition"

Ford Prefect

Expedition Leader
One of the perks of being TDY for a month. I get to come home and read all of these wonderful posts! Sad though, now I just have to sit around and wait day by day like the rest of the forum!

Super stuff Paul, of course you know that already, so take this as one more vote of gratitude for the documenting effort.
 

kjp1969

Explorer
Copper, are you serious? That is so cool and I would have never thought of it as something that would go in a vehicle build but it really fits with the teak & zebrawood.
Not to mention over time it will just get better looking.

Cost wise how does it compare to stainless? Will it wear well as a countertop? And where do you source sheets that thin?

I swear we could cross post this to a kitchen remodeling forum and it would fit right in with the quality of work, design style and materials. I love it.

Its roof flashing, I betcha. It would be plenty strong bonded to plywood, and cheap in a small quantity like this.
 

PaulJensen

Custom Builder
The copper is 1/16" thick, sourced from a sheet metal fabricator...The cost is $15 sq. ft...

Considering the small quanities of materials that are going into this project, it makes sense to use better than average stuff to end with something extraordinary...Besides, it's more fun to use the good stuff...
 

GR8ADV

Explorer
Considering the small quanities of materials that are going into this project, it makes sense to use better than average stuff to end with something extraordinary...Besides, it's more fun to use the good stuff...

Ok you just have to put in some bullet proof glass; I'm serious, you just gotta.

This is great fun to follow, and informative. The ultimate bachelor pad. I think the BATMBILE plate is still available in OR. :smiley_drive:

I sense a Sprinter on the market soon.

Mike, is it time to start a thread on the improvements to the Big One?

Thank you both for sharing.

k
 

suntinez

Explorer
Paul, may I just say beeeeeautiful? And thanks for the updates and explanation of your thinking here.

This work of art is no longer an Earthroamer - I think it needs a new name.

Mike, seriously - you need to bring this to Flagstaff in May. You have a fan base now that needs appeasing. C'mon.
 

mhiscox

Expedition Leader
Thanks for all of the compliments. Paul and I appreciate your interest and support.

I think the BATMBILE plate is still available in OR. :smiley_drive:
Annoying, no. One of the downsides to living in Oregon is a ridiculously lame 6-character limit on vanity plates. ;)
 

snorkel54

Adventurer
I'm so sorry. I live in No Va, the personalized license plate capitol of the world. We use the time wasted sitting in traffic trying to figure out plates.
 

PaulJensen

Custom Builder
Thirty-Four...

Thirty-Four...

P1110840.JPG

(above) Since the last update, I got the material for the curb-side bench and back-rest covers....Leather...

P1110843.JPG

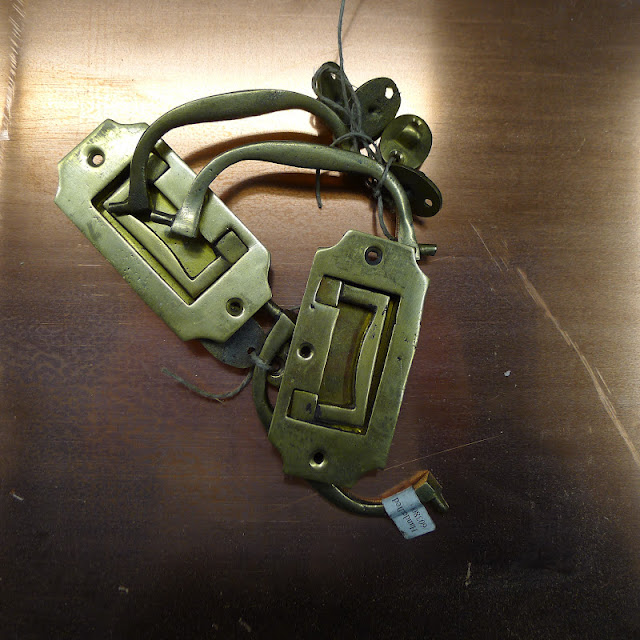
(above) I also went to Vancouver B.C. for the weekend and while wandering, found these...Might use 'em, might not...

P1110853.JPG

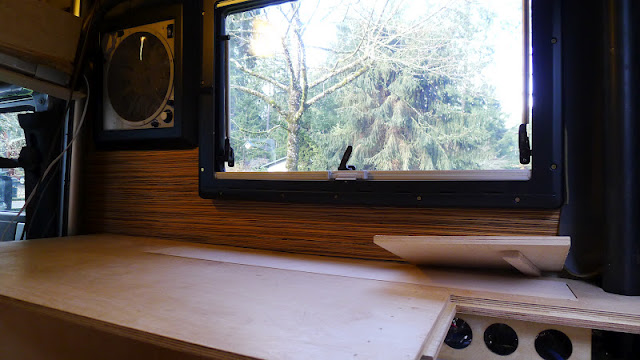
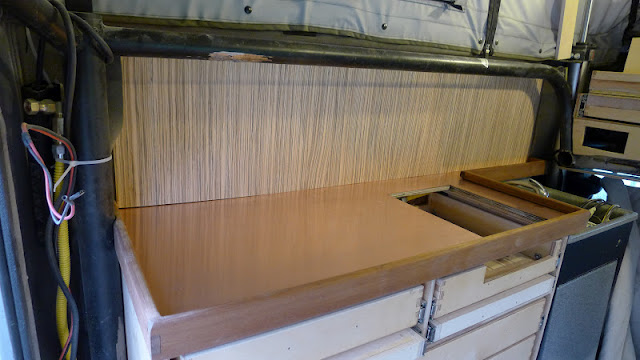
(above) Back on the bench , the countertop and edging...

P1110854.JPG

(above) 40 grit powered by enthusiasm...

P1110857.JPG

(above) The copper was hit with 600 grit, 1000 grit and 0000 steel wool...

P1110859.JPG

(above) The teak was dry sanded to 100 grit, then oil sanded to 220 grit...More coats, oil sanded to with finer grits to come...

P1110860.JPG

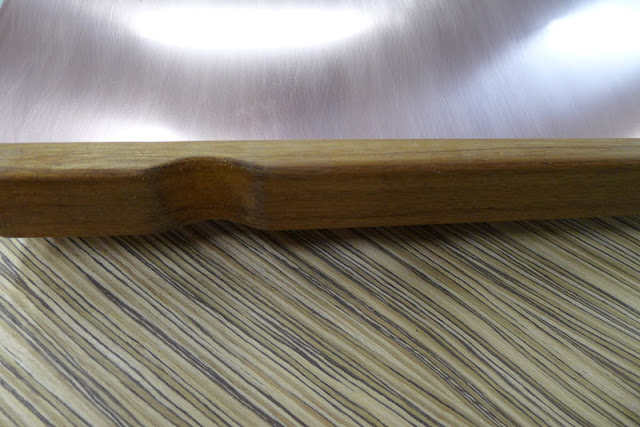
(above) Needed to dimple the teak where it nears the roll bar...

P1110861.JPG

(above) Loose, dry fit...

P1110893.JPG

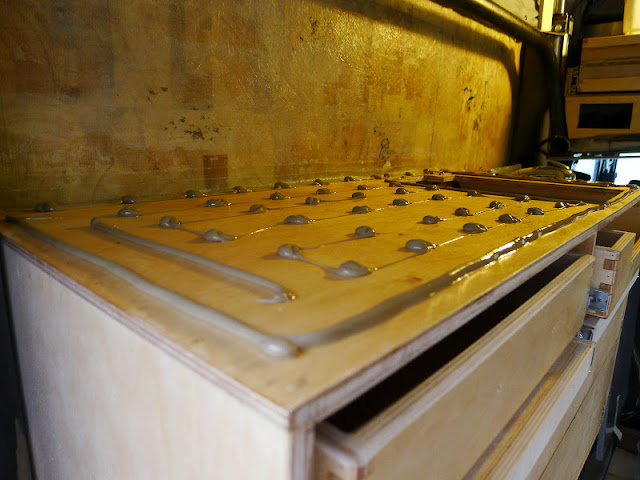
(above) The edging was pin-nailed to the plywood under the copper, then epoxy was squeegeed into the joint...Also notice the ground-away ply edge...Did it because of the slightly ramped fiberglassed cabinet/wall joint...

P1110894.JPG

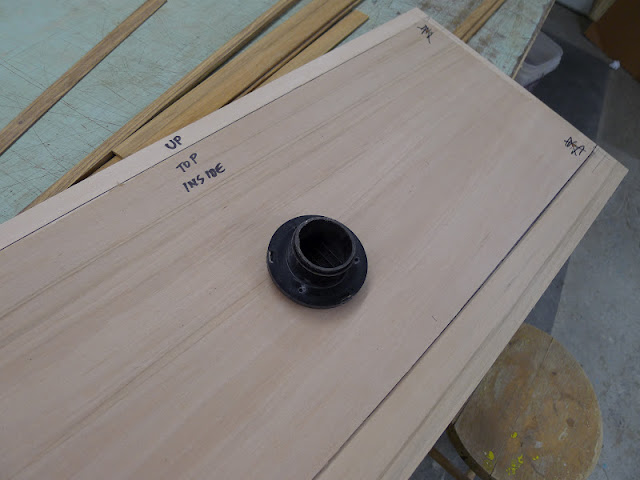
(above) Next, I needed to do something about the heat vent on the lower driver-side cabinet panel...This is the heater hose flange...Ugly, unless you are the type who like molded black plastic...I'm not...

P1110895.JPG

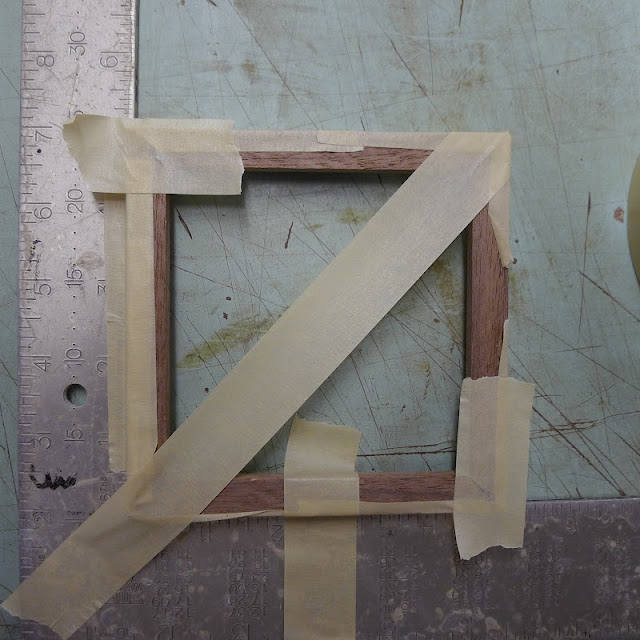
(above) I found these walnut scraps that were going to be the drawer slide-bolt captures...Mitered the ends, taped them in line...

P1110896.JPG

(above) ...epoxied the corners....

P1110897.JPG

(above) ...folded them over...

P1110898.JPG

(above) ...then taped them square...I put them close to the heater to dry...

P1110900.JPG

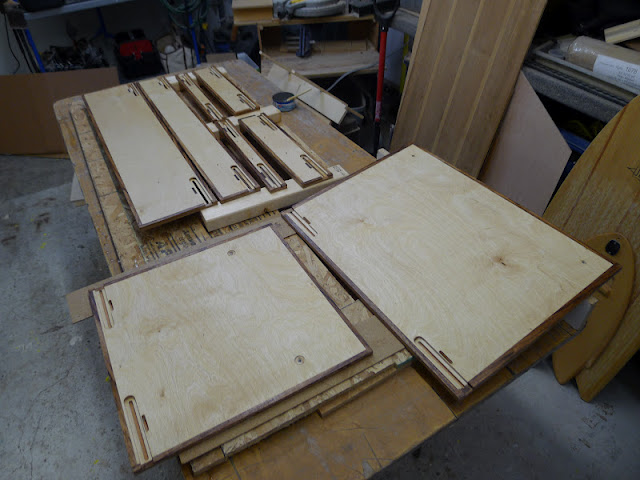
(above) While waiting for the epoxy to set-up, the backs of the drawers and wall panels received a coat of epoxy...

P1110899.JPG

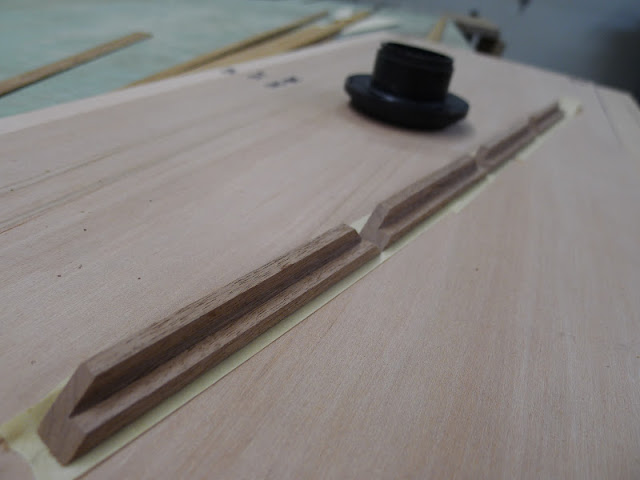
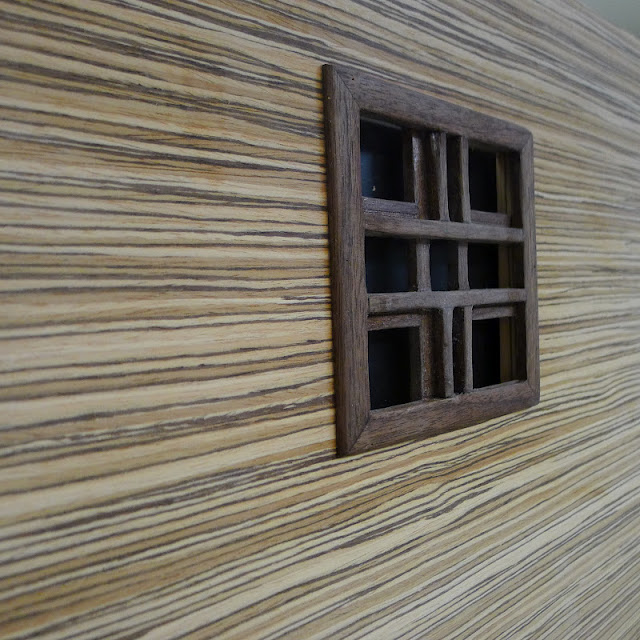
(above) Fast forward a bit...I used the notched walnut scraps to make the other part of the new heater vent grille, then fit it into the mitered frame...

P1110902.JPG

(above) Now sanded and fit to the panel...I'm going to try to find some brass screen to fit behind the grille...

P1100228.JPG

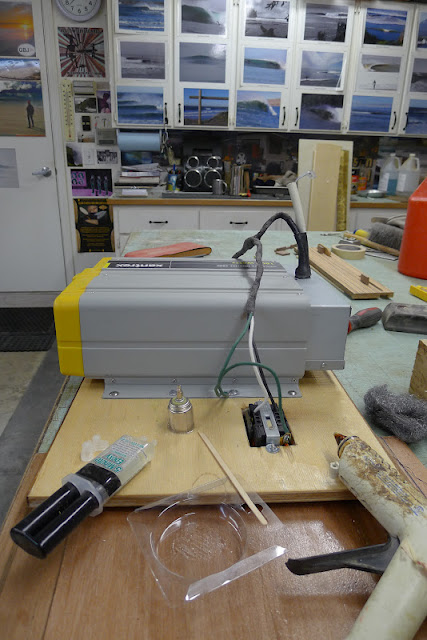
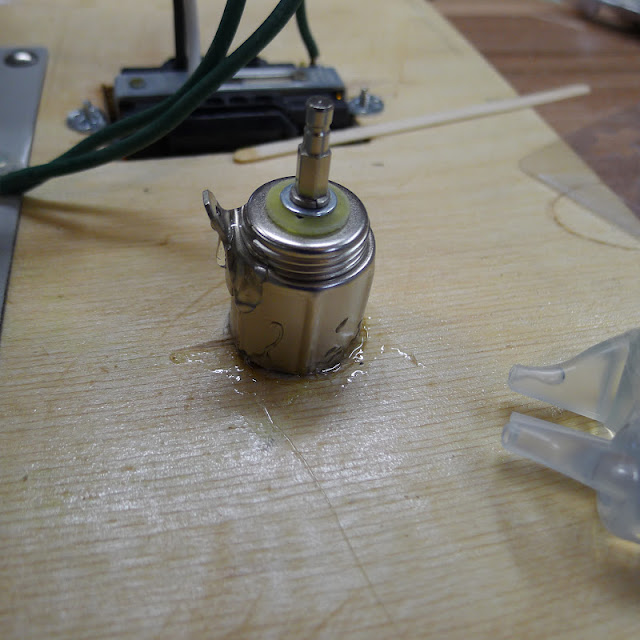
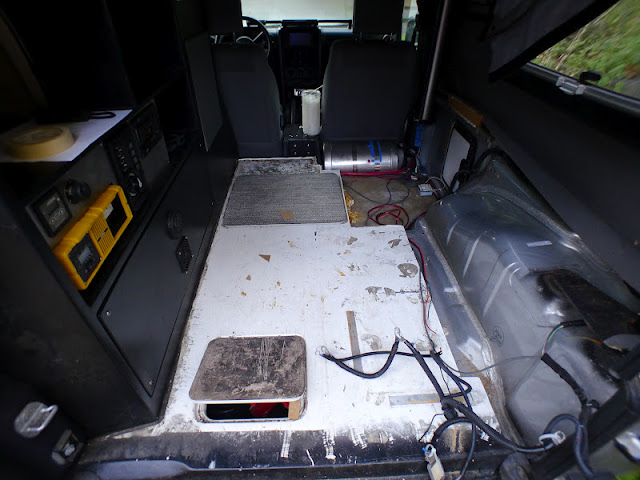
(above) The other half of the story is what's behind the grille...If you remember, this is what the original panel had on it...It's the panel under that yellow thing...there are two things mounted on it; the heat vent and a 12 volt fan...

P1110906.JPG

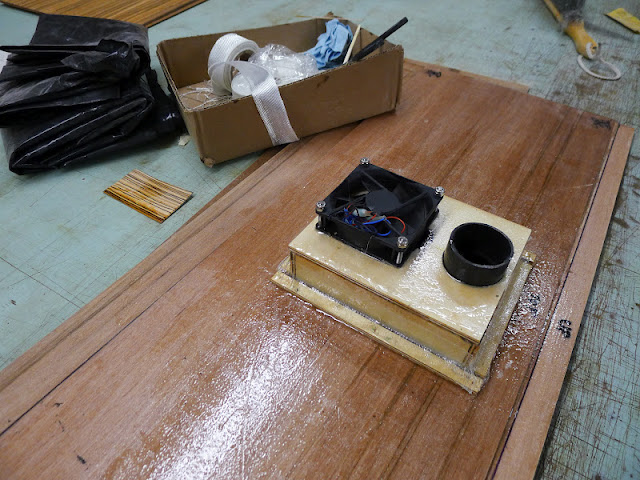
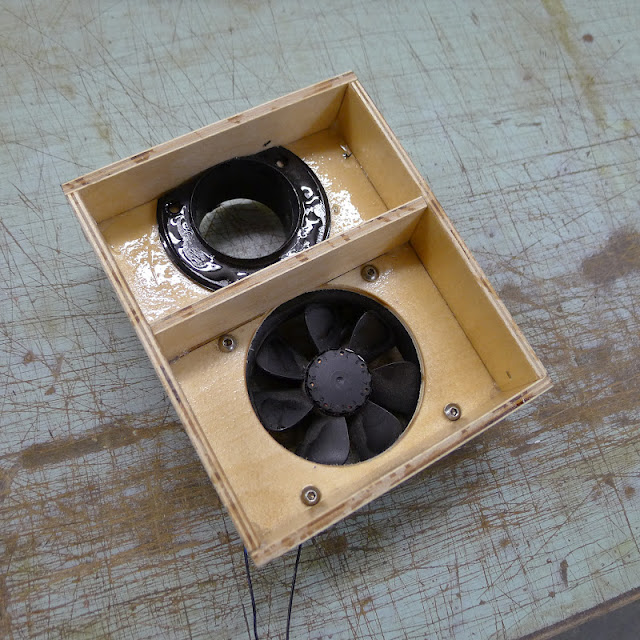
(above) My solution...This mounts behind the walnut panel and brass screen...

P1110907.JPG

(above) ...like this...

P1110905.JPG

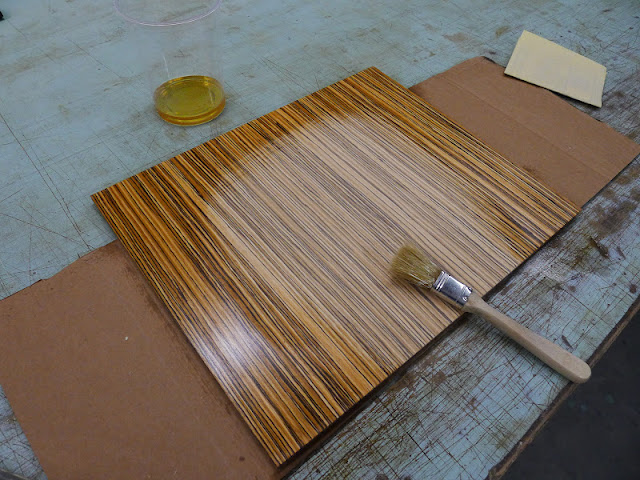
(above) With that resolved, the curb-side wall veneer panel was made...

More tomorrow...
 

PaulJensen

Custom Builder
Thirty-Five...

Thirty-Five...

P1110908.JPG

(above) Today the focus is getting panels and faces the first coat of oil, and getting them installed...Prior to oiling the inverter panel, the 12 volt outlet gets mounted and locked in place with a shot of "90 second epoxy"...

P1110909.JPG

(above) I gave a squeeze of hot-glue to the thread connection too...It's nice to have a rigid 12 volt outlet...Solid is good...

P1110911.JPG

(above) This connection received a blob of hot-glue...No rattle and shake will re-position this bundle of wires...

P1110912.JPG

(above) Recognizing the benefit of good ventilation at the inverter, a 2.5" hole was drilled in the panel, then a strip of PSA backed veneer was inserted...

P1110913.JPG

(above) To trim the excess veneer I used a knife, then sanded it flush...

P1110915.JPG

(above) I wanted to find some brass screen to fit to the inside of the vents, but it wasn't available locally, so I went for "animal resistant" screen...It's secured with hot-glue and picture framed thin ply with pin nails...

P1110916.JPG

(above) Next it was time to oil the panels...After a heap of research, I went with a modified Tung Oil...The first coat gets brushed on, then rubbed in with a clean white industrial strength paper towel...

P1110917.JPG

(above) The heat vent / fan box was made firmt with fiberglass and epoxy...Again, built to ramble down bumpy trails...

P1110918.JPG

(above) The driver-side cabinet top was prepped for the countertop by dusting, then wiping with water...Next poly-urethane adhesive was laid down and the countertop was laid onto the adhesive, fine tuned for position, then weighed down...

P1110919.JPG

(above) The curb-side wall and panel were prepped similarly, then installed...

P1110920.JPG

(above) Just a little levered lifting holds it in place until the adhesive sets...

P1110921.JPG

(above) This panel was installed next and pressed firm with a few blocks of wood...

P1110922.JPG

(above) Tomorrow after the weights are removed, the backsplash wall panel will be installed...So will the drawer faces...

P1110923.JPG

(above) I love how the color just comes alive with the tung oil...

More tomorrow...
 

kjp1969

Explorer
You're right about the oil, that looks great!
In my experience, hot glue can soften in a hot car. I learned that the hard way during one of SoCal's hot summers.
 

Forum statistics

Threads
188,476
Messages
2,905,642
Members
230,428
Latest member
jacob_lashell
Top