EarthRoamer XV-JP "Northwest Edition"

mhiscox

Expedition Leader
Last line of Paul's last post: After I surf...!!!... We are very perceptive folk here on expo! :drool:
Yeah, but since yesterday's post was really Friday's work, which meant Saturday was surfing, unless he worked Saturday . . . Oh, never mind. :sombrero:

I'm just eagerly awaiting some more zebrawood. ;)
 

PaulJensen

Custom Builder
Balance....

All work and no play makes Paul a workaholic...

When I work, I work hard...Ditto for play...

Balance is everything...
 

PaulJensen

Custom Builder
Thirty-One...

Thirty-One...

P1110779.JPG

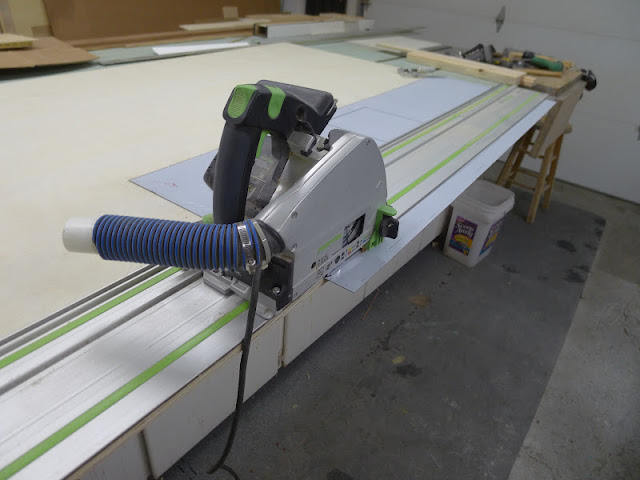
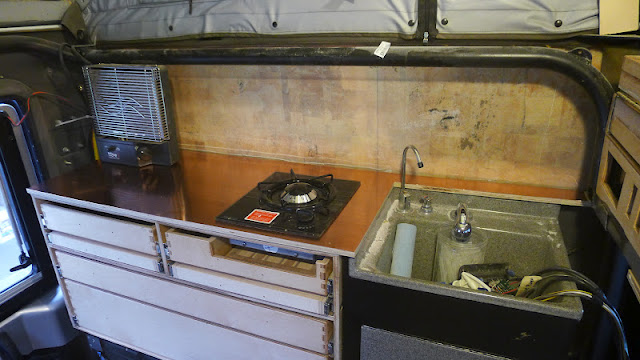
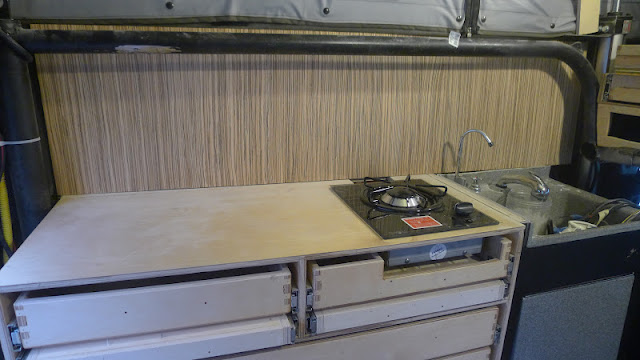
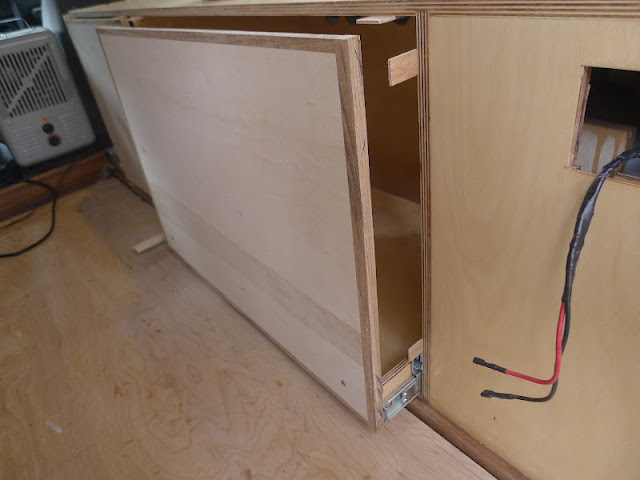
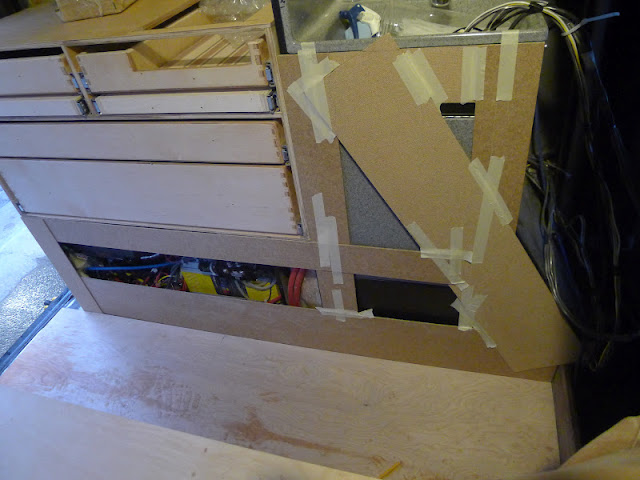
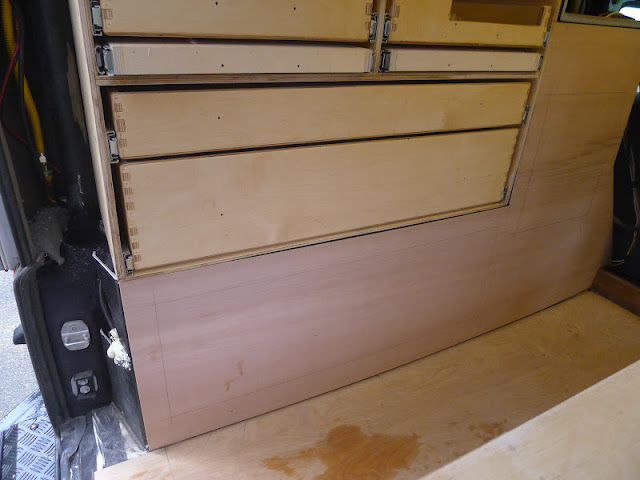
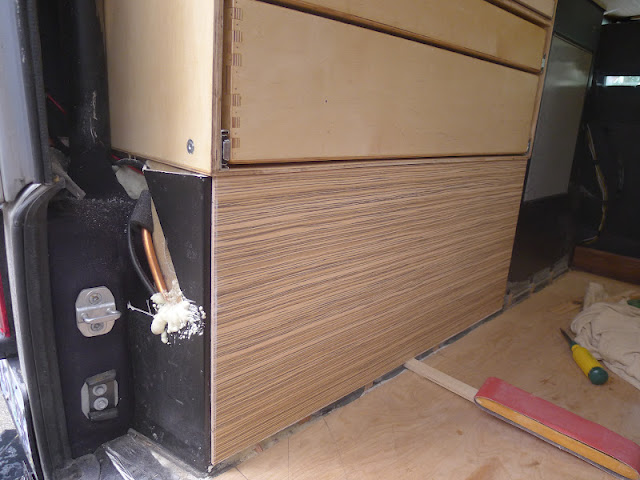
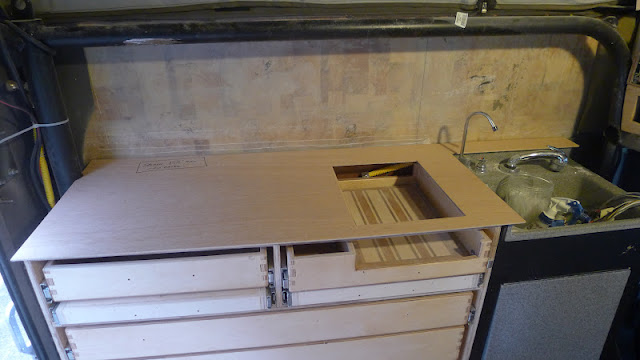
(above) With the drawer faces for the driver side cabinet made and fitted, it is time to final-set the cabinet box...One last look before setting it in place... Again a combination of adhesives and fasteners hold it in place...Polyurethane construction adhesive between hard surfaces and through bolts will go in at the front edge...

P1110780.JPG

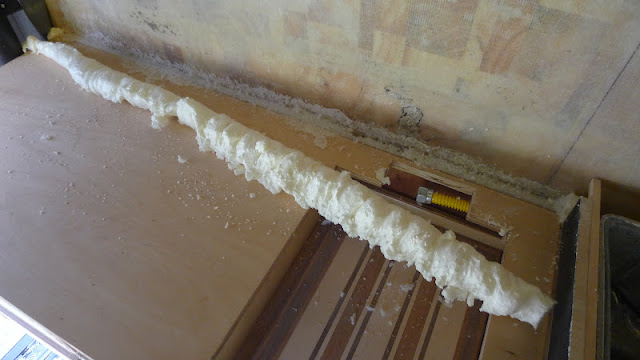
(above) I put spray foam at the back as a good cushioning filler and later, a base to fiberglass to...

P1110781.JPG

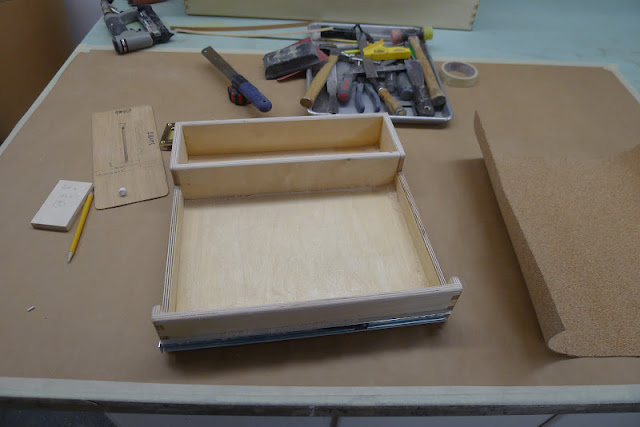
(above) While waiting for the foam to set-up, i returned to the drawers for the fine tuning...Adding T-nuts where they were missing and sanding the top of the top drawers that I cut down just a tad...

P1110782.JPG

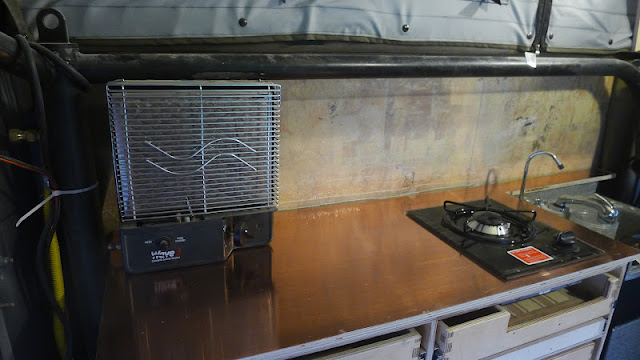
(above) The faces for the curb side pull-outs had the zebrawood glued and nailed to the vertical edges then set in front of the heater for an accelerated cure...

P1110783.JPG

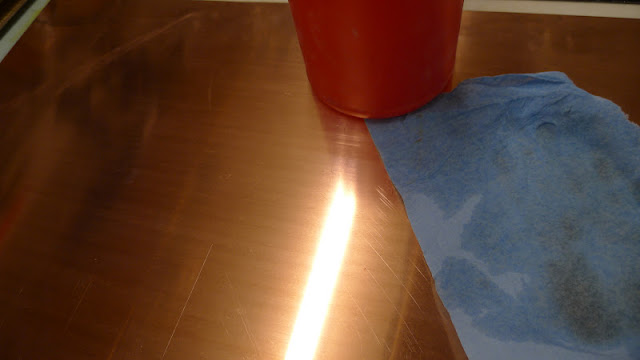
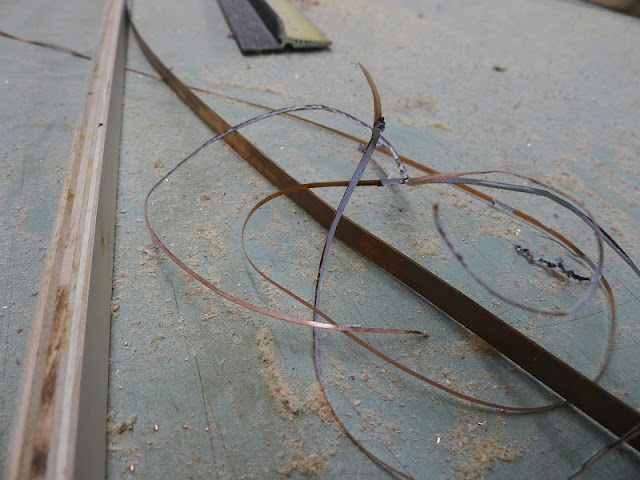
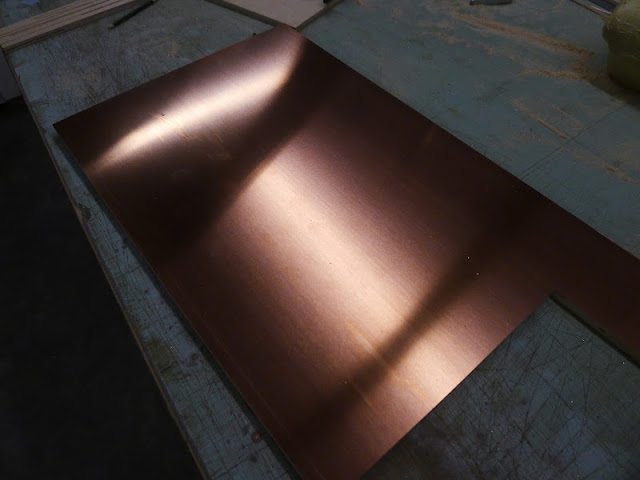
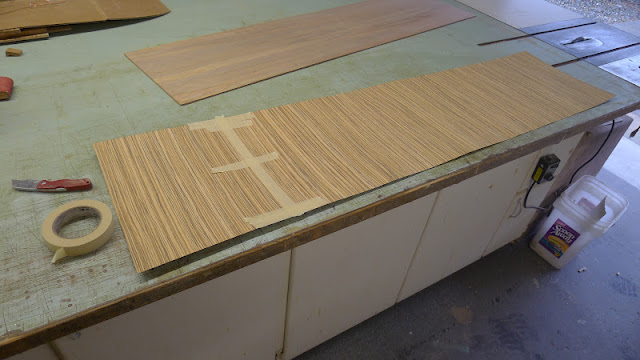
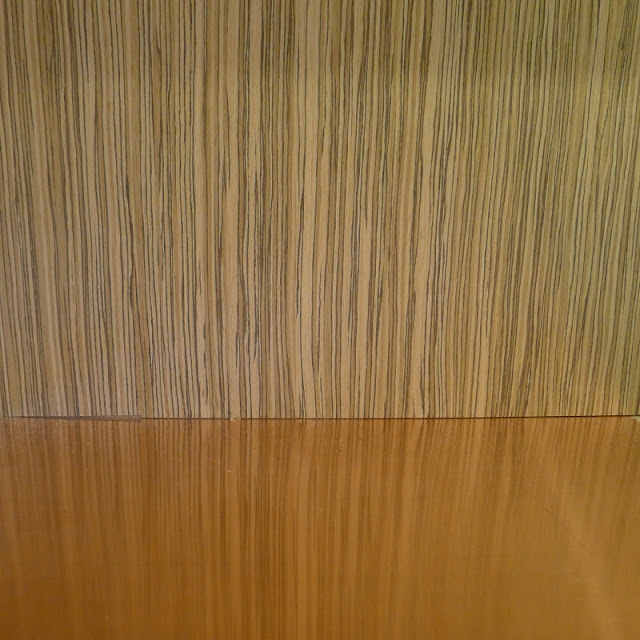
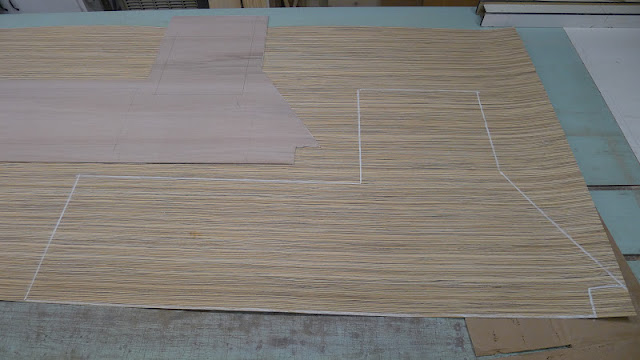
(above) I got out the zebrawood veneer too...

P1110784.JPG

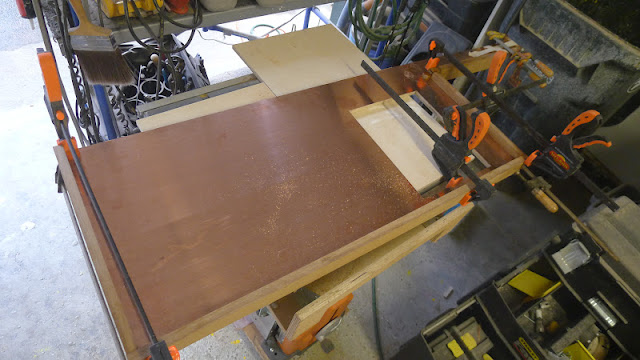
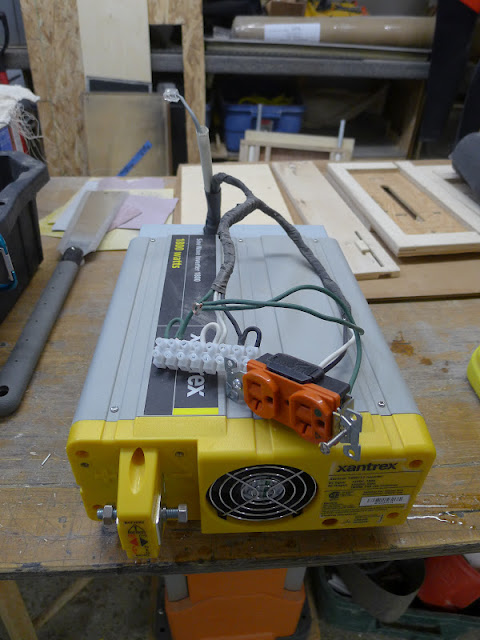
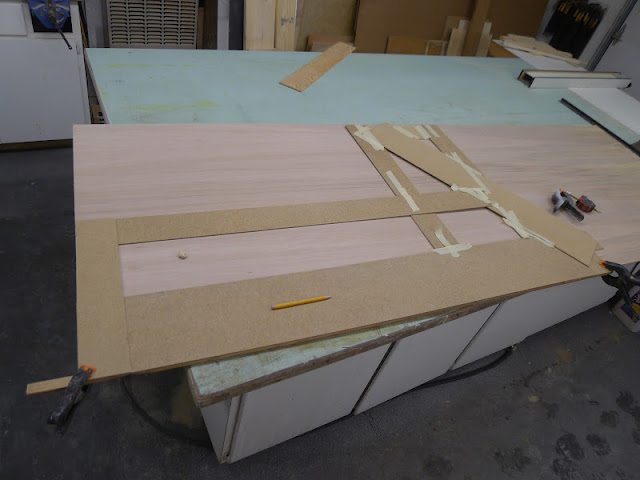
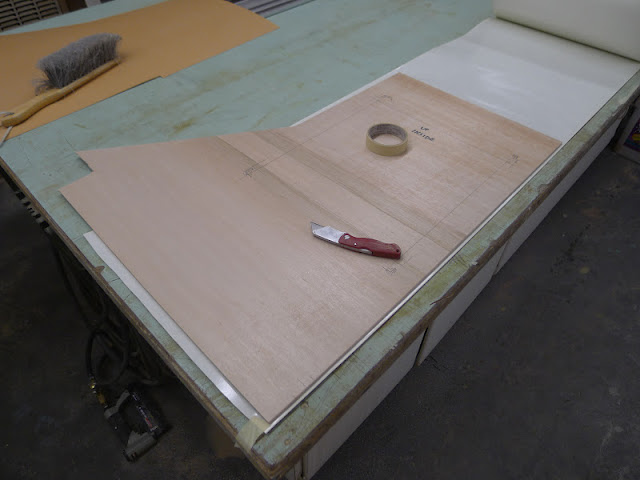
(above) The end panel that is the base for the inverter is getting veneered too, so I pulled that off...

P1110786.JPG

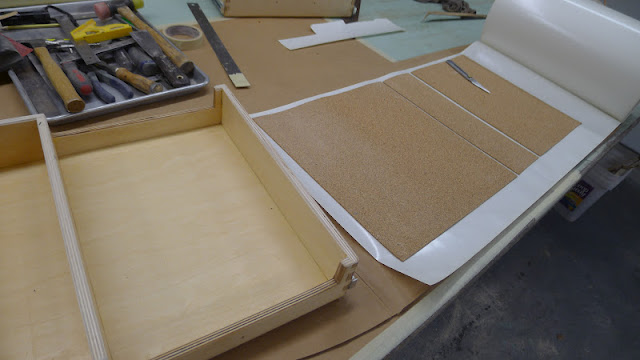
(above) Waiting for the spray foam and the wood glue to harden, I turned back to the drawers...I'm going to line the bottoms of the top drawers with cork...

P1110787.JPG

(above) Pressure sensitive adhesive sheeting is unrolled and the cork is laid onto it, then the backing paper is peeled off and the cork/PSA is placed in the drawer and pushed hard into place...

P1110788.JPG

(above) The drawer under the cooktop...

P1110790.JPG

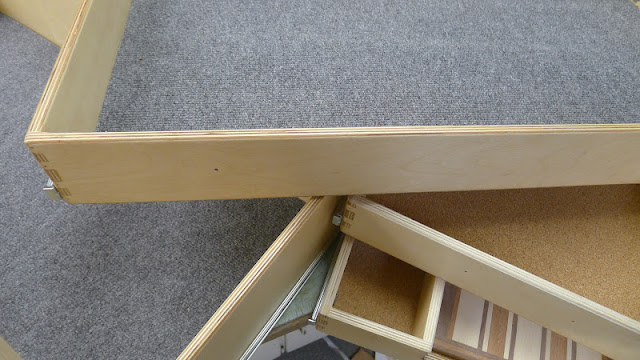
(above) The wide utility drawers got some lightweight grey carpet for their bottoms...

P1110791.JPG

(above) By now the spray foam had hardened...The excess was cut off with a fine tooth handsaw...

P1110792.JPG

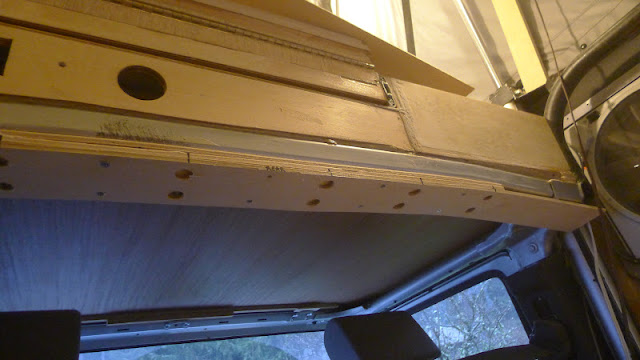
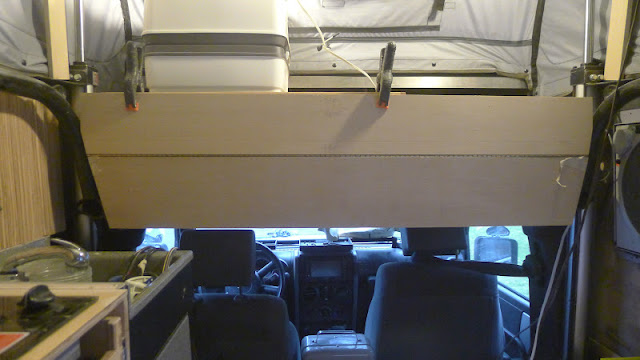
(above) Next four layers of fiberglass tape and epoxy were used to tie the top of the cabinet to the fiberglass rear cabin wall...

P1110794.JPG

(above) The glue on the curb-side pull-outs dried and the faces were sanded and fitted to the pull-outs...To maintain the proper margins around the edges, I pin nailed from the inside, the 1/8" plywood spacers then fitted the face in place and pin-nailed it to the pull-out box...

P1110795.JPG

(above) With the fit confirmed, the faces came out, got drilled for T-nuts, T-nuts were installed, slide-bolt slots were routered then the faces were prepped for veneering...

P1110796.JPG

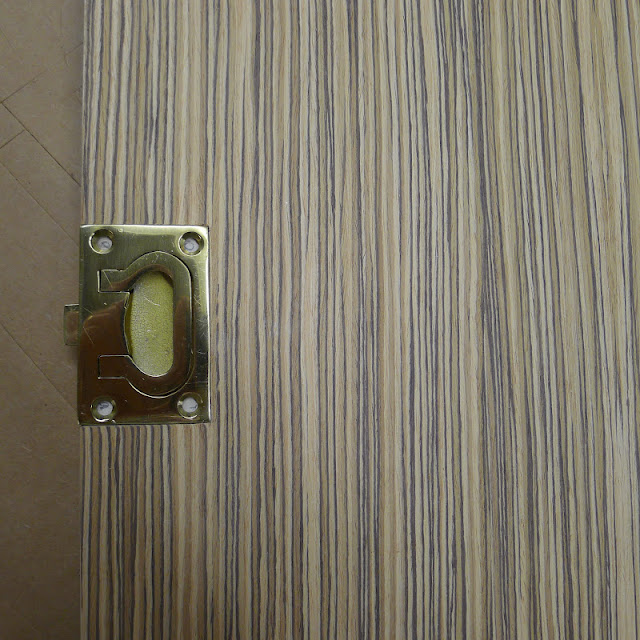
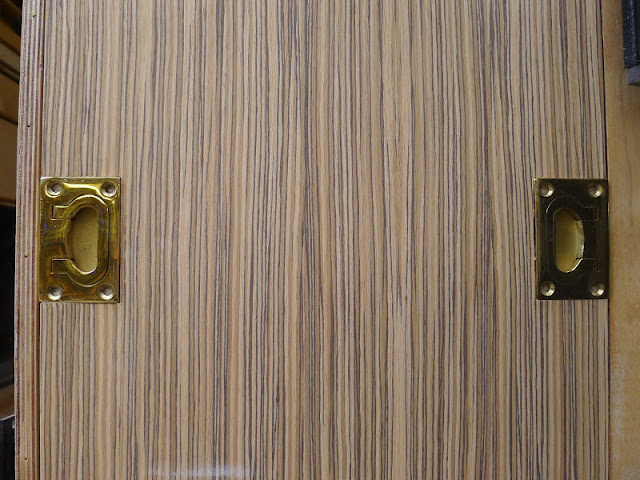
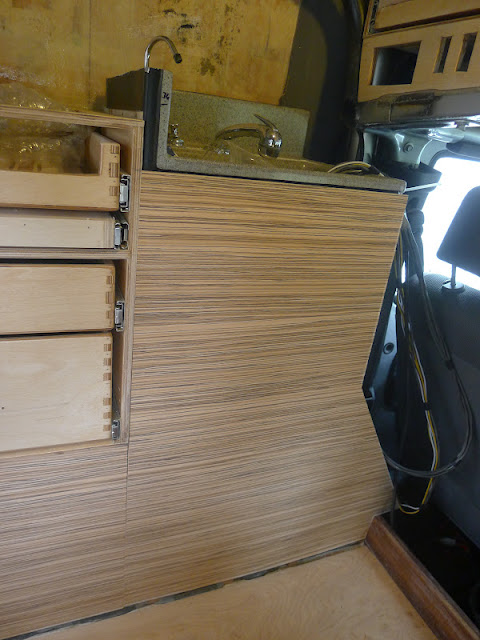
(above) The inverter end panel needs to be removable, so I'm using the brass latches I had originally intended to use for the drawers...Much fitting and fine tuning is needed to get the latch to fit perfectly, but the convenience and the final look are worth it...

P1110797.JPG

(above) Brass and zerbrawood...A fitting combo...

More tomorrow...
 

1leglance

2007 Expedition Trophy Champion, Overland Certifie
P1110794.JPG

(above) The glue on the curb-side pull-outs dried and the faces were sanded and fitted to the pull-outs...To maintain the proper margins around the edges, I pin nailed from the inside, the 1/8" plywood spacers then fitted the face in place and pin-nailed it to the pull-out box...

Question from someone who ins't the sharpest crayon in the box...
Is there any concern with how tall this face is and only connected at the bottom that someone pull on it and crack it away from the base when pulling out?
 

PaulJensen

Custom Builder
I thought about that too...

To prevent that, there are box joints on the drawers and they will not move...

There will be polyurethane adhesive between the drawer box and drawer face...

There will be T-nuts to mechanically fasten the face to box...

If needed, I will epoxy and fiberglass the joint...
 

PaulJensen

Custom Builder
Thirty-two...

Thirty-Two...


P1110810.JPG

(above) While waiting for the day to get bright outside I finished mortising the latches on the rear panel...

P1110798.JPG

(above) Next I made a pattern of the existing driver side cabinet...This time I used hot-glue and masking tape to hold it together...Nothing too durable, just something I can get from the Jeep to the work bench...

P1110799.JPG

(above) Made it...Next I traced it onto some 1/4" plywood...

P1110803.JPG

(above) Then used the rail-saw to do the straight cuts...

P1110804.JPG

(above) Test fit...

P1110806.JPG

(above) the plywood piece was laid onto zebrawood veneer and outlined in chalk, then cut freehand with a new blade in the utility knife...

P1110807.JPG

(above) This panel needs to be removable so I cut it apart from the forward section...

P1110808.JPG

(above) Today I'm using PSA to bond the veneer to the ply...

P1110809.JPG

(above) Another test fit... Still need to trim the left panel to have the grain align...Also the access panel for the under sink needs to get cut out...I did both before the end of the day...

P1110811.JPG

(above) The sink had a backsplash that seemed too high, so I cut it down to be flush with the stove countertop...

P1110812.JPG

(above) Next a pattern for the countertop was made...Tomorrow, I'll go get some sheet metal to fabricate a top...

I also worked on the bed / cab-over area...Something to keep the bed from moving around while driving and a panel to cover the steel frame / plywood juncture...Some head scratching on this one...No pictures of that, yet...

More tomorrow...
 

sarconcepts

Adventurer
Hey Paul,
maybe the picture's rotated,
but why is the direction of grain on the zebrawood horizontal on the driver's side & drawer fronts,
then vertical on the passenger side inverter cabinet?
i know you're a thinker.. ..you must have a reason

thanks
steve
 

PaulJensen

Custom Builder
It's all about giving the space the benefit of the strong lines of the Zebrawood...The grain orientation is mixed to present the illusion of a larger space than it is... Some places benefit from vertical orientation, others from horizontal...

For instance, the curbside case is low, so placing the veneers vertically make that case look taller...Especially when viewed from the rear door...On the driver side, the horizontal orientation gives a stretched out look...On the countertop backsplash it needs vertical assistance, so that grain goes up...The curb side walls will go horizontal...

There is always another material that between the veneers so there isn't a crazy house effect...The driver side cabinets have the countertop between the cabinet and backsplash...The curbside has the bench cushion between the case and the wall...

Again, given the small space that is the rear of the Jeep, it needs all the help it can get to give it the sense of it not being as small as it is...Zebrawood was chosen specifically for that purpose...Strong lines expand space...
 

1leglance

2007 Expedition Trophy Champion, Overland Certifie
that is a great bit of info...thanks Paul
of course now I not only have to think about how bad my woodworking skills are but also realize I shouldn't be trusted to figure out which way to point the wood :)

By the way Paul I followed your Sprinter links to your site and I really like the way you built yours and the other one out, great use of space there also...can I steal and idea or two for my old Suburban?
 

PaulJensen

Custom Builder
Thirty-Three...

Thirty-Three...

P1110814.JPG

(above) Got out early today...Picked up the countertop material...

P1110815.JPG

(above) Copper...

P1110816.JPG

(above) The pattern for the counterop was placed on 1/2" plywood and traced out...Next pressure sensitive adhesive (PSA) was laid onto the dust free plywood and the PSA that was outside the tracing lines was cut away with a knife (so the cut-off copper could be used elsewhere later)... After that, the copper sheeting was wiped with denatured alcohol and laid onto the PSA...

P1110826.JPG

(above) The ply/PSA/copper panel was then flipped plywood side up and the template was traced to the plywood...Next the rail guided saw was used to cut the countertop panel...Cutting the copper was easy...Smooth even saw movement was the key...

P1110832.JPG

(above) I was amazed that the copper cut line came off like this...Credit a new saw blade...

P1110839.JPG

(above) Looks rich...

P1110841.JPG

(above) I checked the fit and was stoked that it was exact...

P1110842.JPG

(above) Time for the countertop edging...

P1110843.JPG

(above) I still had some teak laying around...I cut it like this...

P1110844.JPG

(above) Then like this...

P1110845.JPG

(above) And when dry fit together it looks like this...

P1110846.JPG

(above) Then when glued with epoxy at the joints, looks like this...

P1110847.JPG

(above) With 90% of the countertop done, I put together the wall / countertop backsplash...The masking tape is there to dry-splice the veneers together until they are bonded to the underlying plywood...Again, I used PSA sheeting...

P1110848.JPG

(above) Test fit...The grain on the wall picks up on the vehicle's exterior graphics... Coincidence...???...I think not...

P1110849.JPG

(above) And with a copper scrap to give a sense of how it will finish out...

P1110850.JPG

(above) Next I went back to the bed pull-out area...Plywood fillers are screwed and glued to the steel frame...I'll cover that with zebrawood or afromosia veneer...Not sure which yet...

P1110851.JPG

(above) Still thinking this thing through...

P1110852.JPG

(above) Custom plywood lamination with a piano hinge built into it...

More later...
 

1leglance

2007 Expedition Trophy Champion, Overland Certifie
Copper, are you serious? That is so cool and I would have never thought of it as something that would go in a vehicle build but it really fits with the teak & zebrawood.
Not to mention over time it will just get better looking.

Cost wise how does it compare to stainless? Will it wear well as a countertop? And where do you source sheets that thin?

I swear we could cross post this to a kitchen remodeling forum and it would fit right in with the quality of work, design style and materials. I love it.
 

AeroNautiCal

Explorer
I swear we could cross post this to a kitchen remodeling forum and it would fit right in with the quality of work, design style and materials. I love it.

I think the quality of work, design style and materials here exceeds that of any kitchen remodelling forum!

Then there's the sheer inventiveness...
 

Forum statistics

Threads
188,476
Messages
2,905,636
Members
230,428
Latest member
jacob_lashell
Top