How would you outfit this custom LJ?

jscherb

Expedition Leader
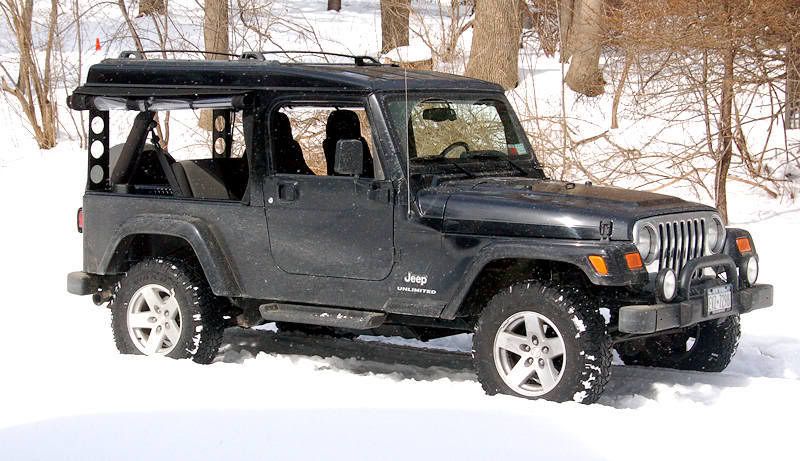
One of the other nice things that's exceeded my expectations about these side curtains is how easily they open. This morning when unloading all the stuff out of my Jeep from the trip I unzipped the vertical zippers and flipped the rear and side curtains up on the roof. I actually unloaded most of the stuff out of the side of the Jeep.

SoftUnloading.jpg


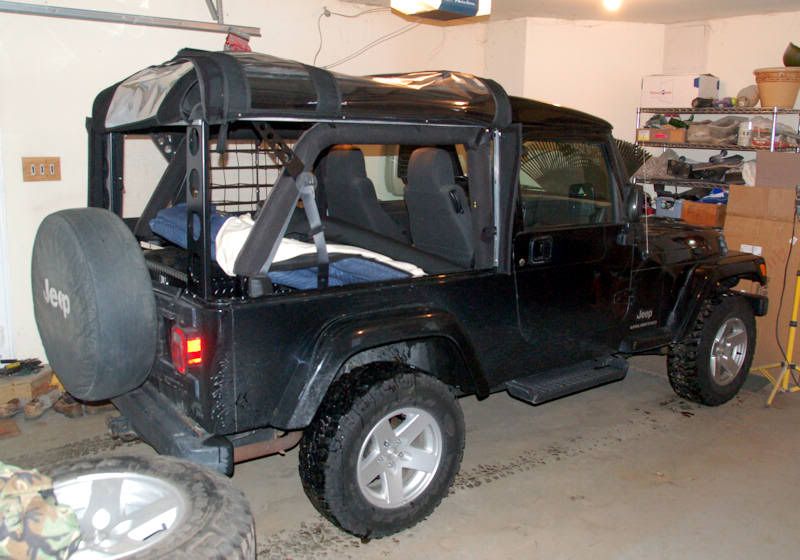
I would never consider removing the factory soft top side windows to unload the Jeep, it's just too much hassle. And the factory rear window doesn't easily flip up on the roof to get it out of the way for loading/unloading.

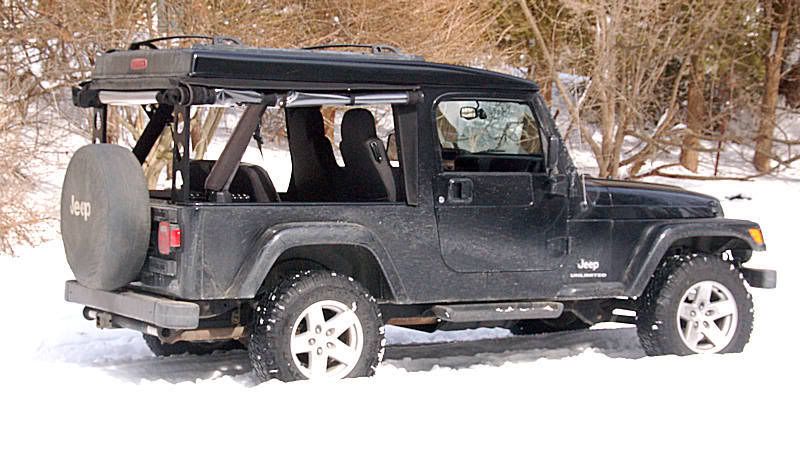
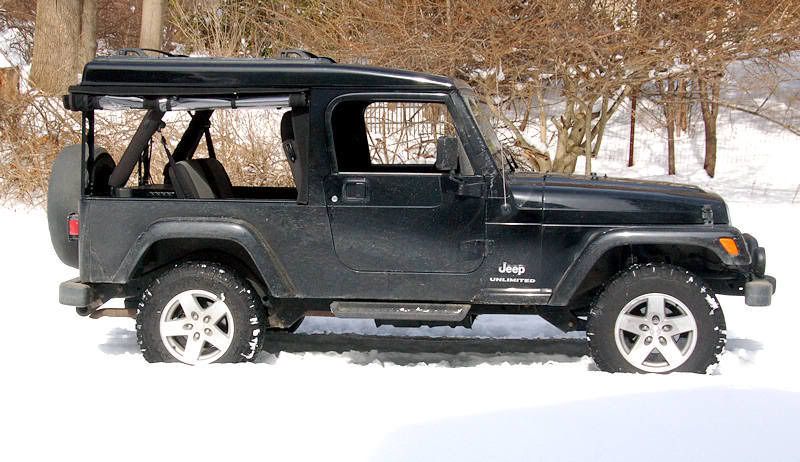
Quiet, weathertight, easy access to rear and sides... oh and storage is easy too - if you leave the roof panel on the Jeep year round and just swap out hard sides for soft sides depending on the season, you don't have much to store in the warm season:

HardStorage.jpg


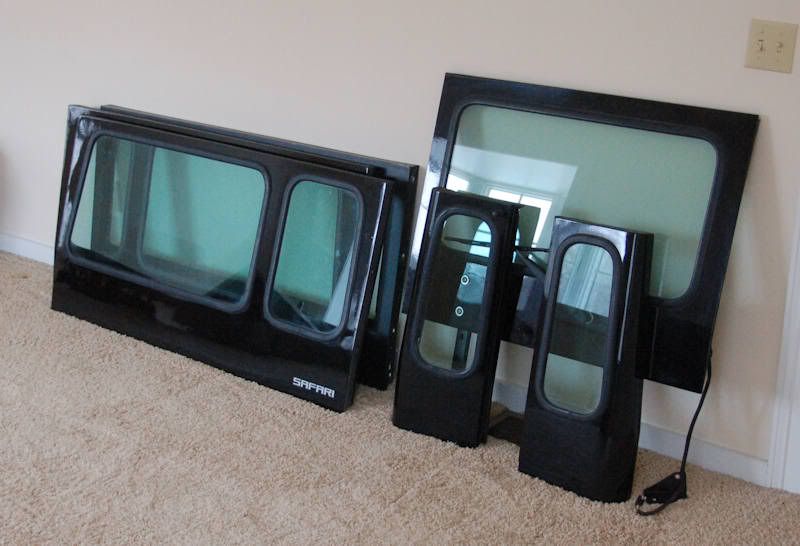
I'm really starting to like the roll-up side curtain option :).
 

jscherb

Expedition Leader
Today the mercury edged above 40 and there was no precipitation, so I rolled up the side curtains and went out for a speed test. I got up to 70 mph, and there was no flapping or strange noises, and the straps held the rolled up curtains securely. I couldn't ask for better performance :). Here's a few photos taken just after my test run.

CurtainFDRURear34.jpg


CurtainFDRUFront34.jpg


CurtainFDRUSide.jpg
 

jscherb

Expedition Leader
Over the course of this thread I've posted a bunch of concept drawings for a camper top made from Safari Cab parts... here's one of the concept drawings again:

ChromeYellow.jpg


...and yesterday since I had the hard side panels off my Jeep I decided to throw them on the trailer just for fun.

I made the trailer the exact length to accept an LJ Safari Cab roof panel. The side panels in the LJ side panel molds with a dam in the proper place, that's the only tweak needed to use the LJ Safari Cab molds to make the camper top, so no new mold work is required to build the camper top.

SafariTrailer1.jpg


SafariTrailer2.jpg


SafariTrailer4.jpg


SafariTrailer3.jpg


Here's a very rough digital edit of one of the photos - I drew in the missing walls and roof, and edited the windows to match the concept drawing. Even though it's rough it give a pretty good idea of what the Safari Cab camper top could look like:

SafariTrailer3a.jpg
 

Titanpat57

Expedition Leader
Very nice design eye coupled with great craftsmanship!

Thanks for the enjoyable read.....I look forward to seeing the trailer progress, it has tons of possibilities!:victory:

Pat
 

jscherb

Expedition Leader
The trailer is looking really good Jeff. Seems like the tires are sticking out quite a bit though. Is that the right width or are the wheels not the right offset?

Cant wait to see more ;)

Jess
Thanks.

Two reasons for the look of the tires:

1. The current axle I'm using for mockup is about 2" too wide, so when I do the final axle the wheels will come in an inch on each side.

2. Since I was completely removing the factory inner fenders from the tubs, I made the track a little wider so I could have 49" between the inner fender wells, to fit 48" wide things like plywood. The distance between the stock inner fenders is about 37" , and allows more space for wheel travel than a trailer requires, so I was able to tighten that up while also increasing the track width about 3" to arrive at 49" between the inner fenders. But because of the slightly wider track, I'll need to use wider flares to cover the tires. The flares on the trailer right now are stock width, so they don't look exactly right.

Everything will come into proper proportion as the build progresses.

Finally picked up a set of the proper width flares. This is what I was planning all along:

WideFlares1.jpg


WideFlares2.jpg


The construction on the trailer is complete, it's now disassembled and undergoing paint prep.
 

jscherb

Expedition Leader
So it is long enough to sleep in should you ever decide to do so?
Wouldn't make sense to plan the camper top for the trailer if there wasn't :) ... the inside floor is 7' 2" long, and there's 49" between the inner fenders (BTW there's only 36" between the fenders of the stock tub, that's why I took the trouble to cut out the factory inner fenders and replace them with custom ones).

Room enough for two friendly people to sleep.
 

grimbo

Explorer
Just read through the whole thread. Thanks for sharing your build with so much detail ( not with standing the bits you need to keep quiet). That's what I love about this forum the high quality of fabrication (which I certainly can't do) bit also the willingness to share, inspire and collaborate with others.

The flip up side windows would be my suggestion for the trailer as it would allow ventilation even in rain, maybe with clip/slide on canvas side panels to make it impervious to angled rain. Also I reckon storing the fridge in the back of the vehicle is preferable than having it in the trailer as it stays with you when leave the trailer on day trips from camp etc.

Are you going to use water tanks in place of the fuel tanks on the trailer?

Anyway congrats on an impressive build both in the technical aspect but also in the obviously thorough planning stages
 

jscherb

Expedition Leader
...

Are you going to use water tanks in place of the fuel tanks on the trailer?

Anyway congrats on an impressive build both in the technical aspect but also in the obviously thorough planning stages
Thank you.

I'm not sure what you're asking - if you're asking about using a water tank in place of the Jeep fuel tank, no, I don't plan that. I didn't use a Jeep frame under my trailer so I don't have a provision for a fuel tank in the frame.
 

jscherb

Expedition Leader
Sorry thought you had used a Jeep frame as well
It's easy to think I used a Wrangler frame under the trailer because the trailer is sitting on Moab wheels and the rear frame crossmember is from a Wrangler, but it's a custom frame I built for this application. I think a Wrangler frame and running gear would be much too heavy for this application.

Here's a few photos of the completed frame:

FrameDone1.jpg


FrameDone2.jpg
 

jscherb

Expedition Leader
Last week I had the Safari Cab LJ out on the trails at Easter Jeep Safari in Moab, I drove this one this year because I wanted to see how the modular Safari Cab stood up to a good trail thrashing.

TheWall1.jpg


MeanHill1.jpg


After three full days of trails, there were no rattles, squeaks or other unwanted behavior from the top.

I was also testing a new tailgate reinforcement/large spare carrier I recently designed and built. This strengthens the factory TJ/YJ tailgate to eliminate flex, moves the factory spare carrier up a couple of inches so larger spares can be carried, and replaces the factory hinges with much stronger, greaseable/rebuildable ones. It eliminates the need to install one of those $800+ bumper/swing away spare carrier deals just to carry a larger spare without trashing the tailgate.

Here's a photo I took when I installed it about a month ago, still had lots of snow in Elmira then...

ExogateInstalledWithTire.jpg


You can't see most of the reinforcement, it's hidden by the spare. That's actually one of the main design goals - to keep the stock look as much as possible. ;)

The reinforcement worked great too, absolutely no rattling or movement of the spare or flexing of the tailgate (or barn door) over the rocks and bumps on the trails.
 

jscherb

Expedition Leader
I would really be interested in the spare tire carrier.
Me too. :elkgrin:
If things go according to plan, it will go into production shortly. Today I met with the hardware manufacturing guys, they delivered to me a CAD-designed/laser cut/powerder coated pre-production prototype (I built the prototype in the photo in my earlier post without computer assistance :)). Their prototype looks great, I'll try to post a few photos tomorrow.

I think the plan will be to offer several options:

1. The tailgate reinforcement/large spare carrier along with the heavy-duty hinges. This allows carrying spares up to about 37", and offers mounting for the spare in the factory position (for "normal" size spares), 2 1/2" higher (for larger spares), and 2 1/2 higher + 3" to the passenger side for really large spares which would interfere with access to the tailgate paddle handle.

2. Hinge set only. For people who need to/want to replace their factory hinges only with something a lot stronger. If your factory hinges are worn or seizing up but you're happy with carrying the spare on the factory tailgate you might choose this option.

3. For those who choose option #1, I'm also working on a Hi-Lift carrier that integrates with the tailgate reinforcement. Haven't finished the design of that yet but expect to soon.

Might also make a CB antenna mount for it as well.

I've got a few minor changes I want the manufacturing guys to make to the hinges, so there will be one more prototype rev, and then there will likely be s short "test" production run to make available to people who agree to test and understand that the product they get is a pre-production product and might undergo some final revisions before full production and general availability.
 

Forum statistics

Threads
188,507
Messages
2,905,989
Members
230,547
Latest member
FiscAnd
Top