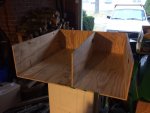
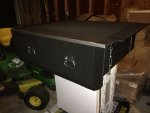
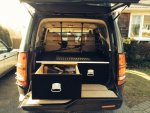
My LR3 lightweight storage platform build (UPDATED: actual dimensions on pg 4)

GORM

Adventurer
First off I would like to say I really like your design and selection of materials. It looks like you have to 50qt cooler. It seems like you do not have full access to the cooler though, the rear hinge lid will not allow you to totally access the cooler contents and/or you may need to be 6 foot to get at the beers.

Do you have issues getting in there and/ or must use 2 hands to access stuff buried in the bottom? I guess you can go to access height to gain 2".

Wondering whether the LR3 may be more conducive to the 37/63qt version due to being 3" shorter. Of course you gotta go all the way to the 63! I have Pelican 1650's I was thinking of placing underneath which would cost me about 3/4".

Comments as to how you handle this appreciated.

Kent
 

perkj

Explorer
Do you think I could get away with a 30in span between uprights with this material? How far are you guys going between vertical support?

I have roughly 20.5" in between both sides...add to that 3" to account for the 1" tubes, given a rough total of a 44" span in width. These measurement are not exact, only close rough estimates. I still need to remeasure each pice for those that want my exact dimensions. Sorry for the delay, just been too busy.
 

perkj

Explorer
First off I would like to say I really like your design and selection of materials. It looks like you have to 50qt cooler. It seems like you do not have full access to the cooler though, the rear hinge lid will not allow you to totally access the cooler contents and/or you may need to be 6 foot to get at the beers.

Do you have issues getting in there and/ or must use 2 hands to access stuff buried in the bottom? I guess you can go to access height to gain 2".

Wondering whether the LR3 may be more conducive to the 37/63qt version due to being 3" shorter. Of course you gotta go all the way to the 63! I have Pelican 1650's I was thinking of placing underneath which would cost me about 3/4".

Comments as to how you handle this appreciated.

Kent

Yes, I do have a 50 quart and yes I'm 6'0" so I have no issue getting to the contents of the fridge. No issues with getting anything in/out. As an example I can get a boxed up 12 pack in and out with no issues with the lid. If for whatever reason I needed to lift the lid fully open to fit something in, I would just remove the arb lid since arb's lid comes off (and on) in less than a second. For my wife to get to the contents (5'3"), she has to lower tail gate section and climb on it to be able to access the contents of the fridge....or she just uses me as the gopher. :). The 63 or 37 being 3" short would help a short person get to the contents and would also allow the lid to open closer to full....but again for the lid, I have zero issues getting anything in the 50 with the lid on and have never had to pull it off.

As for using 2 hands, yes that is needed...one to hold the lid up and the other to dig for the contents. I initially though about making some type of lid prop or holder, but I've yet to find a need for it as I've never needed two hand to pull something out of the fridge. Thinking about this some more, even when I had the fridge in the lr3 without the platform. I never opened the lid up to the point where I could use two hands....all has been 1 hand one the lid and the other getting the contents.

Not sure what the height is of the pelican, but I only have roughly 10" of height (maybe a little more like 9.75...remember you lose 1" in height from the cross tube underneath the wood platform , but again no 100% sure at the moment).

UPDATE: I checked the exterior height of the Pelican 1650 and it's 12.75.....I'm nearly certain this wouldn't fit where I have my platform height set. I think to fit it you'd need another ~3". The width would be about as close too...it's showing 20.47 and I'm vaguely recalling the width of each side being 20.5"
 
Last edited:

GORM

Adventurer
Thanks, wanted your assessment on height. I used the term gopher in my thoughts for wife and kids. Also I forgot about the removal of the lid on ARB fridge. You're correct on pelican, but I measured mine. There is a lot of measure twice and cut once in this project. I may have a really old one that is slightly different size. Everything you wrote was helpful. I think the utility of having a flush platform to provide hidden storage 350 days a year offsets the fridge access being less than perfect for others for at most 15.

I have these 2 pelicans now, but best place for these is likely on the roof holding lighter items allowing more flexibility to patch heavy stuff inside in newly sized containers. I don't have the fridge yet so my thought is to duplicate your design in wood and see how it works but just cannot beat the modularity, strength and weight of the eztubes.

Btw, are your connectors composite or coated steel?

Tx Kent
 

perkj

Explorer
Btw, are your connectors composite or coated steel?

I went with the steel cores. I initially bought the composites, but after thinking about it more I ended up sending those back and got the steel cores. I have no doubt the composites would have held up, but I just tend to over build for piece of mind and for worst case scenarios. I've had some pretty big ruts sneak up on me offroading that have caused some real jolting and my fear is that something like that "could" have the potential snap the composites....I have no proof they would break in this scenario.

One thing to note with the steel cores -- out of the box they are not as tight a fit inside the tubes as the composites....you can put them together and remove them hand, where as the composites need to be pounded together and apart with a mallet. There is also some slight and I mean very very slight play in them when in the tube. This scared me a little b/c I didn't want the connectors to have any chance of sliding apart. My correction for this was to place ~2 inch pieces of electrical tape on ALL FOUR interior sides of the tubes at the end where the connector will be placed in. With all 4 pieces of electrical tape there, a mallet is needed pound the connector into the tube and the fit becomes extremely tight...even more so than the composites. I suggest using the tape only for what will be the final assembly as its nice having the press together/pull apart by hand while your doing all your trial fitments.
 

Mx468

Observer
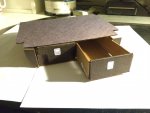
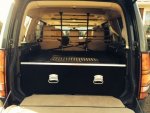
Here's what I made for drawers for my LR3

Here's some pics of my drawer system I made for my LR3, lightweight and it can be put in/taken out by one person and you still have access to the spare tire.
 

Attachments

  • IMG_5093.jpg
    IMG_5093.jpg
    511.4 KB · Views: 156
  • IMG_5092.jpg
    IMG_5092.jpg
    535.7 KB · Views: 142
  • IMG_5090.jpg
    IMG_5090.jpg
    501.4 KB · Views: 156
  • normal_photo_1~0.JPG
    normal_photo_1~0.JPG
    36.3 KB · Views: 152
  • normal_IMG_5119.jpg
    normal_IMG_5119.jpg
    21.9 KB · Views: 949
  • normal_IMG_5121.JPG
    normal_IMG_5121.JPG
    28.4 KB · Views: 153
  • normal_photo_2~1.JPG
    normal_photo_2~1.JPG
    42.7 KB · Views: 159

perkj

Explorer
@Perkj electrical tape playing any role in holding your storage together sounds super sketchy!

You're missing the point of the tape. It's simply to add thickness to the inner walls of the tubing. The tubing inner walls have teeth that has it really bite. With the tape there you can't pull those tubes apart from the connector without some very serious and hard wacks with a mallet....it's a much strong fit that the composites now. I have personally done box jumps on my platform with zero sign of the joints pulling apart. I've also got two very long off road trips with the platform with a full arb fridge of beer and food plus camp gear on the other side. Joints haven't moved even a fraction of a millimeter....this thing is extremely stout, trust me.
 
Last edited:

perkj

Explorer
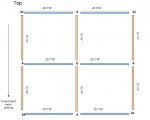
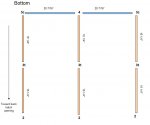
here are the dimensions of mine. Please note, all measurements post cut meaning these measurements are what they need to be after you make the cut, i.e. account for the saw blade width. Click on the pics to make them larger. Note: the "6" connector labeled in the TOP pic should be a "5":

top.jpg

bottom.jpg

side.jpg
 
Last edited:

DiscoCO

Observer
Is it safe to assume that height clearance below the shelf based on PerkJ's dimensions is just over 10"? Dimension of vertical tubes look to be 9 1/8" plus the 1" base tube. I'm considering putting some Front Runner Wolf Packs under this yet to be built shelf. Looks like the Wolf Packs are 9" tall. I realize I could modify the dimensions to fit my needs, but thought I'd see if anyone currently using these dimensions have a closer measurement. Thanks!
 

Ilatak

New member
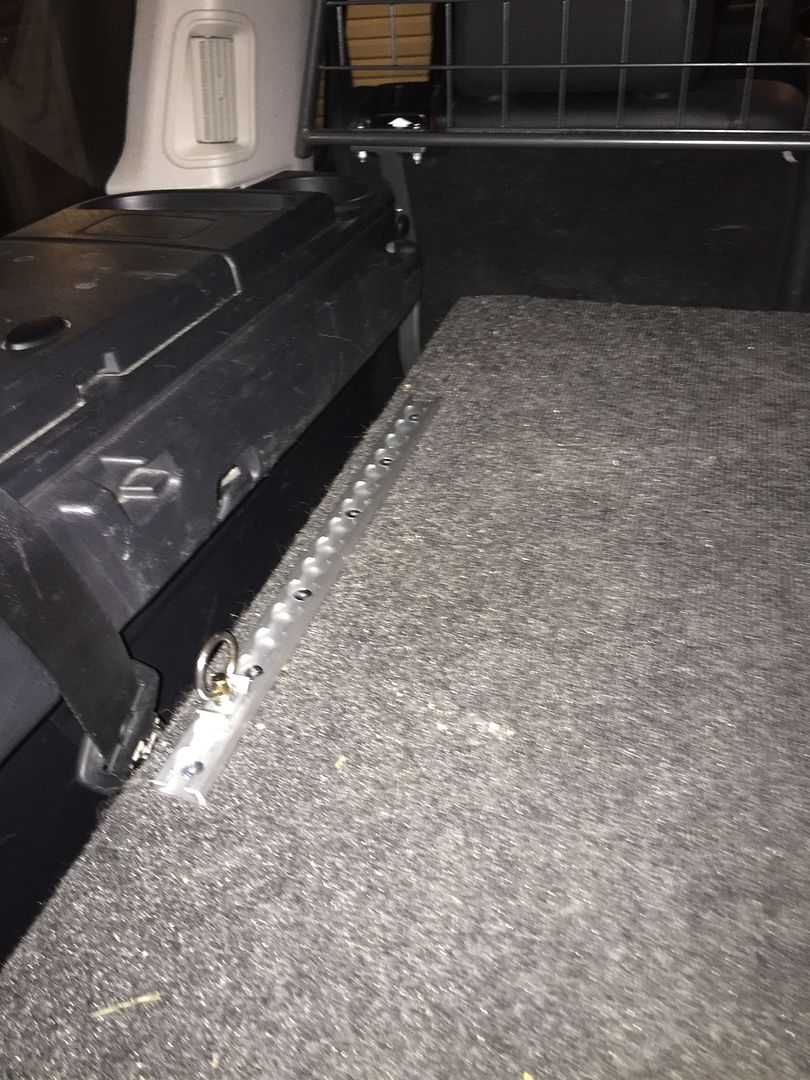
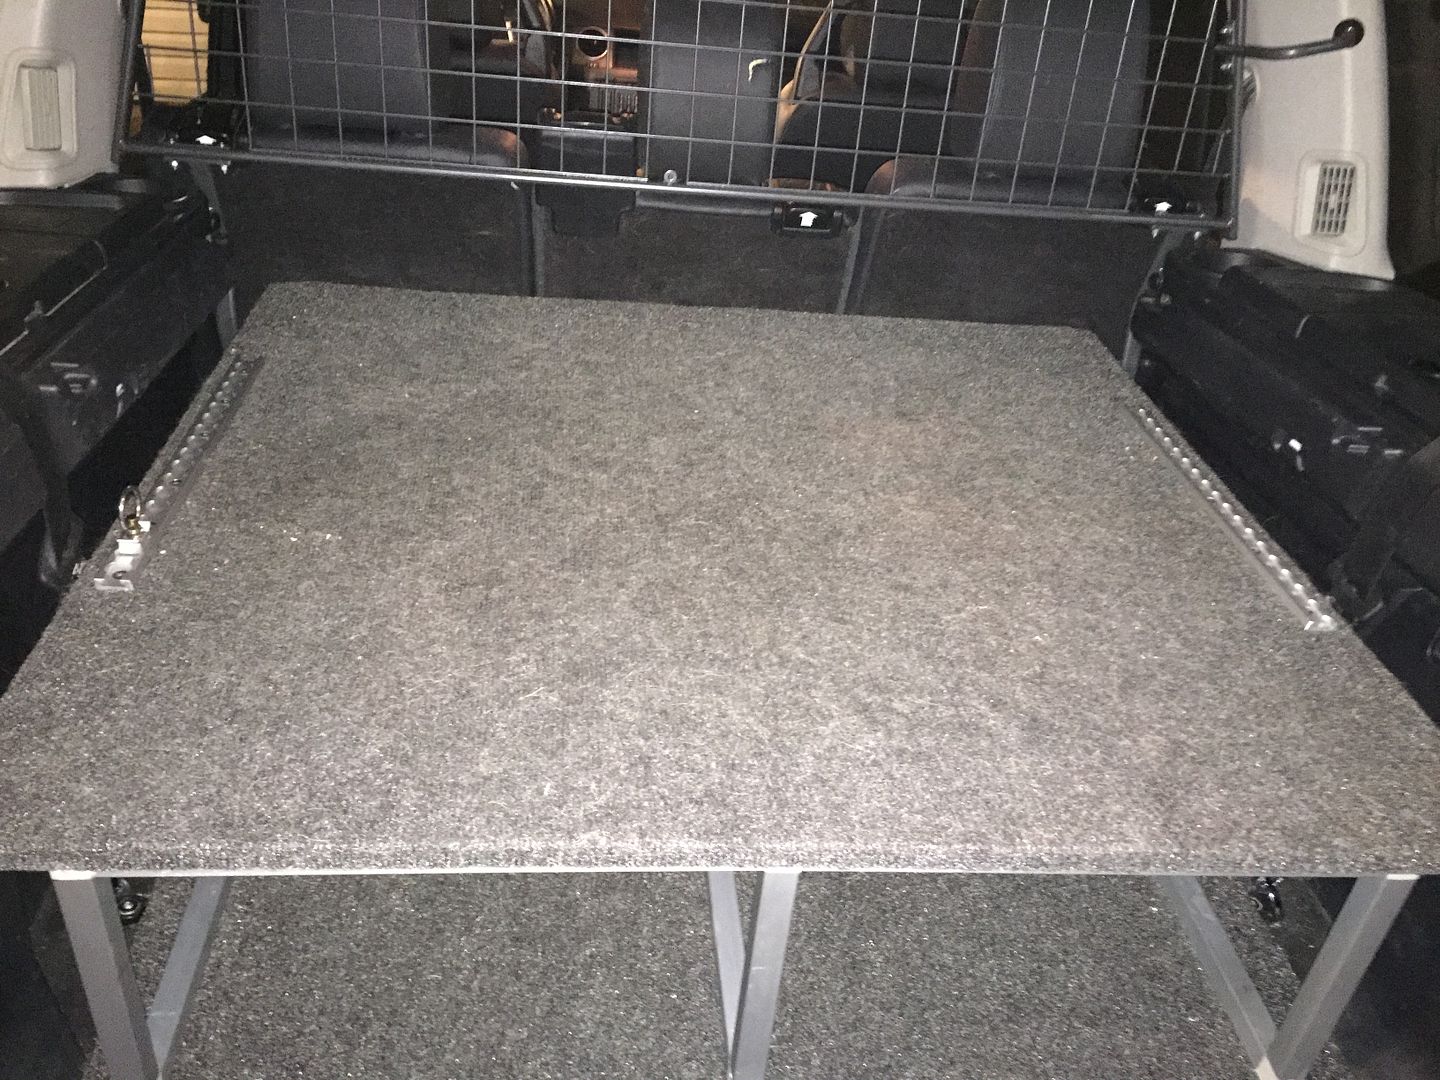
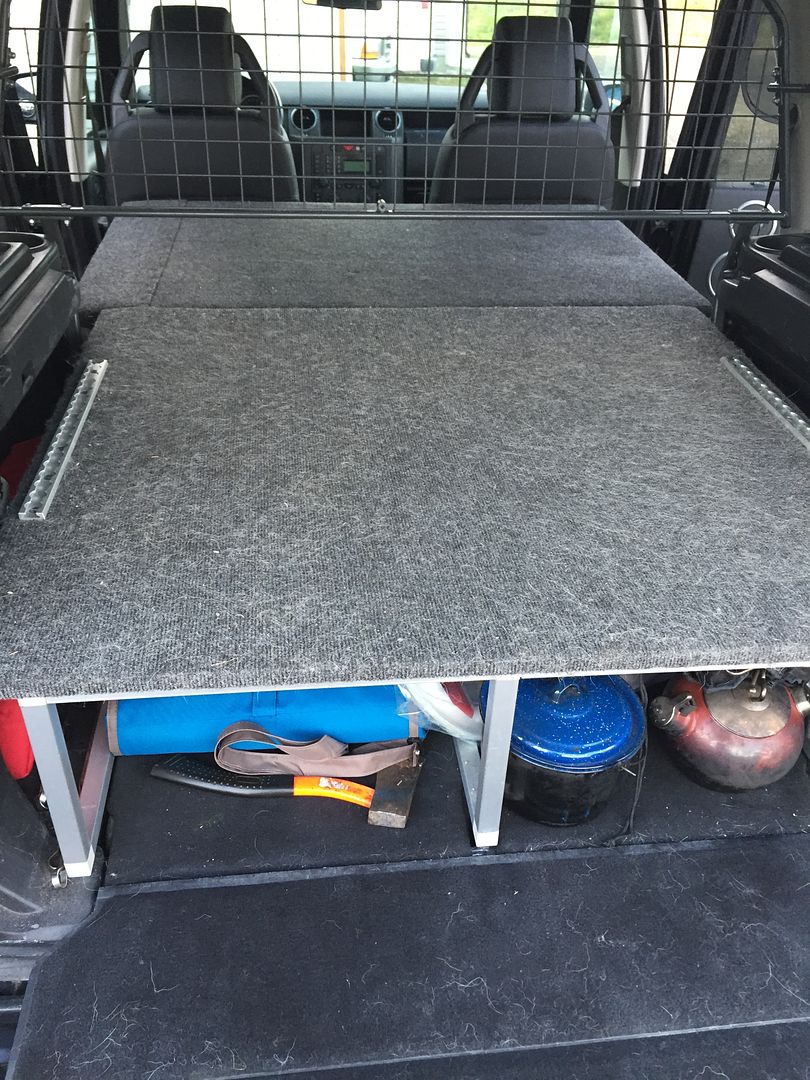
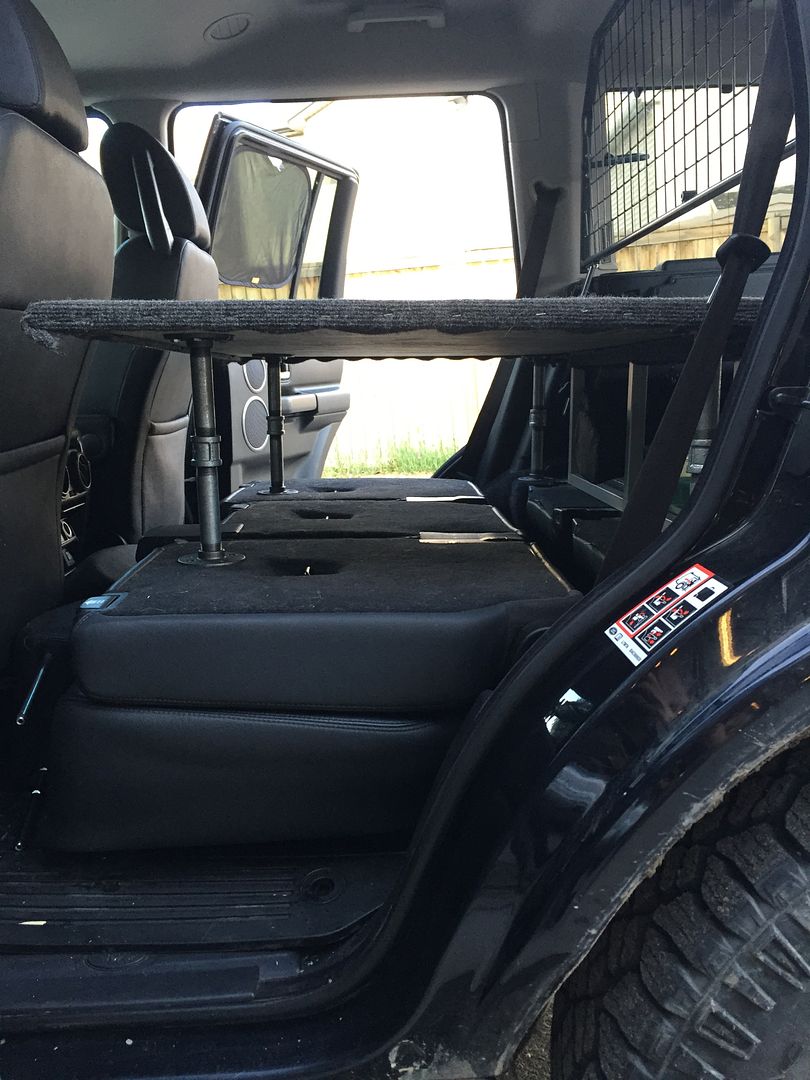
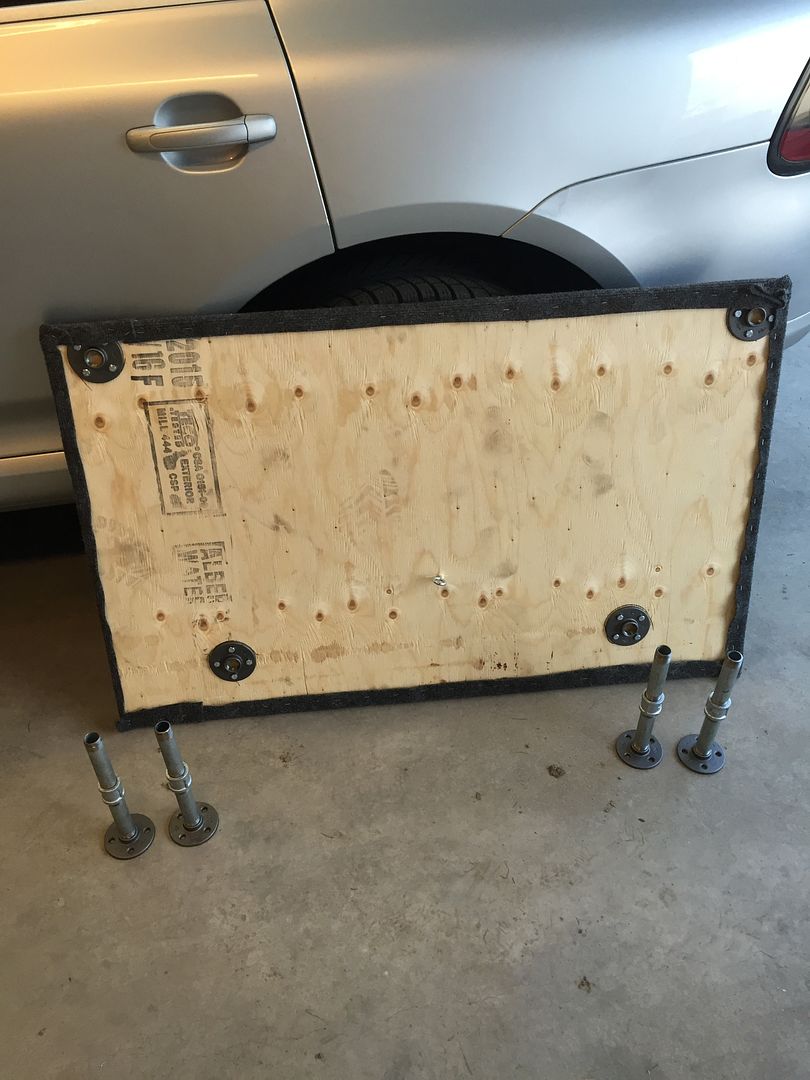
I have a big camping trip coming up and decided to sleep inside of the car (various reasons), which made me think on how to extend the platform. Given that I need it to be removable and it won't be in a car permanently I decided to go for a cheaper but heavier solution. 3/4 inch ply wood, removable legs made out of pipe and carpet.

Here is what came out of it. Overall length came out to be 6' and 2", with the driver seat in regular position. I'll gain more if you move the seat forward when stationary.


Obviously the dog guard will be removed when I'll go on a trip.


Cost under 50$CAD

On a side note, when rear seat are in downward position there is quite a bit of room between second and third row seat. Thinking on putting water tank in there, does any body else use it for something?
 

Ray_G

Explorer
I have spare water (bottled) and recovery gear down there-it could certainly be a good place for a water tank but is a somewhat odd-sized area. Perhaps a water bladder if it was sturdy enough to not leak?
 

jerdog53

Explorer
I have often thought about using that space for something productive rather than just a rat hole. To my knowledge no one makes anything for that space.
 

Forum statistics

Threads
188,362
Messages
2,906,022
Members
230,117
Latest member
greatwhite24
Top