Iain_U1250
Explorer
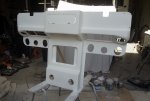
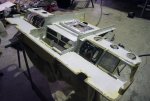
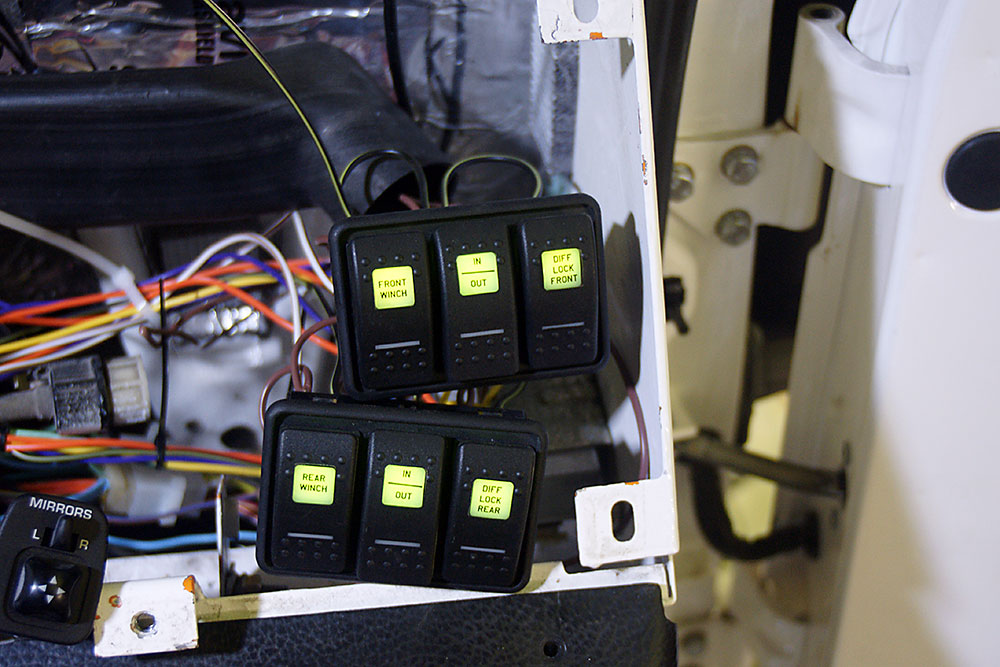
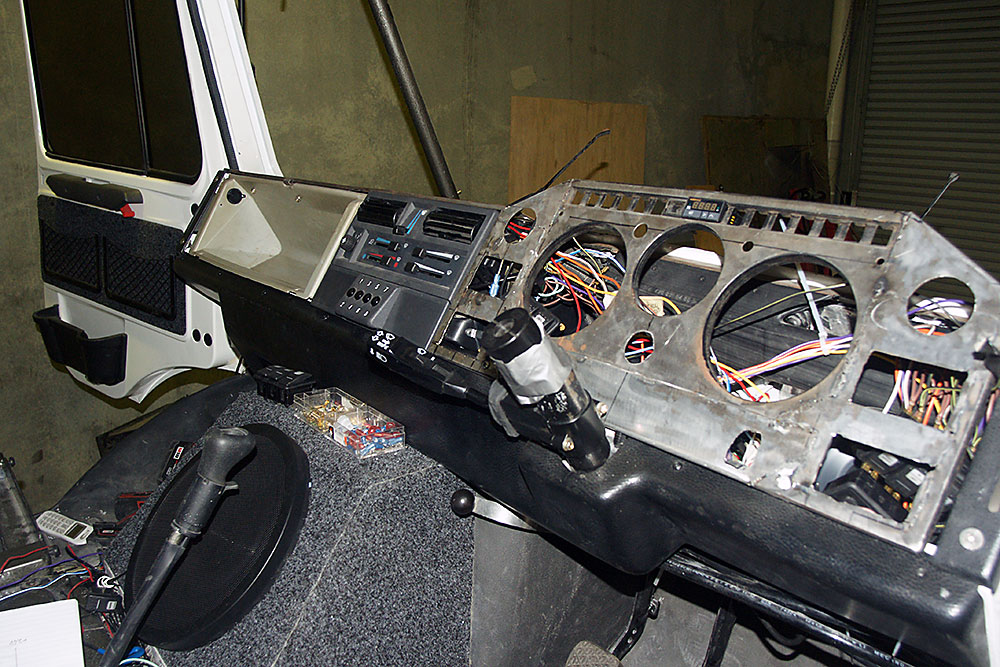
I finally got the laser cut steel and aluminium inserts. The inserts are currently sitting under a couple of sheets of MDF and about 200kg of weight, as they are getting the wood veneer glued on. Laser cutting is by far the best way to get very accurate plates cut up, the whole lot cost $70, and considering the amount of time it would have taken for me to make these, it was well worth it.
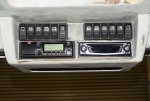
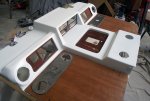
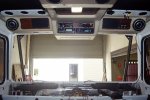
I got some spare one of each shape just in case I mess something up, so I used them for a trial fit. The switches are all wired up and working, but the radio is only a spare one I use for trial fits, the CB is the actual one, I will use the rear port for the microphone though.
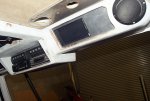
The monitors fit quite nicely, and the camera system arrived as well. It works great.
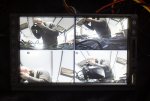
I can have it in auto mode where it chooses the cameras base on various input, or quad mode. The touch screen monitors are pretty good, and will be part of the on board computer eventually. The buttons on the side are configurable, just have to figure out how. They are very bright, but have a connection for the headlight for dimming at night. They should be clearly visible even in bright sunlight the way I have them mounted.
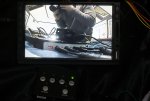
The control pad will be recessed in next to the monitor on my side of the console, it has two outputs, so the passenger side can be the same, otherwise the monitors have three inputs, and I can use the buttons on the monitor to choose between high and low reverse cameras. The third input is a normal VGA input. With the two side camera mounted high up on the roof rack, we should be able to see when we are going to hit branches or rock overhangs. The forward facing camera is also high up on the roof rack, to see if we are close to any overhead obstacles.
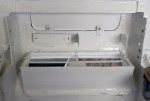
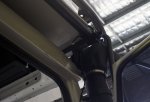
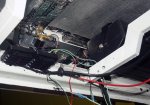
Now I have to figure out how to get all the wires out through the roof - I have four camera wires, two aerials coaxial wires and three 12V power wires for various lights and things.

I got some spare one of each shape just in case I mess something up, so I used them for a trial fit. The switches are all wired up and working, but the radio is only a spare one I use for trial fits, the CB is the actual one, I will use the rear port for the microphone though.

The monitors fit quite nicely, and the camera system arrived as well. It works great.

I can have it in auto mode where it chooses the cameras base on various input, or quad mode. The touch screen monitors are pretty good, and will be part of the on board computer eventually. The buttons on the side are configurable, just have to figure out how. They are very bright, but have a connection for the headlight for dimming at night. They should be clearly visible even in bright sunlight the way I have them mounted.

The control pad will be recessed in next to the monitor on my side of the console, it has two outputs, so the passenger side can be the same, otherwise the monitors have three inputs, and I can use the buttons on the monitor to choose between high and low reverse cameras. The third input is a normal VGA input. With the two side camera mounted high up on the roof rack, we should be able to see when we are going to hit branches or rock overhangs. The forward facing camera is also high up on the roof rack, to see if we are close to any overhead obstacles.
Now I have to figure out how to get all the wires out through the roof - I have four camera wires, two aerials coaxial wires and three 12V power wires for various lights and things.
Last edited:

